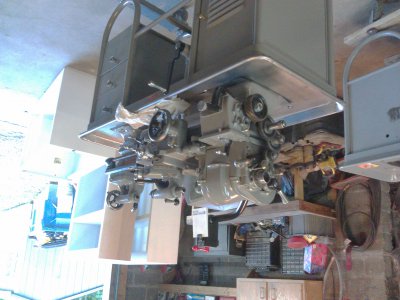
South Bend Heavy 10 restoration

Thoro,

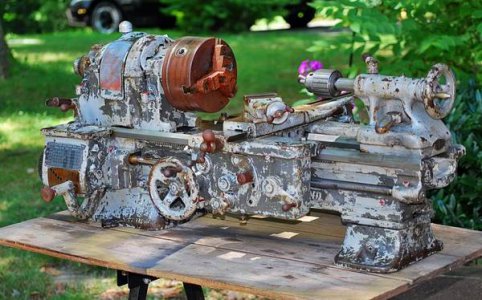
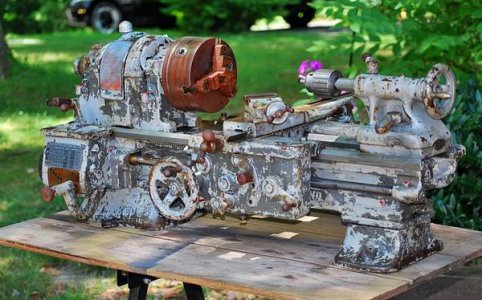
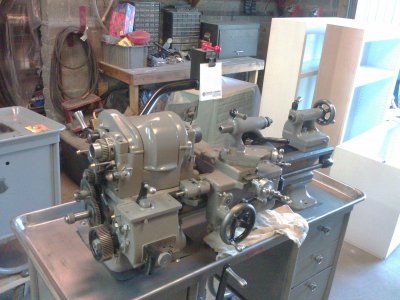
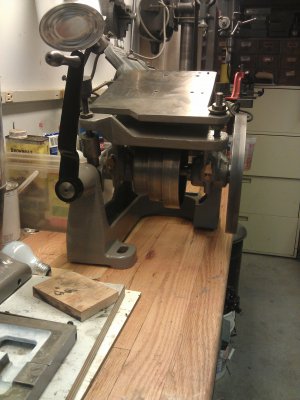
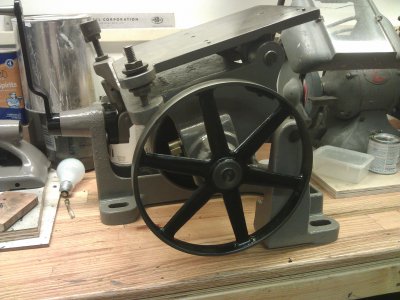
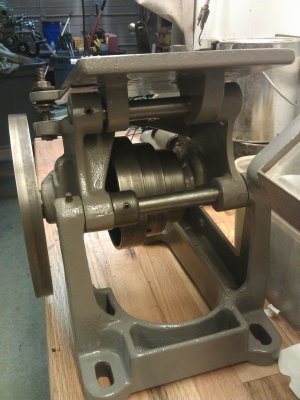
World class restoration. Somehow I've missed your thread, and just read through all the posts. Although you probably felt you had a lot of work ahead of you when you started, have a look at my before pictures:

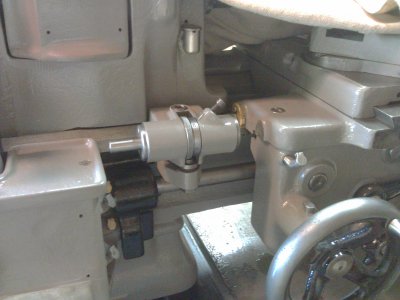
Southbend10LPickupRoadtrip034_zps7c153d1a.jpg

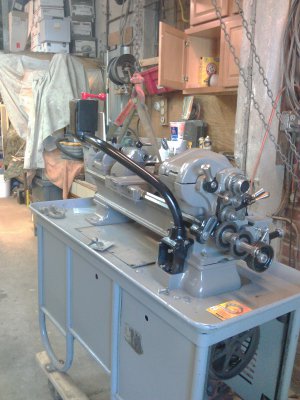
SouthbendHeavy1010L001_zpsf92e0c6d.jpg

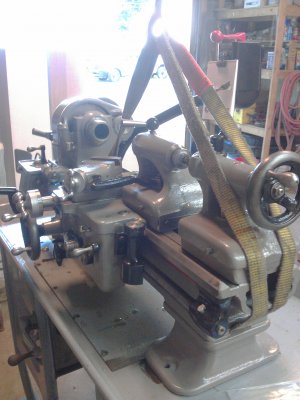
Southbend10LPickupRoadtrip041_zps42c60b4c.jpg

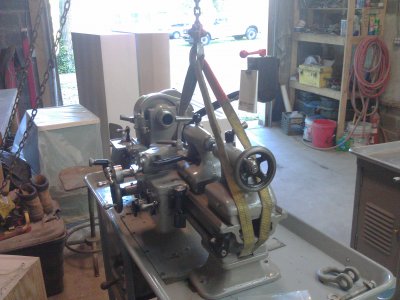
Southbend10LPickupRoadtrip052_zps19bfc0ce.jpg

I'll use your words of warning to avoid breaking the rather fragile bits...and I use lots of electrolysis too.

As bad as it looked above, my Heavy 10 is up and running. I just cleaned up enough to do some work as I'm restoring a J-Head Brigdgeport right now. Once the Bridgeport is done, I'll follow your lead, and hopefully will do as well as you.

Best regards,

Ray
 
Awesome job! Could you put some pics of you electrolysis setup up? I would like to try something like that.Ski
 
Re: South Bend Heavy 10 restoration I just bought a heavy 10

The heavy 10 that I just bought had serial #118804 and dww and jfp stamped on the way. How strange, and from what I could find out it looks like it was made about 11-1941.
This will be the beginning of my documentation of a South Bend heavy 10 that I acquired on Christmas eve. This is the first South Bend I have owned and am excited about it. I am going to try to be proactive here and share my adventure with it rather than sit back and read while I fix it up in the shadows of lurkville, time premitting.

It originally was in a Vo-tech school, then put in dry storage for some time and after that a student from that school purchased it and took it home. The school had removed a few parts that I assume they needed before they sent it with the student. The student who is now a man reaching retirement age is who I bought it from. From what I can tell it is about 1941 vintage. Single tumble gear box. Small bore spindle. 10R

Here it is just after unloading it. I put the 2x's and casters on it before it ever touched the ground. Sure makes moving it around a tight shop for various tasks easier.
View attachment 67312

My plan is to restore it. To what extent is something I haven't decided yet. The ways have the classic nicks near the head stock, but they are mostly on the flat and tail stock way, not the carriage way. Not much significant wear on the carriage ways that I have identified yet, no wear ridge. It's definitely a used machine though, and that's what makes me question to myself as far as what extent I want to restore it, because I am planning on fixing this one up and replacing an Atlas lathe that I currently own and using it. I do like the luxury of having a working lathe already so I am not in an extreme rush to get this one going and would like to make it nice, because I can.

Here is the gear cover model plate.
View attachment 67313

Here is the serial number on the ways. Not sure what the D.W.W is. I'm guessing it may be the school's stamping?
View attachment 67314

It was missing the primary gear on the gear box. As well as the sliding gear. In this picture I have taken the banjo off, but I do have it. Just missing the sliding gear.
View attachment 67315

The apron was missing the star knob and screw retaining screw for the star knob.
View attachment 67316

What appears to be a shop / student made large dial conversion (more on that later, as it is going to cause me much confusion down the road with this restoration)
View attachment 67317

Those are most of the missing pieces/oddities I have found so far except for every single gitts oiler being missing or smashed except for the head stock cups.

That should get things up to speed as far as the condition that I found it in, pretty much. I have already started stripping parts and cleaning things up so I will post up some progress shots and such on that.

I'm going to need all the advice I can get.

- - - Updated - - -

Also forgot to mention the model is also a 199 but it has a -z instead of your yn.
 
It's been a while but I'm still pecking away at it.

So, it's been a while since I updated on my progress here. I have been slowly pecking away at it, getting closer and closer to a finish. Here is a smattering of photos of my progress since last post.


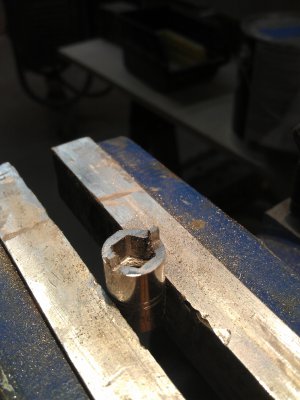
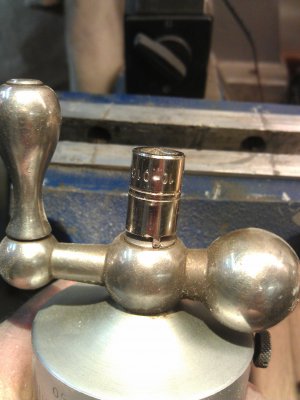
Made this split driver for the cross feed screws out of a random socket. Came in very handy.
IMG_20140327_182040.jpgIMG_20140327_182132.jpg


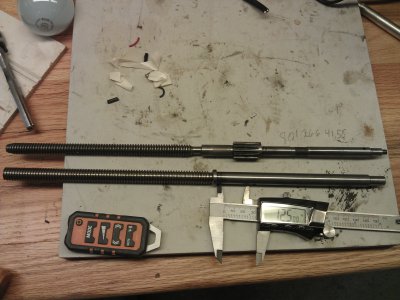
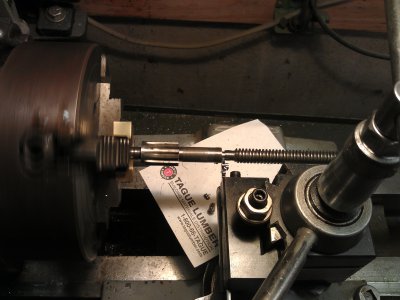
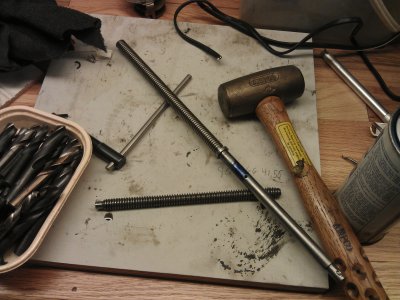
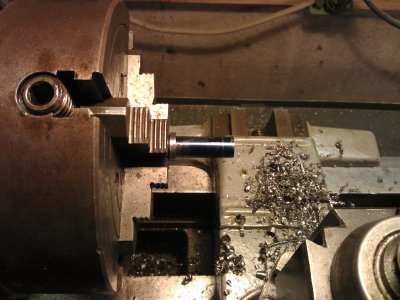
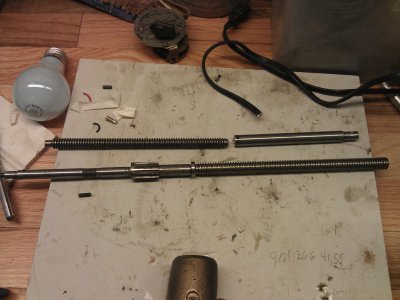
Here are some photos of my cross feed screw rehabilitation. I had "ok" results. I'm still no expert machinist by any means, and working with old used parts isn't necessarily always the most ideal learning circumstances.
IMG_20140330_131558.jpgIMG_20140330_141013.jpgIMG_20140330_144610.jpgIMG_20140330_150947.jpgIMG_20140330_162614.jpg
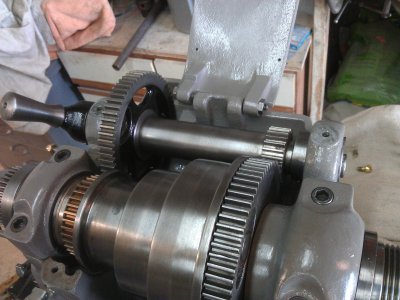
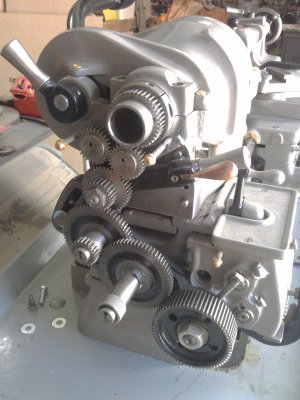
Back gear installed.
IMG_20140420_140428.jpg

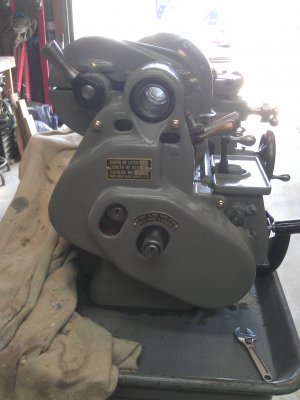
Gear cover in place.
IMG_20140420_150838.jpg

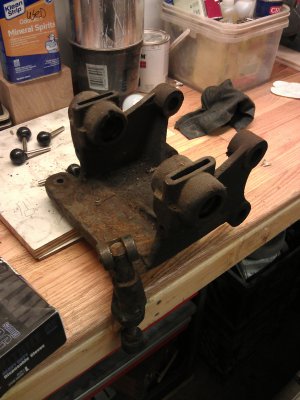
Forgot to go crazy with before pictures of the underdrive, but you all can imagine the mess.
IMG_20140430_175220.jpg


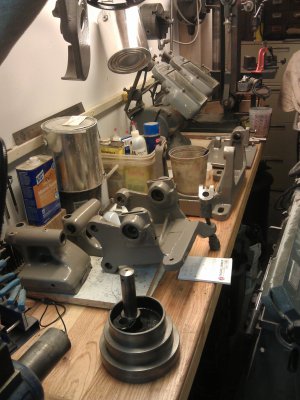
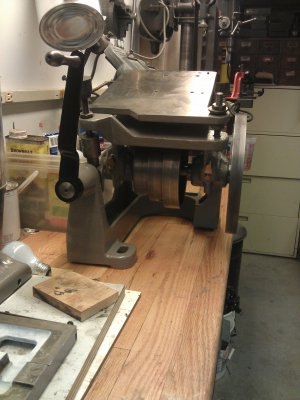
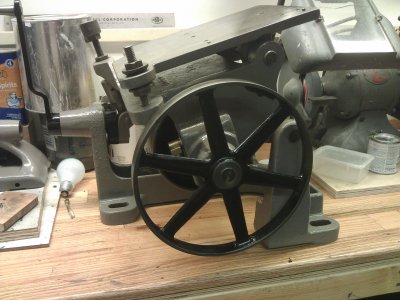
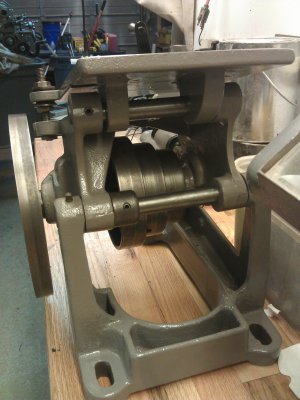
Painting and reassembly of the underdrive. (it's upside down for reassembly.)
IMG_20140504_172116.jpgIMG_20140505_190618.jpgIMG_20140505_190629.jpgIMG_20140505_190635.jpg

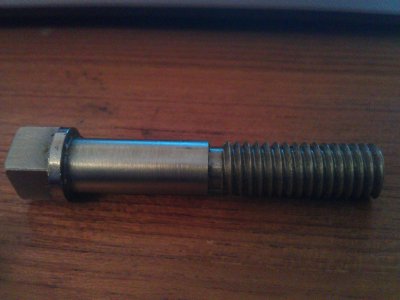
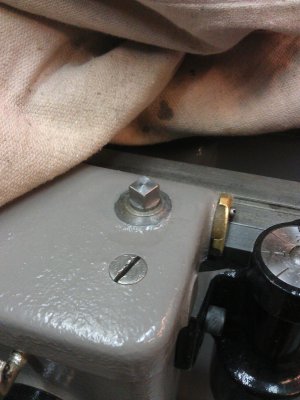
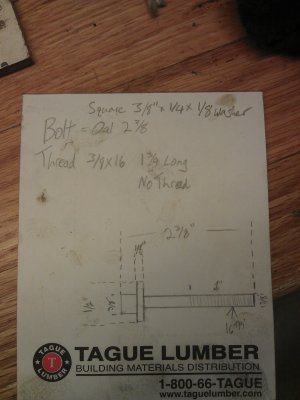
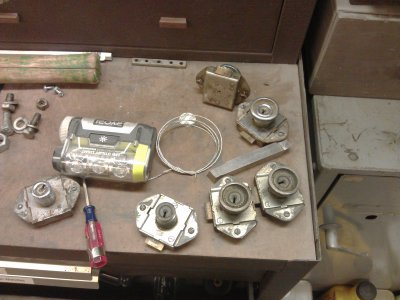
I'm missing my saddle lock, so I decided to start making one, starting with the square bolt. Made it out of 1/2" mystery metal, (I think it's stainless or some kind of tool steel) In hind sight I would have used 5/8? to get a bit bigger shoulder for the integrated washer, but I'm overall happy with the results. Single pointed the threads on my Atlas 10F. Milled the squared head with a square collet block. and I've provided a picture here of my sorry excuse for a drawing that I whipped up prior to making the bolt.
IMG_20140505_063919.jpgIMG_20140504_171553.jpgIMG_20140505_190510.jpg

Next on the list of things to do is to make the clamp for the saddle lock. Make a second debris cover for the underdrive, as I am missing one. Paint the cabinet (NOT looking forward to that!) make a serpentine belt. Figure out the motor situation and how to move forward with a VFD setup.....and more I am sure. This has been a big project but very gratifying, so keep tuned.

Thanks for looking!

IMG_20140327_182040.jpg IMG_20140327_182132.jpg IMG_20140330_131558.jpg IMG_20140330_141013.jpg IMG_20140330_144610.jpg IMG_20140330_150947.jpg IMG_20140330_162614.jpg IMG_20140420_140428.jpg IMG_20140420_150838.jpg IMG_20140430_175220.jpg IMG_20140504_171553.jpg IMG_20140504_172116.jpg IMG_20140505_063919.jpg IMG_20140505_190510.jpg IMG_20140505_190618.jpg IMG_20140505_190629.jpg IMG_20140505_190635.jpg
 
hopefully not to derail your thread, but what's involved in making an electrolysis tank? I have a vague understanding of what electrolysis is (it's the bad thing that makes my props brittle and eats holes in my aluminum boat when I don't have sacrificial zincs), and the way it takes paint off is pretty amazing.
 
hopefully not to derail your thread, but what's involved in making an electrolysis tank? I have a vague understanding of what electrolysis is (it's the bad thing that makes my props brittle and eats holes in my aluminum boat when I don't have sacrificial zincs), and the way it takes paint off is pretty amazing.

Well, the scientific... Chemical.. Whatchamajigamajic is all a bit fuzzy to me to. B there to answer your question about what's involved in making a tank to do electrolysis, the materials and items you need are possibly laying around in your garage.

Non conductive container that holds water.
Sacrificial anode.
Water
Car battery charger or other DC power source.
Washing soda (electrolyte)

As to not beat a dead horse, do a Google search for electrolysis rust removal, the process is well documented by many.

One note, which I have not tried yet but, many people say that the solution alone without electricity is enough to remove paint. I will like to see what it would do with painted aluminum, if it will harm the metal or not.
 
Thoro,

World class restoration. Somehow I've missed your thread, and just read through all the posts. Although you probably felt you had a lot of work ahead of you when you started, have a look at my before pictures:

Southbend10LPickupRoadtrip034_zps7c153d1a.jpg

SouthbendHeavy1010L001_zpsf92e0c6d.jpg

Southbend10LPickupRoadtrip041_zps42c60b4c.jpg

Southbend10LPickupRoadtrip052_zps19bfc0ce.jpg

I'll use your words of warning to avoid breaking the rather fragile bits...and I use lots of electrolysis too.

As bad as it looked above, my Heavy 10 is up and running. I just cleaned up enough to do some work as I'm restoring a J-Head Brigdgeport right now. Once the Bridgeport is done, I'll follow your lead, and hopefully will do as well as you.

Best regards,

Ray

Thank you for your kind words. Wow! I would have ran from that lathe when I was looking for this one I got.
Do you have any pictures that you can share of it as it stands now?
 
Getting so close!

Ok guys.

It's been quite a while and I have slacked on updating about my rebuild. I have been slowly chugging through the process still. It has been nearly 6 months since I began this process and I can not wait till I take my first cuts!

I'll start with some pictures, then I have a surprise at the end, if anyone cares :whistle:

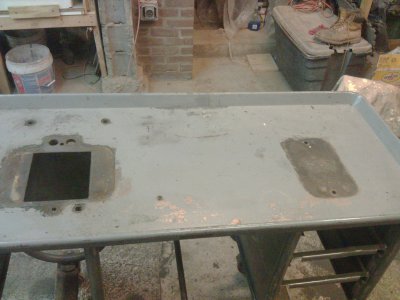
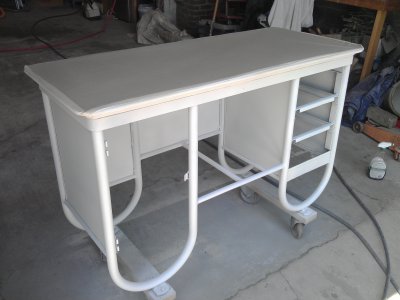
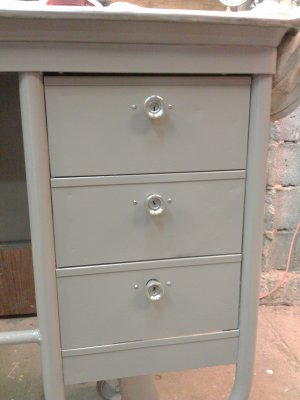
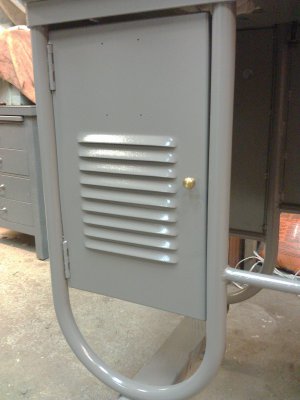
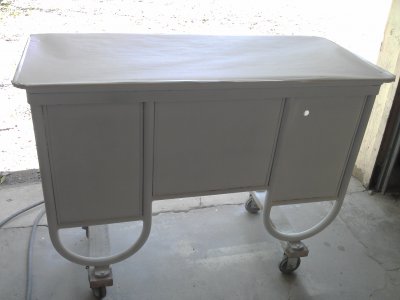
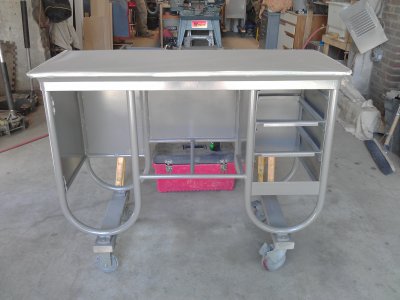
Let's start with what I was least looking forward to. Stripping the tubular cabinet and painting it. And let me tell you. It was NO fun! I did it all with a wire wheel on and angle grinder.
IMG_20140521_182557.jpg
IMG_20140521_193443.jpg
IMG_20140521_193901.jpg

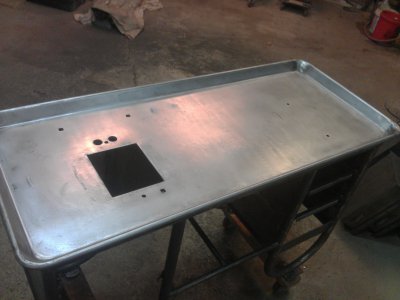
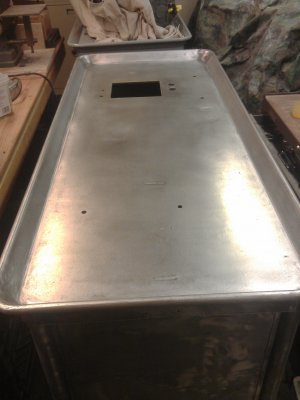
I debated whether or not to paint the chip tray. I decided to sand it down with an orbital sander and leave it at that.
IMG_20140521_194357.jpg

Here we go with a bit of rustoleum primer shot on with a harbor freight hvlp spray gun.
IMG_20140525_132414.jpg
IMG_20140525_135128.jpg

First coat of 2 coats of paint on in this picture. Same deal, Sherwin williams industrial alkyd enamel reduced with mineral spirits and shot with hvlp.
IMG_20140525_144551.jpg

Cleaning up the knobs/latches
IMG_20140528_185236.jpg
IMG_20140530_174801.jpg

I was missing the knob, but found this one in my parts bins. i like the way it looks.
IMG_20140530_174822.jpg

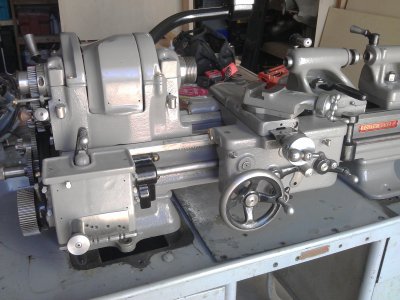
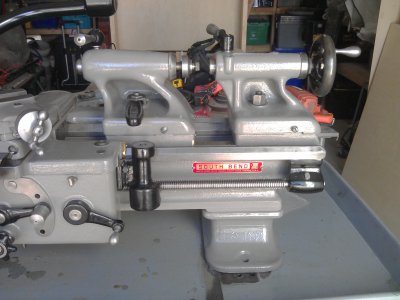
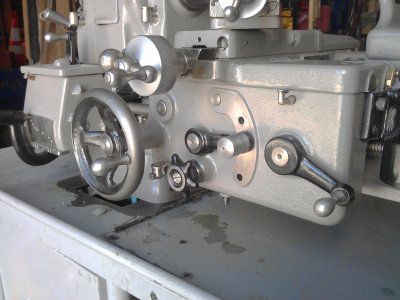
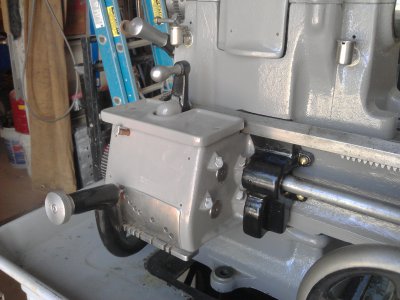
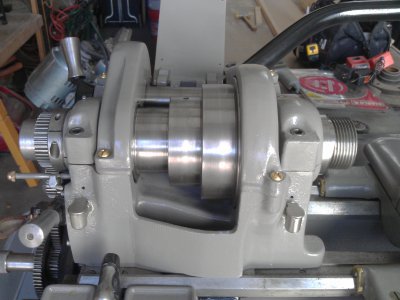
Here are some good lit pics of just general stuff.
IMG_20140601_153534.jpg
IMG_20140601_153540.jpg
IMG_20140601_153545.jpg
IMG_20140601_153550.jpg
IMG_20140601_153558.jpg
IMG_20140601_153606.jpg

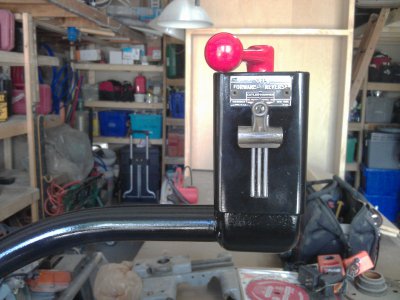
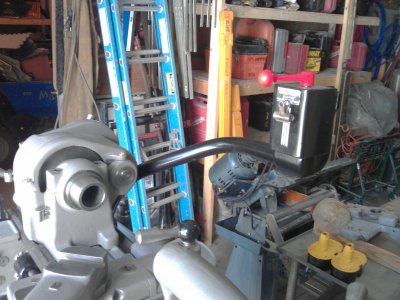
Finally cleaned up the power mast. My plan at this point is to have it wired to the vfd to control forward reverse and stop. then there will be a second control box under the chip tray in front for a mushroom emergency stop button, potentiometer and jog switch.
IMG_20140601_153622.jpgIMG_20140601_153628.jpg

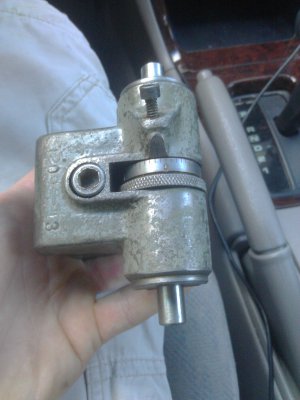
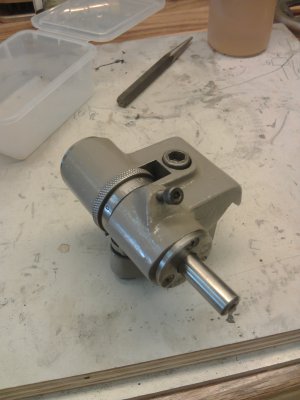
Found this little baby for a song of $50 bucks. I really needed one too! Cleaned up nice as well.
IMG_20140524_183441.jpg
IMG_20140602_172743.jpg
IMG_20140602_173021.jpg

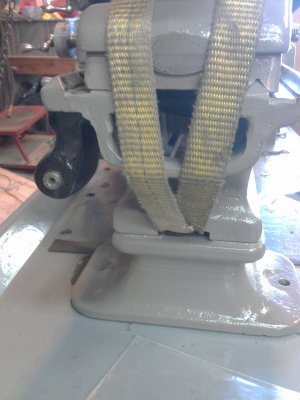
Here is my rigging setup to move the lathe from a spare cabinet I have onto the painted one that I will use with it. It's still an awkward lift that requires a second person to balance the lathe.
IMG_20140602_183815.jpg
IMG_20140602_183824.jpg
IMG_20140602_183829.jpg
IMG_20140602_183833.jpg

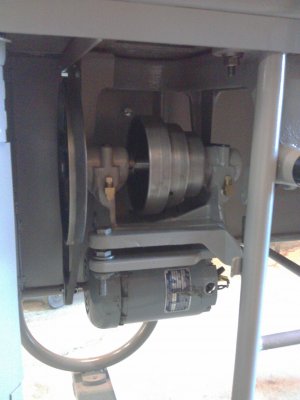
Underdrive and motor mounted. that was also a pain in the rear, but I got it done with 2 other guys help.
IMG_20140602_185119.jpg

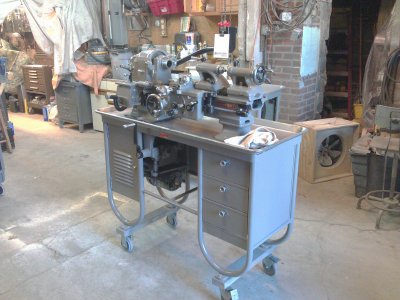
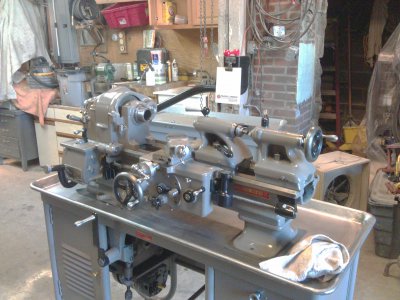
And there it is sitting in it's place.

IMG_20140602_184834.jpg
IMG_20140602_184842.jpg
IMG_20140602_185108.jpg

So now for the grand finale for today, I took a video and put it up on youtube. I haven't ever done one of these things yet, so I hope you guys enjoy it. I think it's a bit long, so sorry about that, but I had a lot I wanted to say!

Stay tuned, and as always, thanks for looking!

[video=youtube_share;E4DsaZkV0YM]http://youtu.be/E4DsaZkV0YM[/video]

IMG_20140505_190618.jpg IMG_20140505_190629.jpg IMG_20140505_190635.jpg IMG_20140521_182557.jpg IMG_20140521_193443.jpg IMG_20140521_193901.jpg IMG_20140521_194357.jpg IMG_20140524_183441.jpg IMG_20140525_132414.jpg IMG_20140525_135128.jpg IMG_20140525_144551.jpg IMG_20140528_185236.jpg IMG_20140530_174801.jpg IMG_20140530_174822.jpg IMG_20140601_153534.jpg IMG_20140601_153540.jpg IMG_20140601_153545.jpg IMG_20140601_153550.jpg IMG_20140601_153558.jpg IMG_20140601_153606.jpg IMG_20140601_153622.jpg IMG_20140601_153628.jpg IMG_20140602_172743.jpg IMG_20140602_173021.jpg IMG_20140602_183815.jpg IMG_20140602_183824.jpg IMG_20140602_183829.jpg IMG_20140602_183833.jpg IMG_20140602_184834.jpg IMG_20140602_184842.jpg IMG_20140602_185103.jpg IMG_20140602_185108.jpg IMG_20140602_185119.jpg
 
This is a fantastic thread. Thank you SO MUCH for documenting this here!!


:thanks::thumbzup3:
 
Back
Top