2014 POTD Thread Archive

finished my mini lathe leadscrew handwheel using the tailstock wheel. my original thought was i could then remove the carraige handwheel, as its always in the way of the cross slide wheel (or vice-versa),but man, is it really slow! i remove the change gear on the left side of the leadscrew when i use it, which lets it turn freely and quieter.maybe later on ill use a gear setup to make the crank a little faster.

I did that mod on mine before I swapped out for a longer bed. If I do it again, I will just make a wheel that goes onto the other end of the leadscrew instead. Just take off the drive gear and attach it there.
 
trying to make the lathe useful to the wife, I made a brass button to fix her purse strap that had broke. The radius was hand filed on the lathe and then polished. The tapered end was pushed through a hole in the purse strap, then cut off and filed flat and smooth. She loved it!View attachment 78877
Great idea with the temporary taper. I'll be filing that away. (pun intended)
 
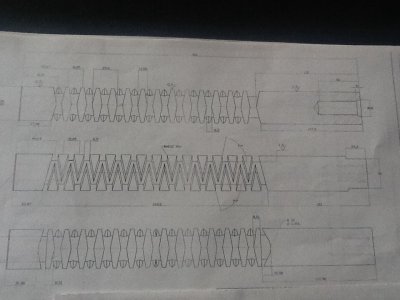
Well, today I quoted this, as usual, I only get the fun stuff. If I get the order....I will show every step here. Material is 9840R at about 24HRC....finish surface is r1.6 metric in microns. Is going to be a tough week...my head has started to live the possibilities.

image.jpg
 
Well, today I quoted this, as usual, I only get the fun stuff. If I get the order....I will show every step here. Material is 9840R at about 24HRC....finish surface is r1.6 metric in microns. Is going to be a tough week...my head has started to live the possibilities.

It looks like a double thread (right + left) screw…
 
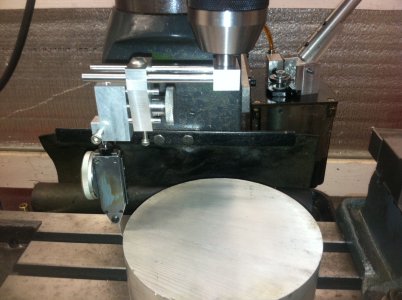
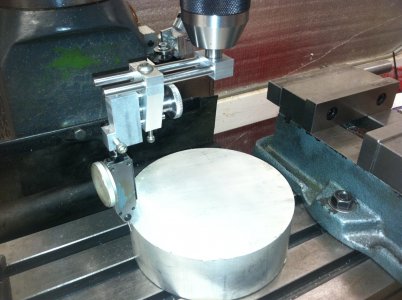
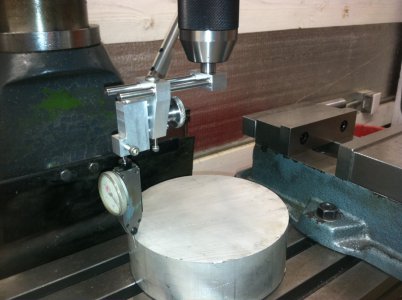
A picture of it in use would be helpful, even if it was a staged setup.

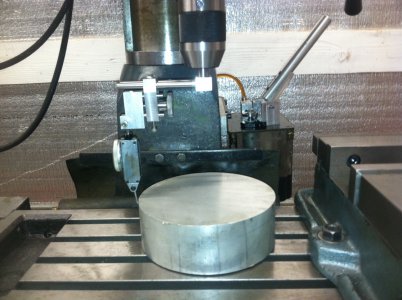
Here's a couple of pictures showing a typical set up. The adjusting block (the part that the indicator mounts to) can be reversed if necessary to indicate to smaller diameters. For reference the material I'm indicating is 6" round.

Tom S.

photo 14.jpgphoto 16.jpg

photo 14.jpg photo 15.jpg photo 16.jpg photo 17.jpg
 
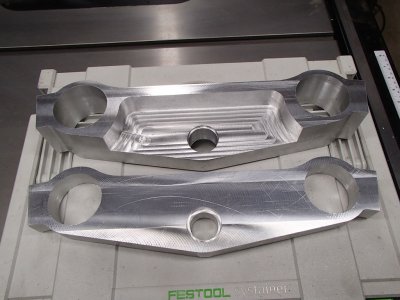
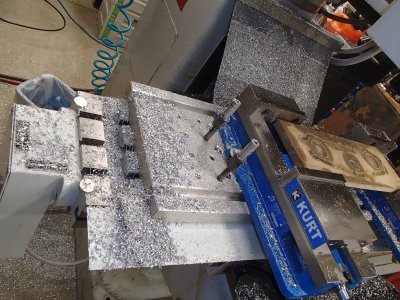
Cut the other half (Top) of the Triple Tree. Then cleaned up for 2 hours LOL. Price of a cheap CNC Knee Mill open setup/no enclosure.

Triple Tree 6.jpg Triple Tree 10.jpg

Triple Tree 6.jpg Triple Tree 10.jpg
 
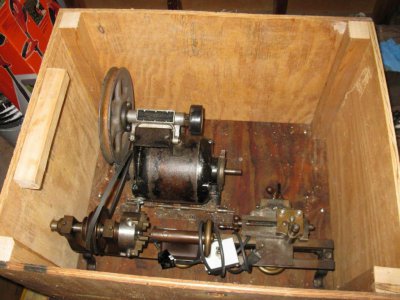
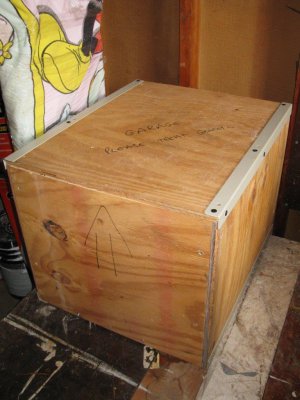
made a crate for my lathe out of nominally 1/2in plywood

IMG_3475_zps3fe17ee9.jpg
IMG_3476_zpsf4ac62d6.jpg

fingers crossed that'll help it survive the 2500 miles to its new home.

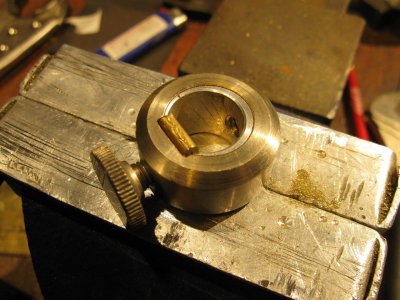
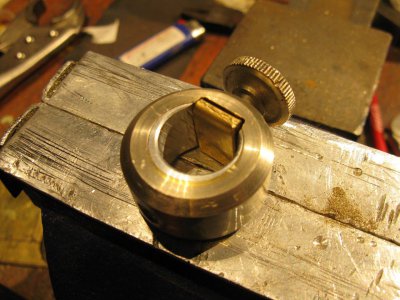
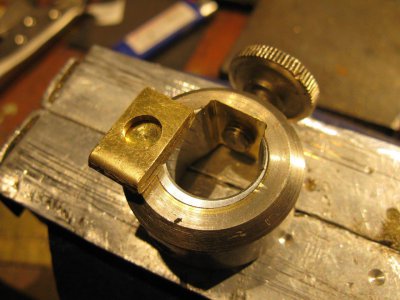
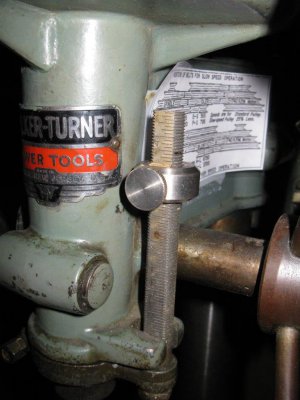
Here are the pics of the drill press depth stop, don't know why they didn't work before - reuploading them to photobucket didn't seem to help
IMG_3470.JPGIMG_3471.JPGIMG_3472.JPGIMG_3474.JPG

that's it for me for a while, the garage is now fully packed for the move. Hopefully I'll get everything unpacked and chips flying before the semester starts and I get swamped with teaching

IMG_3475_zps3fe17ee9.jpg IMG_3476_zpsf4ac62d6.jpg IMG_3470.JPG IMG_3471.JPG IMG_3472.JPG IMG_3474.JPG
 
I have the same lathe and have been thinking about a carriage stop. So if the carriage hits the stop, I guess it just blows the fuse/breaker right? It seems like there should be some way to have it disengage the drive.

Anyway, looks great and you sure can't argue about the price.


I had some free time in the shop today and knocked off a couple of must have items.
A carriage stop for the G4003G lathe and a vice stop for a 5" vice.
The vice stop actually entailed drilling and tapping a couple of holes in the vice. The rest of the parts were stuff sitting around.
The carriage stop made from left over chunks of CRS and a few screws (need to clean it up a bit.)
Total cost of material, $0.00. Added happiness in setups, $Priceless!

John
 
Back
Top