2014 POTD Thread Archive

The other day I posted a tool rack I made for above my lathe. Well, my wife ordered 5 tool holders for me for Christmas , so I had to add to the rack and figured I might as well hang the rest of the lathe tools also.
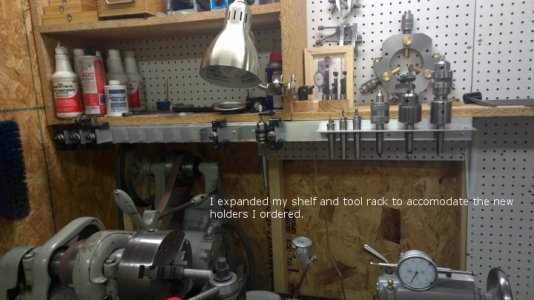
tool rackk 2.jpg This is the expanded rack. There is a new tool on the right end. It is below.
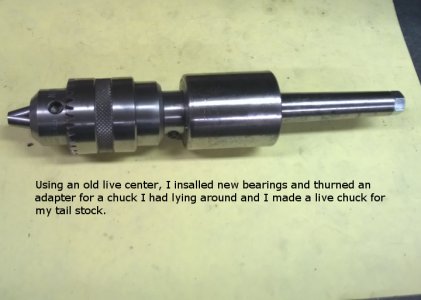
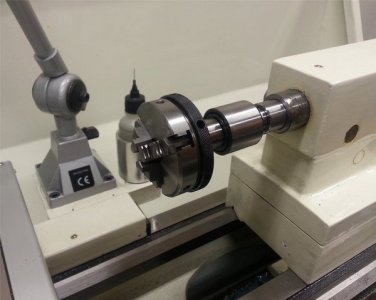
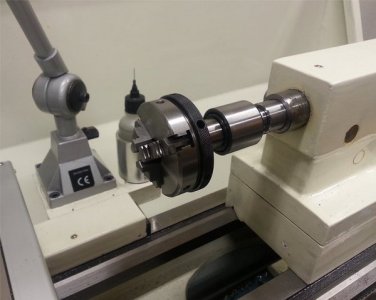
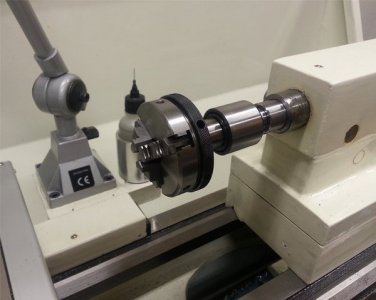
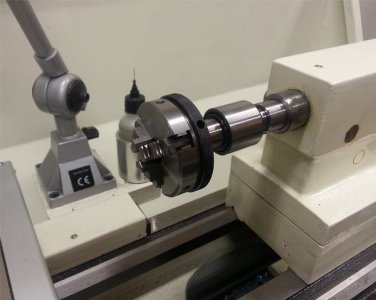
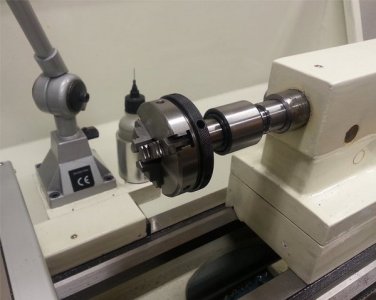
Live chuck.jpgI had an old live center that was bad so I put some new bearings in it and made an adapter for the chuck to make a live chuck for my tail stock.


Mark Frazier

tool rackk 2.jpg Live chuck.jpg
 
:thinking: Mark, what will you use a drill chuck on a live center for? :dunno:

That is a good question.:rofl:

Seriously , I used to think the same thing until I needed it. One use is machining small work or doing machining on a bolt or screw. I had a hard time machining grooves in some SHCS until I saw one of these being used to do it. I put the threaded end in the lathe spindle chuck and a short hex wrench in the drill chuck. Advance the tail stock to put the wrench in the screw head and it is supported while you machine. ( you can't use a live center on the screw head). You can also put the threaded end in the drill chuck and the head in the lathe spindle if needed. It will hold small round stock that is too small for a center drill or if you don't want a center drill in the end.( I have had times when I did not want a divot in the end of a part) This gets around that. I have seen them made with a 4 jaw chuck also, but I haven't needed one that big. I just need it for small stuff. So, you see , it has its uses :))

Mark Frazier


:thumbzup: Great Idea! thank you,
 
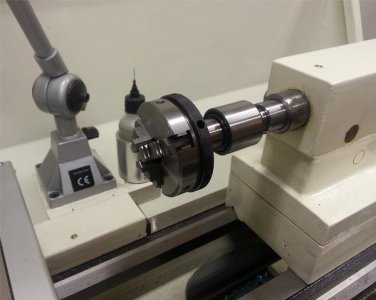
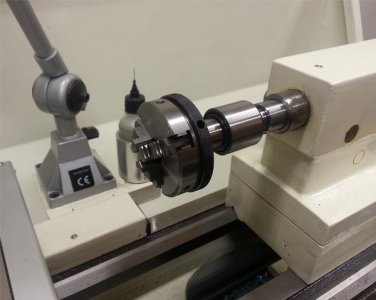
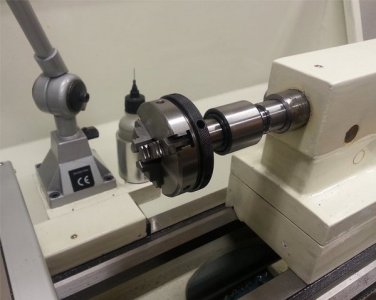
I had a similar thought for use but I ended up using a 2.5" micro chuck. Not something I use often, only once so far, but it's there whenever I might need it again.


20141029_185456.jpg

20141029_185456.jpg

20141029_185456.jpg

20141029_185456.jpg
 
I have a 6 inch live chuck, sure gets you out of a bind when nothing else would work. Haven't got a picture of it being used as it should. Here I was making a morse taper holder for gear blanks on the index head but had used my morse taper adapters to go from the #6 in the headstock and had no way to hold a drill chuck in the tailstock.

IMG_0542.jpg

IMG_0542.jpg
 
I had a similar thought for use but I ended up using a 2.5" micro chuck. Not something I use often, only once so far, but it's there whenever I might need it again.


20141029_185456.jpg

I wanted to do that, but went with what I had on hand. At least it was free. ( my budget is so tight it squeaks :))) No, it is not needed often but when it is, nothing else will do.

Mark frazier

Mark

20141029_185456.jpg

20141029_185456.jpg

20141029_185456.jpg
 
I wanted to do that, but went with what I had on hand. At least it was free. ( my budget is so tight it squeaks :))) No, it is not needed often but when it is, nothing else will do.

Mark frazier

Mark

Yeah I hear ya Mark. I already had 2 of those little chucks, just had to buy the live center. I thought about going with a bigger more conventional chuck like on the commercial units they sell but I didn't want to put any unnecessary strain on my tailstock. Plus I didn't want to spend much money on it either especially for something that sits around most of the time.
 
Here is my project of the day for the last two weeks, My wife overheard my son talking to his brother about a bench grinder, So I got busy and rebuilt this 1969 Dayton 1/2 HP 7" 3450 . Stripped 3 coats of battle ship gray then wire wheeled to bare metal. Primed with DP40 and painted with Concept with a left over color I already had. I replaced the motor bearings, start Capacitor, start switch, power cord, and rubber mounting feet. I reassembled with all stainless fasteners. I removed the original tag for painting and will have a new one made at the sporting good store as the original aluminium tag was horribly beat up. I put the drive screws in the hole to keep dirt out of the winding to I get a tag made. I bought a 7" 60 grit silicon carbide wheel and dressed it, and does it run smooth. Made a Aluminium bracket today and cut a piece of lexan for a eye guard. The right side will be for wire wheel and polishing buff. Hope he is thrilled at Christmas.

Rick,

I know I'm already 62, but is it too late for you to adopt me so *I* can get Christmas presents like that?!?!?

Nice work!
 
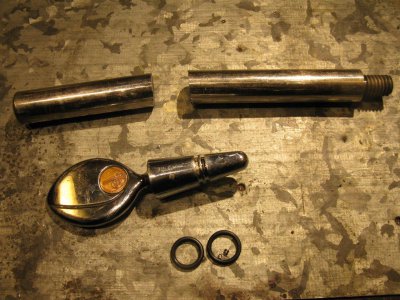
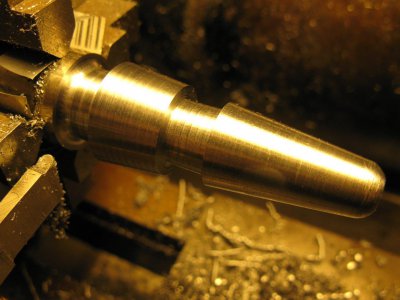
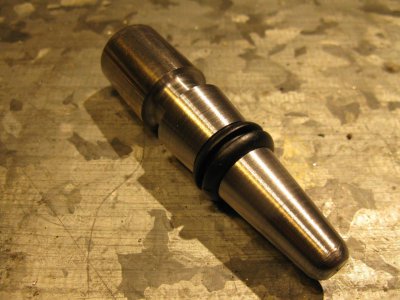
another quick Christmas gift, this time for some wine loving friends (we're in wine country after all!) who're coming over for dinner on Christmas day.


Used a piece of mystery steel rod from the scrap bin where I used to work, pretty sure it was one of those threaded rods used in chemistry labs to hold up bubbling potions. Bit of a pain to machine, deep (!) cuts were okay, but fine cuts would skate and then dig. Still, finished up okay. Seal is a wire grommet from one of the HF kits, which amazingly fits perfectly. Better than my random collection of AC o-rings anyway, guess Ford wasn't thinking ahead when they designed their AC systems.


IMG_3679.JPGIMG_3680.JPG
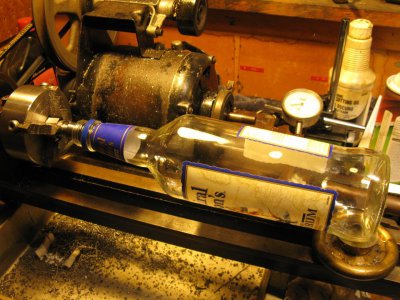
test fit with an embarrassingly bad bottle of rum. Had to take the compound and tailstock off to fit
IMG_3681.JPGIMG_3683.JPG

IMG_3679.JPG IMG_3680.JPG IMG_3681.JPG IMG_3683.JPG
 
Back
Top