[Read!] Restoring a New Hand Plane to Accuracy

i had a funny incident while working on the planer's blade.
i was flattening out the blade and had an instant of DUH----:mad:
i was peining the blade with a Ball-Pein hammer(the actual use of the Pein part of the hammer!!!)
to relieve the stresses and make the blade act right -
Wrong Choice...:face slap:
the blade fractured when i got a little too close to a relief hole:clapping::clown:.

a step backwards, but not for long.
i already went back to HF and got another plane and robbed it's blade to put into Brav65's plane
i had other super coupons and got more free junk:cowboy:

anyway, the project is coming along -slowly still, but i thought i'd share my screw up.
 
Back on the horse again, i was able to start more work on bringing the blade to flatness.
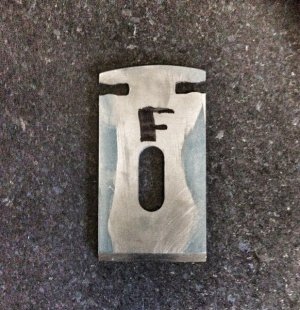
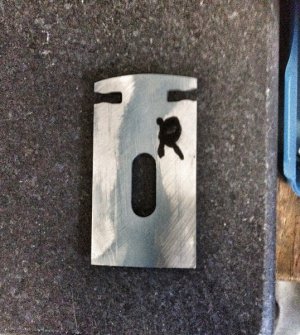
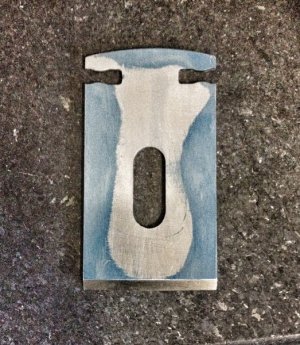
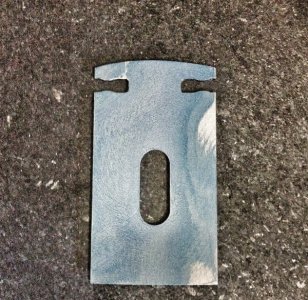
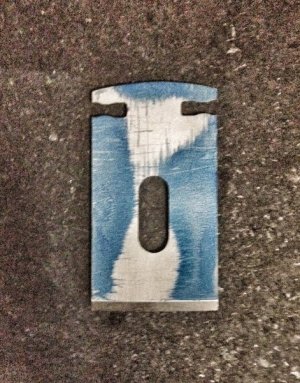
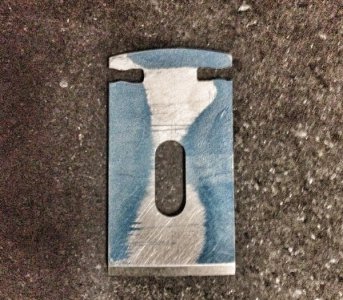
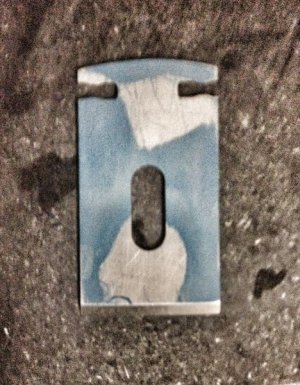
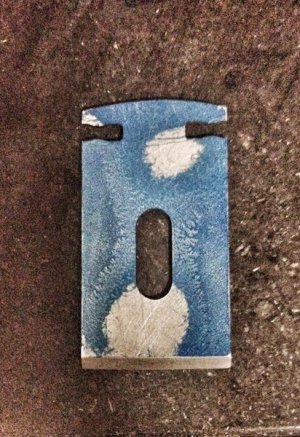
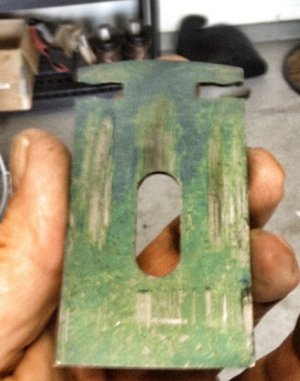
heres a picture of the blade after a couple lapping cycles,
2015-03-07.jpg
as you can see the blade is concave on the front side,
the rear is convex as indicated by the blue in the center.
2015-03-07.jpg

i use use ordinary dollar store window cleaner in a spray bottle as the wetting/lubricating/cutting agent.
on this go around i experimented with items i had in the shop and settled on using a sponge sanding block.
r3iTqzBc0f9xR2WBplsUkfrfj_jTbOQ9kEV9FpO5tyw=w734-h809-no.jpg
HF33%2B27.jpg

i will give honorable mention to a thick piece of cardboard being used to hold the blade as well.
more cycles are necessary to lap the blade flat, it will not be scraped.
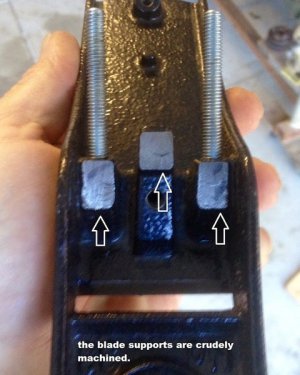
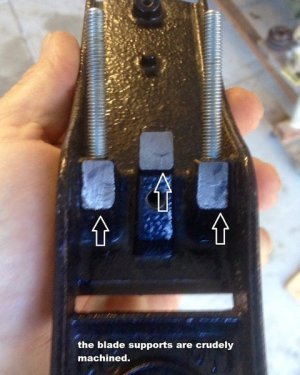
the lapped flat blade will serve as the master for rubbing ink to the planes blade support pillars that are cast into the plane body.
at that point the blue that is rubbed on to the pillars will indicate where their high and low spots are.
 
Last edited:
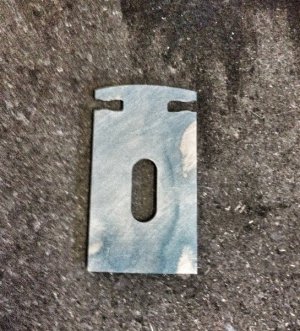
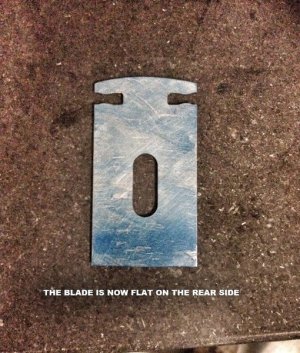
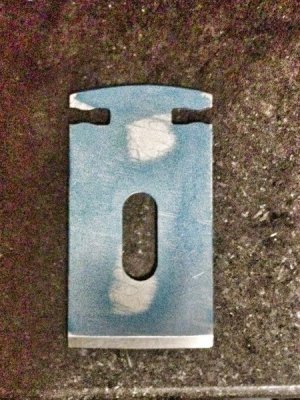
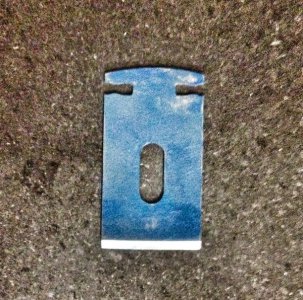
I finally completed the lapping of the blade.
heres the pics!
HF33%2B28.jpg HF33%2B29.jpg HF33%2B30.jpg HF33%2B31.jpg HF33%2B32.jpg HF33%2B33.jpg HF33%2B34.jpg HF33%2B35.jpg

Finally i jumped over the blade hurdle!
in the next adventure we'll get into blueing up the pillars and scraping for blade contact!!!
Stay Tuned, thanks for reading!
 
Good principles, but: after doing one side of the blade, keep track of the thickness
As you work down the other side- micrometer. The inner surfaces are best aligned
with a perfect fine thin and straight file; check with blue, a perfect surface is not
needed, just flat, so as not to stress the nice flat blade. The outside scraping can be
checked best with a good toolmaker's square. As Iwrote here long ago, if you care
about a perfect flat surface, you must start with three, and learn a good figure- eight
motion. Good beginning project, but you must think of all the relationships at once.
Have Fun...BLJHB
 
I'm starting my attack on the 3 blade supports and throat:
HF36.jpg

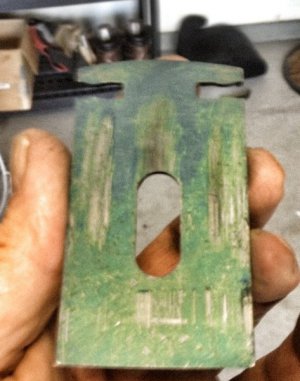
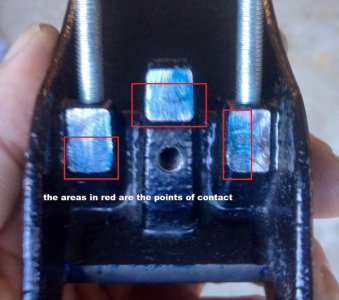
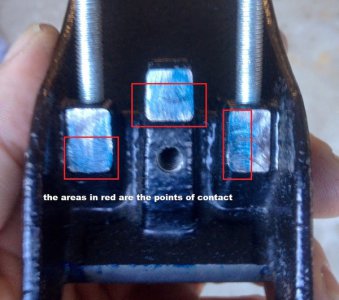
Using the flat lapped blade as the master, i gave the supports and throat of the plane a blue up.
there was poor contact as expected.

HF37.jpg

heres the transfer to the supports...

HF38.jpg

i'm going to make it a whole lot better.....
 
If you have a surface grinder you could just mill the 15 thou off, or even flycut it. 15 thou would take around 30 passes to remove....
 
Good progress. My advice about the file was to ensure that supporting surface of the
throat was in perfect line with the three posts. ... BLJHB.
 
Thanks guys.
the supports and throat are going to take a little patience on my part to assure their alignment and accuracy.
:)
 
Back
Top