- Joined
- Mar 10, 2012
- Messages
- 125
Well, it's taken a lot longer to complete this project than I had planned. Coldest/longest winter in recent history, working 4x10's, Injuries and rehab for family members, vehicle breakdowns, design errors and re-do's all lead to a late finish.
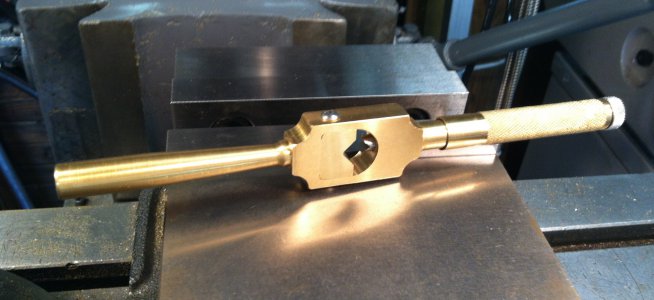
When the project was interrupted (see Tap Handle http://www.hobby-machinist.com/threads/tap-handle.32855/ I had nearly completed both handles and threaded the other end of the plunger rod and the handle itself. I had milled the "V" groove in the end of the plunger and milled a flat perpendicular to it at the other end. I had decided to make a grooved insert for the body out of some stainless scrap.
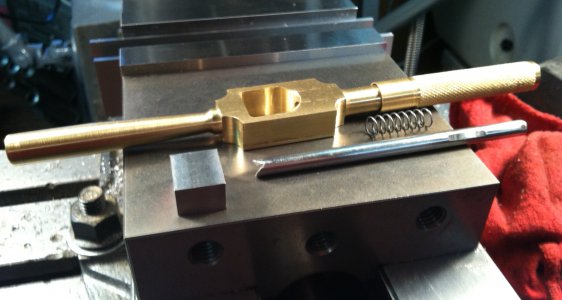
I drilled the body and insert together to align the holes and then tried tapping them. Two 6-32 taps later I decided to switch the stainless for a brass insert, and machined the groove in my angle vise.
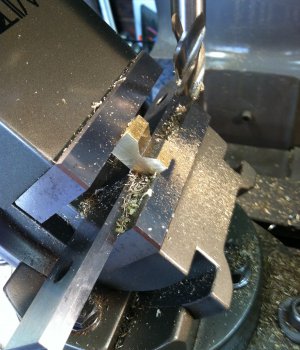
Then I drilled and tapped the body and the insert for 6-32 retaining screws, fastened them in the vise and faced them together with the fly cutter for a nice finish.
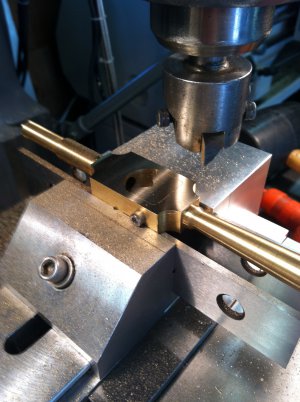
While I had the handle in the vice I milled an 1/8th in slot in the threaded end of the handle to accept the setscrew stop in the plunger
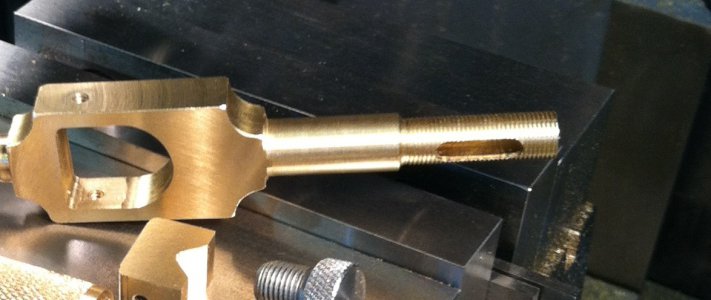
Next I lengthened the flat, drilled and tapped the plunger for a 6-32 set screw, and threaded the end of the plunger for a 1/4-28 spring retainer nut I turned out of aluminum and knurled.
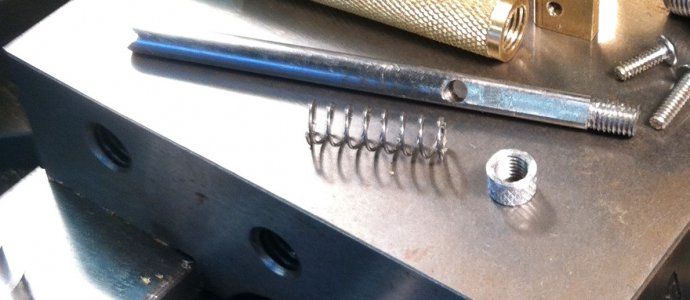
Then I assembled, the plunger handle unit looks like this, and the set screw keeps the tension on the plunger after the tap is tightened in the handle.
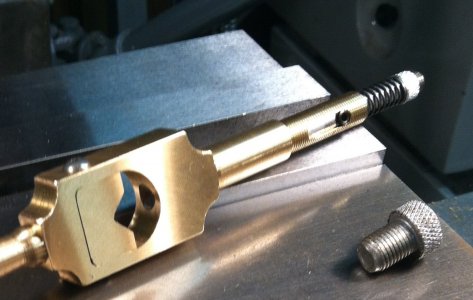
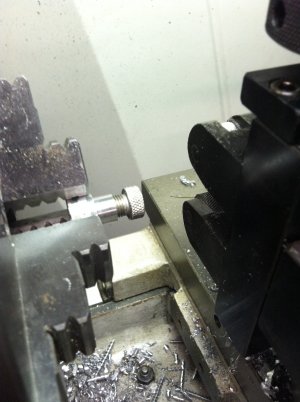
Finally I made a jig to hold a stainless 3/8 -24 hex head bolt. I turned the bolt head down and knurled it to screw into the adjustment sleeve on the threaded handle.
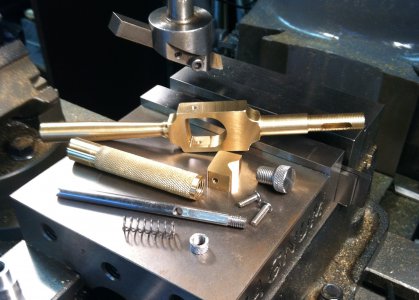
Here is a shot of all the parts disassembled
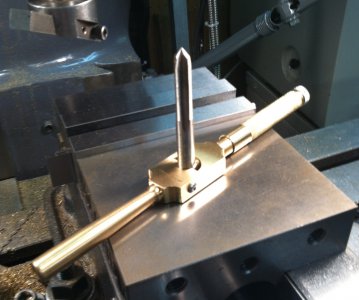
And one of them assembled and holding a 3/8ths inch tap like it's supposed to. Mistakes along the way aside, I'm happy with the outcome. The only change I'm considering is to turn a brass cap for the end of the adjusting sleeve.
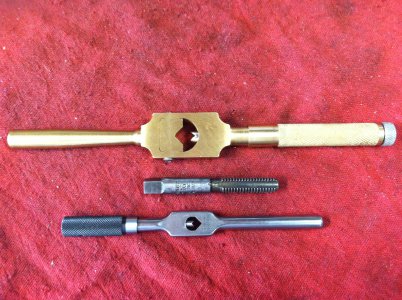
And here's a pic of the finished project beside the Starrett 91 I modeled it after

When the project was interrupted (see Tap Handle http://www.hobby-machinist.com/threads/tap-handle.32855/ I had nearly completed both handles and threaded the other end of the plunger rod and the handle itself. I had milled the "V" groove in the end of the plunger and milled a flat perpendicular to it at the other end. I had decided to make a grooved insert for the body out of some stainless scrap.

I drilled the body and insert together to align the holes and then tried tapping them. Two 6-32 taps later I decided to switch the stainless for a brass insert, and machined the groove in my angle vise.

Then I drilled and tapped the body and the insert for 6-32 retaining screws, fastened them in the vise and faced them together with the fly cutter for a nice finish.

While I had the handle in the vice I milled an 1/8th in slot in the threaded end of the handle to accept the setscrew stop in the plunger

Next I lengthened the flat, drilled and tapped the plunger for a 6-32 set screw, and threaded the end of the plunger for a 1/4-28 spring retainer nut I turned out of aluminum and knurled.

Then I assembled, the plunger handle unit looks like this, and the set screw keeps the tension on the plunger after the tap is tightened in the handle.

Finally I made a jig to hold a stainless 3/8 -24 hex head bolt. I turned the bolt head down and knurled it to screw into the adjustment sleeve on the threaded handle.

Here is a shot of all the parts disassembled

And one of them assembled and holding a 3/8ths inch tap like it's supposed to. Mistakes along the way aside, I'm happy with the outcome. The only change I'm considering is to turn a brass cap for the end of the adjusting sleeve.

And here's a pic of the finished project beside the Starrett 91 I modeled it after


