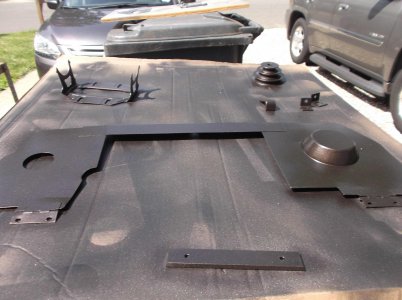
New Addition To The Family

Thanks Jim Ill look into it ... so no can do with a hydraulic pump ?
Btw I like the free one idea
so how do you know 1.5 Diam ias right fit? and do you have to speck one in with the full down stroke of machine ?
Nice vintage saw u have there Jim and Oh ! what heads you u have there on the bench inline?
 
I would like to see if you have link .. also I have one Q does the hydraulic pump act as a slow down feed with adjustment ( for Cutting )? or is for open close only ?
Cuz saw operates perfect now ..if I can add wright to it and use a hydraulic pump than great id love to do that too.
But like to o see idea don't need dwgs or dimensions ill fig that stuff out. Hey I may even have a few hydraulic pumps else I will INVEST in a new one lol . Ez find at an Auto part store. Iff it will work for cutting not just open close than im very interested.


I think I am changing color scheme again.... but its 2 fold reason For #1 return paint to spend money else where . (hydraulic pump) . lol Yes there is a method to my madness what I was thinking was using the same metallic oil bronze for the table that needs the touching up. And only paint only lower leg section that I will be beefing up modifying . Forgot to mention I will be adding 4x4 matching leg profile... to the inside of the leg bases ... so that too will be same color. And what im gona do is make a mount on front face a drill press vice ( for keeping center weight more stable when saw in vertical position. What my though was instead of a free weight idea im gona add a vice hanger . Hang a DP vice I was thinking 2 fold reasons . Also would use it for doing Horiz cuts for slitting .... Practical , and useful all in one... Beside sI have a BRANDEY NEW unopened in a box Palmgren 8" Vice to use on my Drill press .. That chepo drill vice is perfect to hack up modiphy ect...

Link is:
http://www.hobby-machinist.com/threads/small-mods-to-my-hf-4x6-bandsaw.36549/

That is my saw in the link. The downfeed is a cylinder that has a control valve. When the control valve is closed and you lift the saw it stays where you let it go. When you open the control valve you can let it down as slow or fast as you want. I think that is what you are asking? It gives you very fine control of the down force. The link includes all the parts and prices and vendors that I used. I will answer any questions if I can.
Roy
 
Thanks Roy, I could not think of the link to your build. I think that would work on his also , but he may have to make some different brackets for it. or put it on the end like Jim did just something to control better than that spring.
 
Thank you Roy I get the idea .. Very nice mod if I may say Clean tight well layed out. Not to take away from your brilliant job and effort but I like the free version tho...lol.... Or inexpensive. Not on my next to do list as of yet...


But ya gave me ideas and what it takes .Im sure you can adjusts that puppy to every and any down feed needed to cut all sorts of materials. (nice control). My saw will prob be mostly used to hack up something from the scrap yard to machine down to sum thin else.... cheap or free. Lol.....


I did some fishing around last night on e-bay im yet to find a cylinder that has a control valve and the hoses ect... If anyone comes across something relatively inexpensive (DIRT CHEAP) please give me a shout id love to take a look . Thanks


When shopping for an air cylinder does it have to be duel acting or can be a single action in compression stroke?


ohh one more Q? when looking for a cylinder should it have 6” min travel stroke?


And the bonus Question there is no way to modify an I hydraulic pump with a decent pressure adjustment and add wight to saw to accommodate the down feed rate.. Juts an idea im sure someone has done this ..I dont need nuttin fancy making cutoffs . Thanks again for all your help and ideas. Again your Job you done on your saw is impeccable .. I like that allot mine's is not getting the royal treatment as of yet....
 
Yes, free is better! It needs to be dual acting without spring return. the hydraulic fluid just passes between the two halfs of the cylinder, back and forth. The control valve has a needle and seat connected to the knob. This works in one direction. The other direction is a larger check valve that opens for almost unlimited flow allowing the saw to raise. The actual stroke on my set up used 5" of the 6" stroke. Depending on how you do it you may need more or less. 6" is the best for my type setup.
I've not seen any with a hydraulic pump yet. Maybe you can put on your thinking cap and come up with a system that is even better than the air/hydraulic cylinder. Please post it if you do.
 
Thanks Jim Ill look into it ... so no can do with a hydraulic pump ?
Btw I like the free one idea
so how do you know 1.5 Diam ias right fit? and do you have to speck one in with the full down stroke of machine ?
Nice vintage saw u have there Jim and Oh ! what heads you u have there on the bench inline?

You could use a hydraulic pump, but that is way overkill for a project like this and crazy expensive. That is something you find on $30,000 saws.

I just came up with number off the top of my head, based on experience. It is easily possible to calculate the needed size with a little math, and knowing the weight of the saw frame, and the lever arm to hinge point distance. Or just hook a spring scale to the lever arm and see how much force it takes to lift the saw frame. royesses used a 1 1/16 cylinder so we know that will work. In fact, I would duplicate what he did, that a nice install.

That is a Toyota 22R head on the bench.

When shopping for an air cylinder does it have to be duel acting or can be a single action in compression stroke?

ohh one more Q? when looking for a cylinder should it have 6” min travel stroke?
...

A double acting cylinder is required for this application. You are only pressurizing it in one direction, but you need the other end for the oil reservoir, that oil has to go somewhere.

The stroke length needs to be just longer than the arm movement. Measure the linear distance of movement of the arm attaching point through the full range of travel of the saw frame.
 
Thanks I hear ya... litte over kill for this size....besides not doin prod work nor making a livin from the saw only want to hack stuff with it... Btw nice saw u have there Jimbo . Let me ask anyway to get around with using a hydraulic closer or pneumatic arm adding adjustment valve and weight?....... .. for some reason I have that idea stuck in my head ...


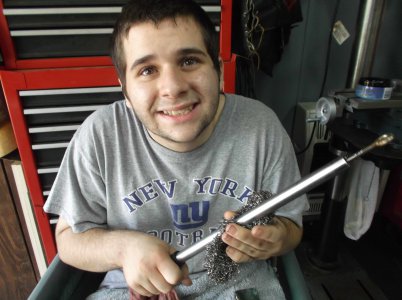
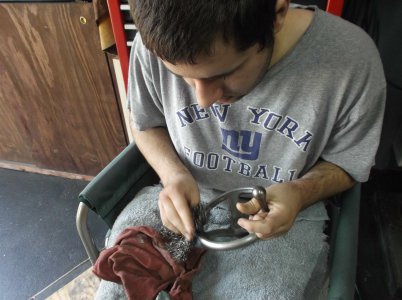
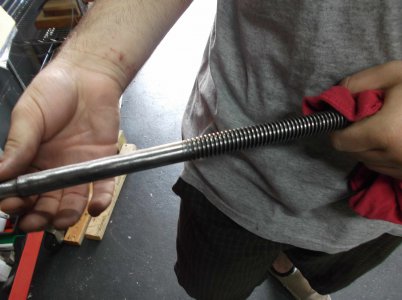
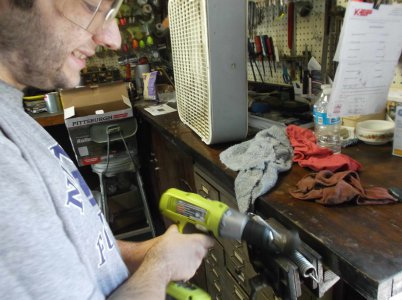
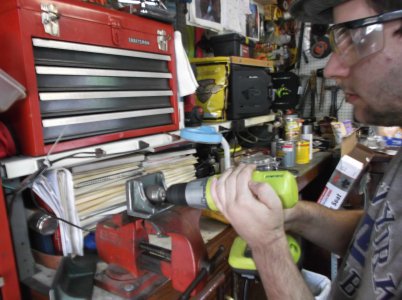
Ats my boy learning hand polishing , buffing , wire wheel ing .scottie, and all the polishing tricks........ Gotem for a whole 20 min..Guess I have to do all the grunt work....lol....... my hands were got caked w/ grime . No Go Jo only ole Ivory.... well thats about it lunch time . The Mrs made some type of Peni San-which tan grilled it On BBQ . .As long as I dont eat the fingerprints I be ok.....Well than back to the grind ..Littile smoke break than back to woik.. No wheres near miller time yet .. Gots some paintin to do only started priming. More stripping parts on the main body now.

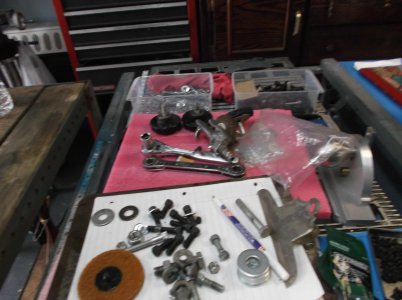
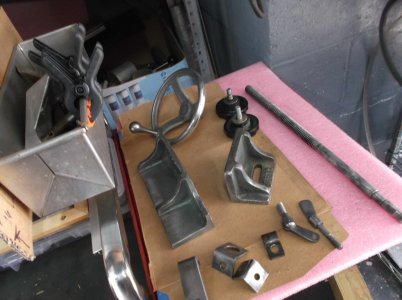
ohh btw shes almost all apart and next ½ ill have a full parts bin better not furget the way day go?...lol..Pc Of cake....a walk in park.. Ez Breezy Rather be fishing tho...

DSCF0913.JPG DSCF0914.JPG DSCF0915.JPG DSCF0916.JPG DSCF0917.JPG DSCF0918.JPG DSCF0920.JPG DSCF0921.JPG DSCF0922.JPG DSCF0919.JPG
 
Thanks I hear ya... litte over kill for this size....besides not doin prod work nor making a livin from the saw only want to hack stuff with it... Btw nice saw u have there Jimbo . Let me ask anyway to get around with using a hydraulic closer or pneumatic arm adding adjustment valve and weight?....... .. for some reason I have that idea stuck in my head ...

Thank you for the complement on my saw. I picked that one up in a 3-way trade, I think it cost me about $25.

Lets use your saw as an example, if you were to simply remove the spring, there would be too much down force for the blade and motor horsepower. Adding weight would make the problem worse. When I had a saw like yours, I used to run the spring at max tension. If I needed a bit more down force, I would just press down on the lift handle with my finger. I could stall the motor if I pressed hard enough.
 
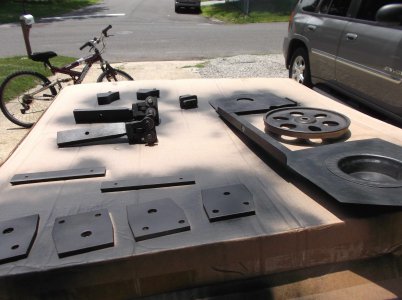
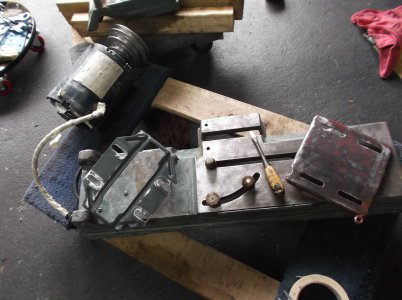
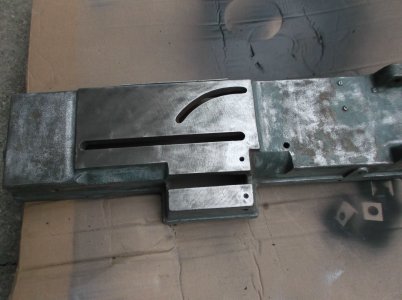
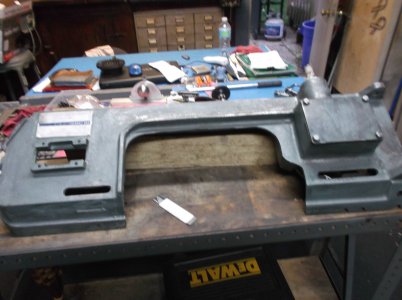
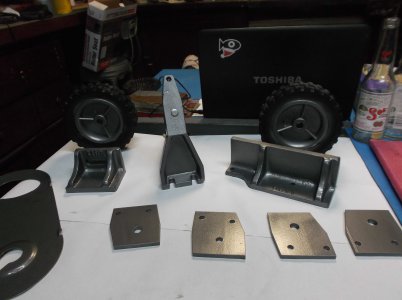
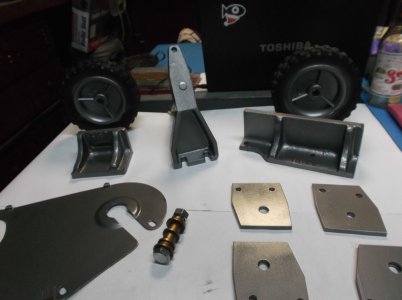
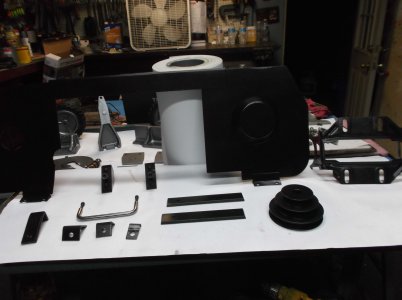
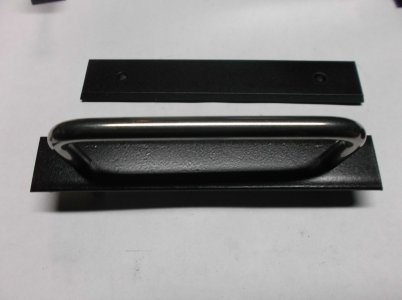
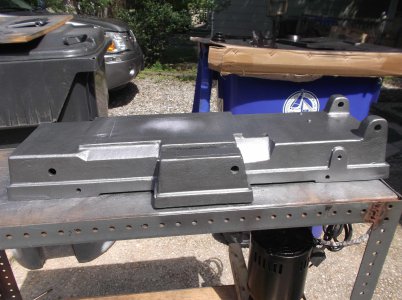
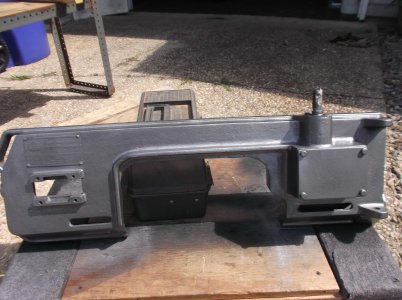
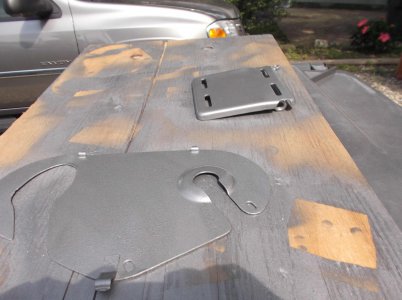
Stripped er down ALL THE WAY . Got most of er done too . Buffed hardware, Painted all accessories but only primer on main boddy and legs . Ran out of sunlight for good drying time to spray main color . Got a little side tracked fixing the motor and shroud . When motor was changed they didn't do it right. . Ohh! I also changed All the hardware to American threads. Yup Changed color scheme again I think this will suit machine best . The main body ,legs, base and motor mount will be Forged Hammered Grey and what was gloss black , including blade cover , motor, bracket and some of the fixings will be metallic Oil rubbed bronze .

Ya may not be able to see in pics ..but ill try to take better pics when assembled . Ill finish painting the body and legs Tomorrow, mod and add the base supports and prob put back together some time next week
DSCF0926.JPG DSCF0927.JPG DSCF0928.JPG DSCF0929.JPG DSCF0945.JPG DSCF0946.JPG DSCF0947.JPG DSCF0948.JPG
 
Last edited:
Last night only primed the band saw box and frame . This AM Finished spraying the main color Hammered Grey and did my 3 rd coat on motor mounts and blade shroud with Metallic Oil rubbed bronze

. Btw who talked me into strippen her completely . Like I needed to burn a day on a perfectly good running saw. Anyhows now all I need to do is fab my leg supports finish painting the leg basses and put er back together. That el prob be next week or so . Today im goin to visit one of my old buddies haven’t seen in a while . Its my nieces babies first year B day. Tomorrow im playing hookie from Church Goin and my first fishing trip of the season. Yea!!! Finally .
Now I can take some RR after doin an RR on this dang saw …

Happy 4th Guys dont furget to get out w/ tha fam and dont take on any new projects today ..If ya can help it ….lol.......DSCF0951.JPG DSCF0953.JPG DSCF0950.JPG DSCF0949.JPG
 
Back
Top