- Joined
- Oct 20, 2014
- Messages
- 495
Hi All,
When I purchased my lathe, it came with a Union Manufacturing 6" 3 jaw chuck. This chuck uses two piece jaws, but no jaws were to be found in the shop where I purchased it from. I did find replacement jaws from Shars, but their QC must be asleep on the job. There is one problem child jaw that throws about .006" runout to the workpiece being chucked. The runout follows that jaw, so I know it's the wonky one. I need to grind my chuck jaws.
Since my knockoff Dremel isn't well suited for this, and because my hobby funds are flat broke, I decided to see what I could cobble together from the scrap bins. I laid my raw materials out, stared at them for a bit, then tossed a few ideas into the back of my head and let them stew. The next evening, I doodled a few lines in my project notebook and got started.
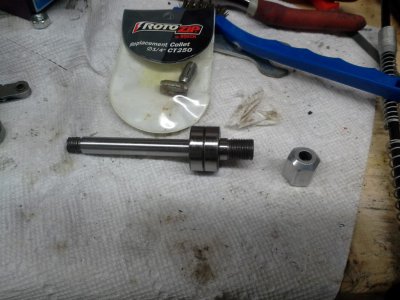
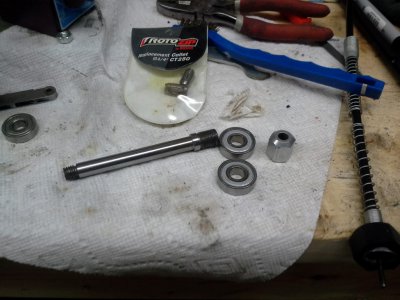
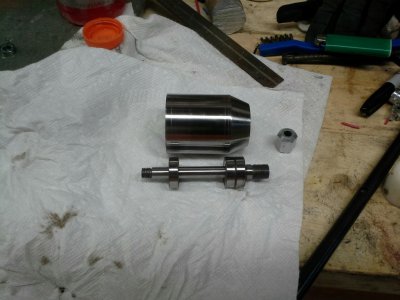
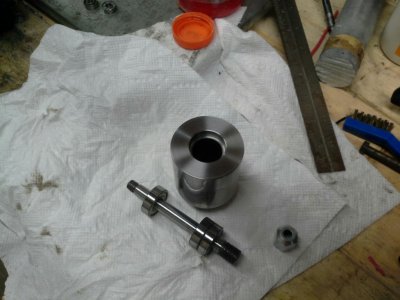
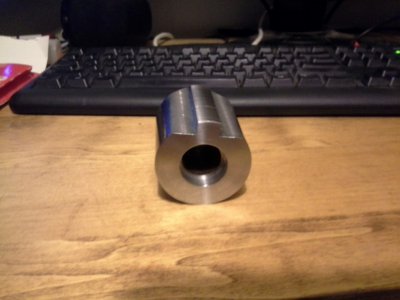
The spindle is 3/4" CRS, about 5" long. I have a suitable piece of steel bar to make the housing from. Bearings and motors I have in plenty, so no problem there. I decided to copy the spindle of my RotoZip, because I have collets and an extra collet nut for it on-hand. It can take up to 1/4" shanked tools, so it'll be useful. I've had no issues with runout on the rotozip.
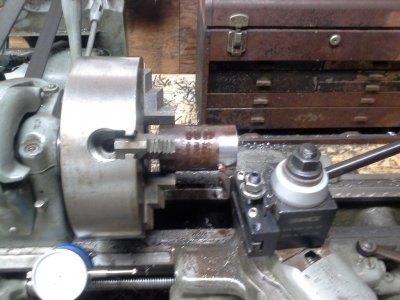
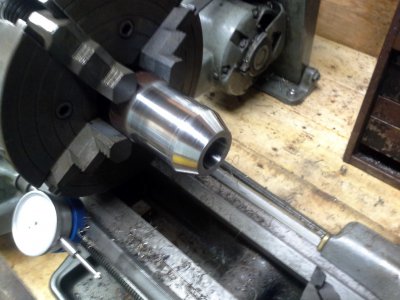
I started by cutting a piece of 3/4" CRS about 5" long. Grabbed it in the 4 jaw, indicated it, then faced and center drilled it. Flip the workpiece and repeat.
Off with the 4 jaw, on with the dog drive plate. Installed the dead and live centers, slapped a dog on the workpiece, and got it mounted.
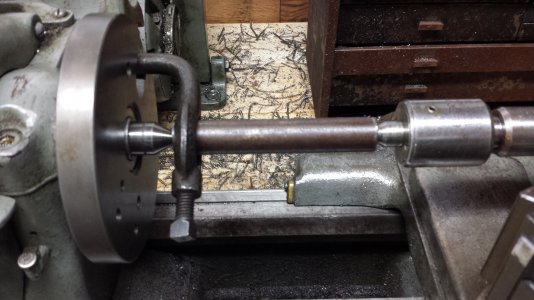
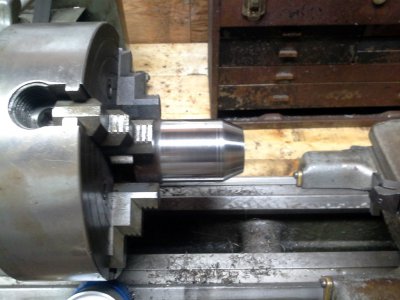
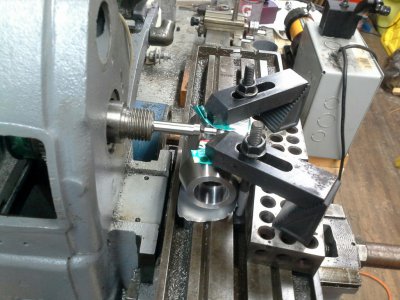
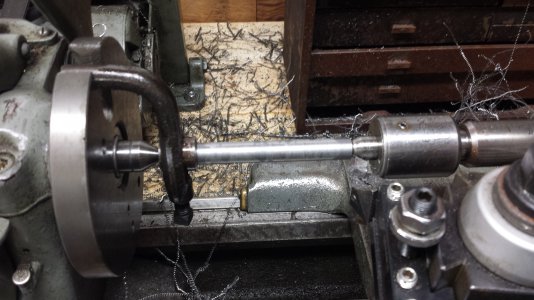
I hogged off most of the material with a tangential tool, and got close to the desired diameter for the spindle shank. Ran out of time, and the workpiece needed to cool anyway.
More to follow as the project progresses.
When I purchased my lathe, it came with a Union Manufacturing 6" 3 jaw chuck. This chuck uses two piece jaws, but no jaws were to be found in the shop where I purchased it from. I did find replacement jaws from Shars, but their QC must be asleep on the job. There is one problem child jaw that throws about .006" runout to the workpiece being chucked. The runout follows that jaw, so I know it's the wonky one. I need to grind my chuck jaws.
Since my knockoff Dremel isn't well suited for this, and because my hobby funds are flat broke, I decided to see what I could cobble together from the scrap bins. I laid my raw materials out, stared at them for a bit, then tossed a few ideas into the back of my head and let them stew. The next evening, I doodled a few lines in my project notebook and got started.
The spindle is 3/4" CRS, about 5" long. I have a suitable piece of steel bar to make the housing from. Bearings and motors I have in plenty, so no problem there. I decided to copy the spindle of my RotoZip, because I have collets and an extra collet nut for it on-hand. It can take up to 1/4" shanked tools, so it'll be useful. I've had no issues with runout on the rotozip.
I started by cutting a piece of 3/4" CRS about 5" long. Grabbed it in the 4 jaw, indicated it, then faced and center drilled it. Flip the workpiece and repeat.
Off with the 4 jaw, on with the dog drive plate. Installed the dead and live centers, slapped a dog on the workpiece, and got it mounted.

I hogged off most of the material with a tangential tool, and got close to the desired diameter for the spindle shank. Ran out of time, and the workpiece needed to cool anyway.

More to follow as the project progresses.


