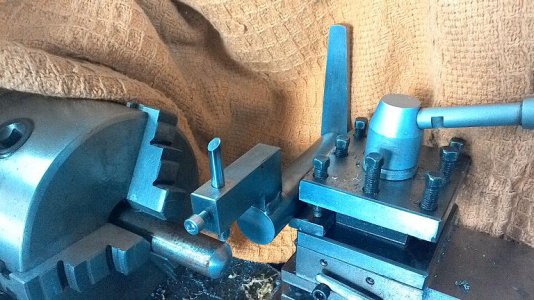
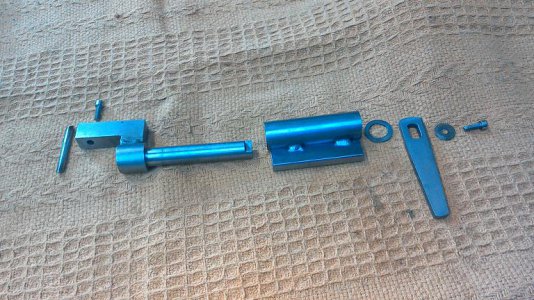
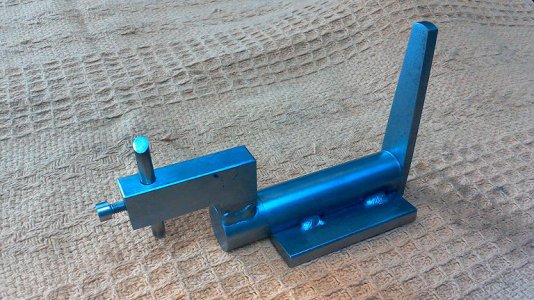
I thought some might be interested in yet another ball turner, I’ve been working on this one off and on for a few days, on paper at least, this is what I ended up with.
I wanted a tool I could just mount in the tool post rather than one that sits on top of the cross slide. I also wanted one that sat behind the work so I could get a better view, although it can be used at front as well, you just have to remove the handle, change the cutting head to the other end of the base and re attach the handle.
Once mounted on the tool post, the compound is set parallel to the bed and to the rear of the cross slide. After measuring the length of the cutting bit to give the right diameter ball, wind the cross slide forward until the cutting tip is central to the work and lock off the cross slide - this in effect sets the cutting tool height
Using the carriage bring the tool up to touch the beginning of the work and lock off then wind the compound out a little and start cutting, advancing the compound with each pass until you reach the front off the work again, hey presto – Balls!
I also tried it on a piece of acrylic to make a convex lens, that also worked well. I set the diameter limit at 50mm, I can’t imagine wanting bigger balls than that!
In the design stage I realized it did have one peculiarity; but, I decided I could live with that peculiarity if the trade off was a tool that was so simple and easy to use.
I don't really use that rug as a swarf tray, it's just that whenever I take a photo of something on the lathe It's very difficult to make out detail. The lathe is right next to a window covered in sarlon which gives a funny greeny/bluey sort of light, the rug is just there to provide a better backdrop.


