Clock Wheel Fly Cutter

W

WMello

Forum Guest
Register Today
First try fly-cutter, first clock wheel...
WheelCutting%20003_zpsnl55hdv8.jpg
WheelCutting%20008_zpsxa24adhq.jpg
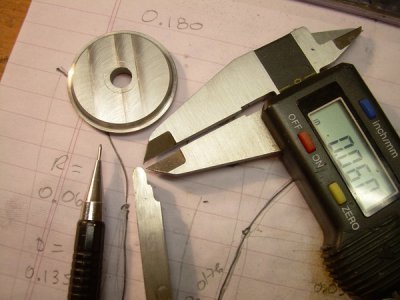
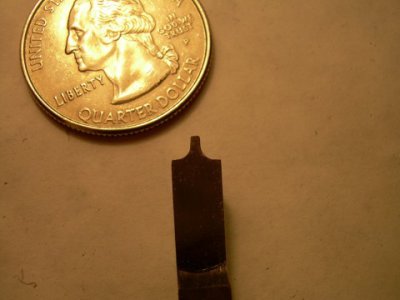
The lathe bit only cut well on the right side. Tried to re-sharpen it and messed up the profile.
WheelCutting%20016_zpsqlczcbba.jpg
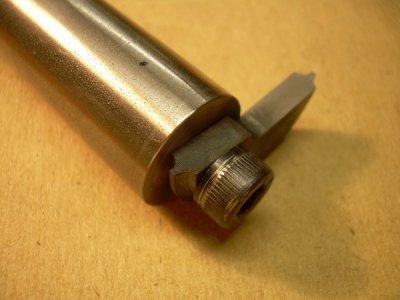
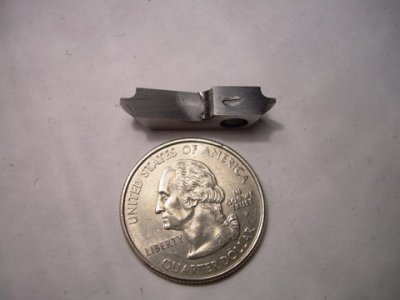
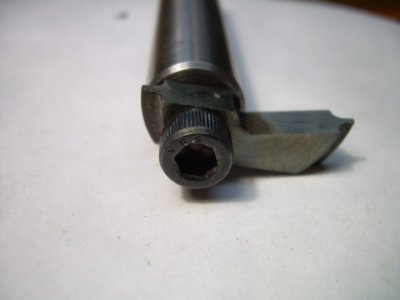
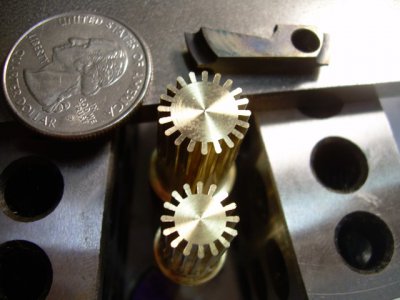
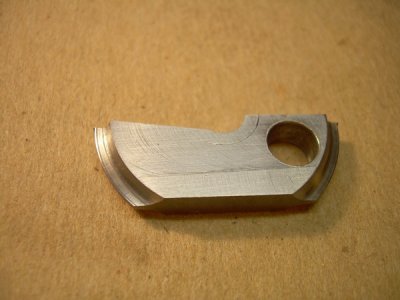
The final fly-cutter

WheelCutting%20021_zpswxxlqxtt.jpg
After heat-treating, tempering and stoning. My first try
WheelCutting%20022_zpszk8jzpuu.jpg
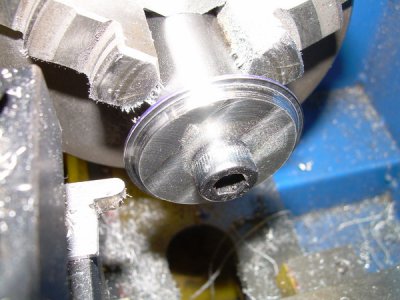
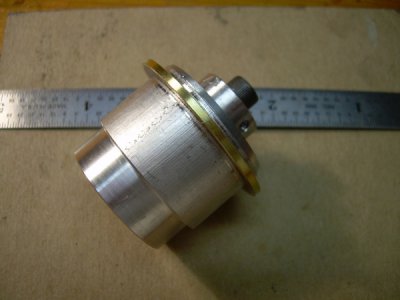
The blank

WheelCutting%20025_zpsyzgtamss.jpg
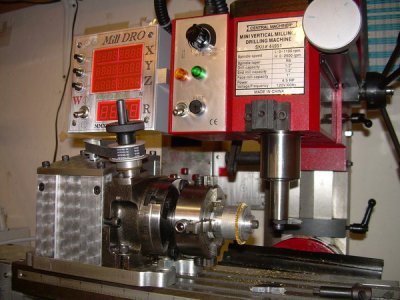
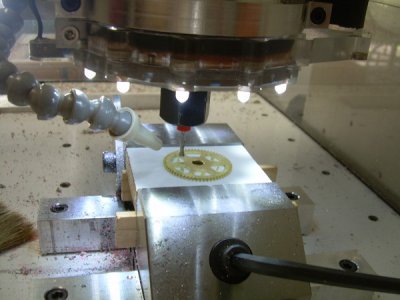
Set-up on the mini-mill

WheelCutting%20035_zpsv9kuf1he.jpg
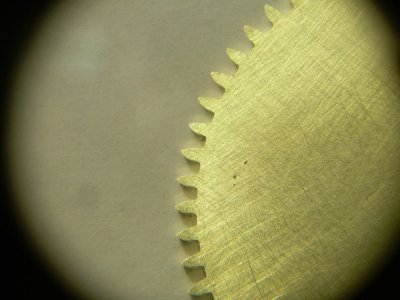
Started well, but on the 14th teeth, hit the chuck jaw. Grind it again, but not as good.
WheelCutting%20043_zpspjqg5d8s.jpg

WheelCutting%20046_zpsozi7jied.jpg
Crossing over on the CNC (1/8 end-mill roughing and 1/16 end-mill finishing)
WheelCutting%20050_zpslxubhd6k.jpg
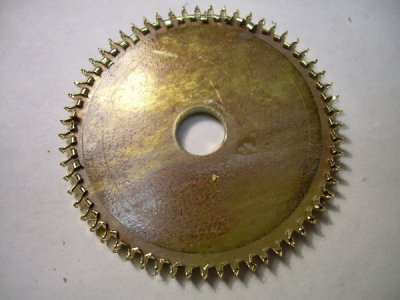
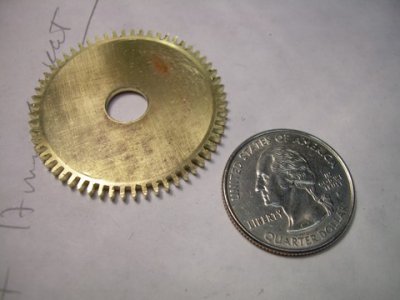
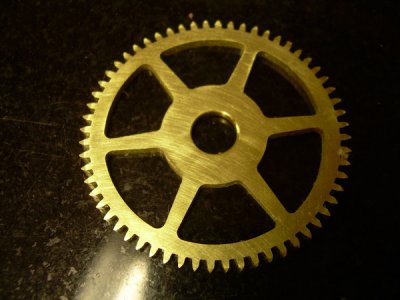
The result. It may even work...

Next week, The Pinion.

Wagner
 
Things that went wrong:

Lathe bit not smooth. Ridges transferred to the fly cutter then transferred to the wheel.

Lathe bit profile not symmetrical. Fly cutter profile not symmetrical, wheel teeth not symmetrical.

Fly cutter hardening and tempering. Not sure if ok. Need tempering oven, more practice.

Rotary table/gear blank mandrel too short. Fly cutter hit the chuck jaw, ruined.

All this caused bad formation of the wheel tooth. The sides are not identical and the surface is not smooth. Also, after damaging and tentative re-sharpening of the fly cutter, the teeth dept was not adjusted and ended up too shallow.

The wheel is 0.6 module, 60 teeth, 1.5" OD, 0.250 bore, 1/6" thick.

Wagner
 
Wagner,

If that's your first attempt you should be very proud!

You ended with a decent sample, even if it doesn't meet all specifications.
You obviously learned a great deal along the way.
You recognized and identified several areas of concern.

Many of my first attempts end up in the metal recycling bin and never see the light of the internet.

-brino
 
Hi Brino, thank you.

Thinking about it, I could have made a much simpler lathe bit with just one side; cut one side of the fly cutter blank and, leaving the setup alone, reversed the blank to form the other side. It would be identical to the first. DUH!...

Wagner
 
You also did a great job of spoking the wheel. I have found that making/running 3 or more wheel blanks works best for me. That way the center one does not have any burrs on it…Good Luck, Dave.
 
Second Try.

ClockWheelCutCNC 001.jpg

ClockWheelCutCNC 005.jpg

ClockWheelCutCNC 006.jpg

ClockWheelCutCNC 008.jpg

Still, not good enough.

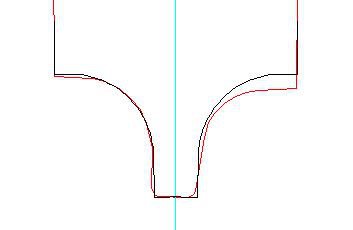
The cutter is not symmetrical (again).

Compare.JPG
Black lines, what it is supposed to be.
Red lines, what i got.

The procedure:


I think this is one of the "Don't Try it at Home" things.

The RPM is way too high, but my spindle (router) minimum RPM is about 8000
The same code was used on both sides of the blank. But the result is not the same. Is this a case of "Surface hardening" ? The cutter insert was damaged "out of shape" in the first face ? The sparks sure were not supposed to happen. Try slower feed ? Faster ?

The blank is W1 tool steel 1" OD . Next time will turn it the other way around, from round stock 0.25" OD. The surface speed will then be reduced. The symmetry will be guaranteed, the shape is another story.

The actual wheel cutting:


This is the end of the final pass (each pass is 0.005, I will at least double it next time)

Next weekend, the third try...

Wagner
 
Wagner
Looking real nice, love the CNC for setting blank.
 
Very nice work even if you don't like it.

How do you check the profile of the cutter after you are done? I'm assuming the blank is already hardenedby the sparks being produced and the chip strand color, yes? Does the first side cut like the second, sparks and chip color? Same cutter edge used for both sides of the blank? Maybe wear on the cutting edge. How much slop on your mandrel vs hole dia. on your blank?

I used to freehand grind carbide tipped lathe tools, we used an optical comparator to check our form cutters as well as surface grinder wheel forms.
 
Back
Top