2016 POTD Thread Archive

Actually project of the week. Been making piles of UHMW chips! 312 lid brackets for a cargo carrier, each with 7 separate operations. Each operation takes anywhere from 1 to 6 minutes. You guys were talking about production work, I too hate production work, but it pays pretty good. These started out as as three 48 x 96 x 1 1/4 sheets. About 30 hours on the router just to cut them out. About 46 hours to get to this point. Still have about 20 hours left to finish.

Thought I would snap these before I cleaned up for the next operation
View attachment 121920

About 4 inches deep on the right side, about a foot deep on the left. The good news is that these chips vacuum up very easy.
View attachment 121921

Putting a 5 inch radius on the bottom, 4 pieces at a time. The toggle clamps were not quite enough to hold them, so add c-clamps.
View attachment 121922 View attachment 121923
Looks worse than a wood shop! Although a dust collection system would probably be helpful in your shop.


Sent from my SM-T217S using Tapatalk
 
Looks worse than a wood shop! Although a dust collection system would probably be helpful in your shop.

I have dust collection on the router. I also have it for the mill, but not enough clearance to use it in this case.
 
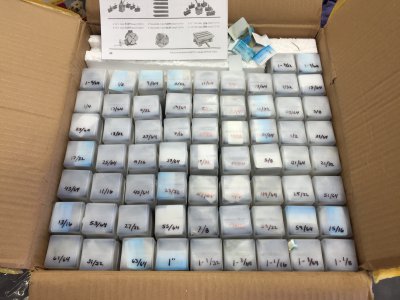
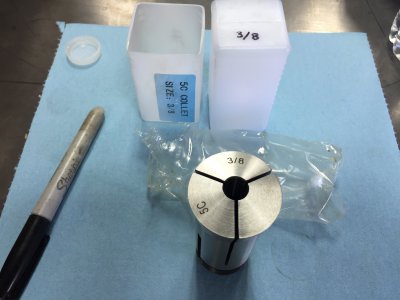
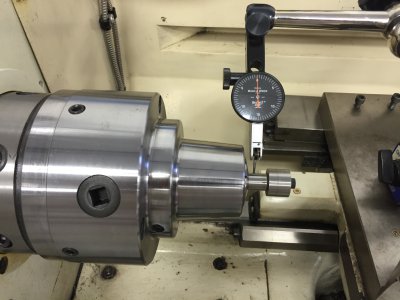
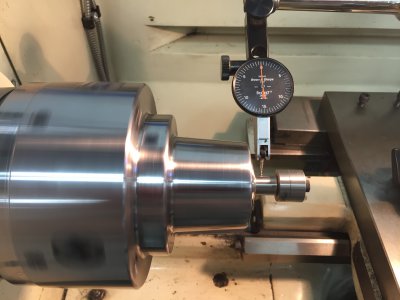
UPS delivered the 5C collet set I ordered from CDCO. Mark (mksj) gave me a damn good deal on a 5C collet scroll chuck with true-set. After I inventoried the goods, I decided to chuck up a 1/2" precision ground arbor to check run out. Amazed at less than .0002. Set ran $198.00 for 65 PC set (Mark's find).IMG_1267.JPG
IMG_1268.JPGIMG_1269.JPG IMG_1273.JPG
Lathe is running at 40RPM and the indicator is moving about a needles with. Very happy with the set up. Gonna have to build a rack system for all the newly acquired goodies. hehehe
 
Spun up 2 of the 6 solid engine mounts (to replace rubber) for my bike:

F64EADC0-BDAD-4DFD-958B-7F197CADA615_zpsrcteuwbk.jpg

You can see some chatter and they're not the most beautiful pieces but it's another achievement for my meager, self taught skills.

Got the diameter "bang on". Friction fit with just a light soft face mallet tap needed to drive them in.

Kinda proud I got it right on the first try for each.

:)

Still fighting with a bit of chatter during cut off procedures though.I also need to redo the bevel on one to match the other. No real need to (mount to opposite ides of the engine) other than I know they're off just a little bit. The bevel is really just for looks, it serves no functional purpose.

4 more to go, but tomorrow is for cleaning the shop. It's turned into a right mess and I have to get it back under control before it reaches critical "mess mass" and runs totally away on me...

F64EADC0-BDAD-4DFD-958B-7F197CADA615_zpsrcteuwbk.jpg

F64EADC0-BDAD-4DFD-958B-7F197CADA615_zpsrcteuwbk.jpg

F64EADC0-BDAD-4DFD-958B-7F197CADA615_zpsrcteuwbk.jpg

F64EADC0-BDAD-4DFD-958B-7F197CADA615_zpsrcteuwbk.jpg

F64EADC0-BDAD-4DFD-958B-7F197CADA615_zpsrcteuwbk.jpg
 
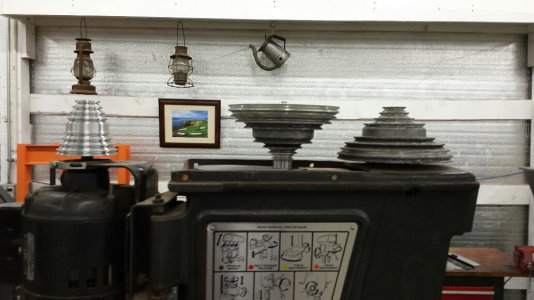
I've had my 15-1/2" Craftsman for a few years now and have always wanted to slow the spindle speeds down so I can drill other than aluminum and wood without fear of burning up drill bits. So I went to work on making the pieces to slow this speed demon down.

Rather than write a long, and boring, description of what I did the pictures below will describe what I started with and what I ended up with.

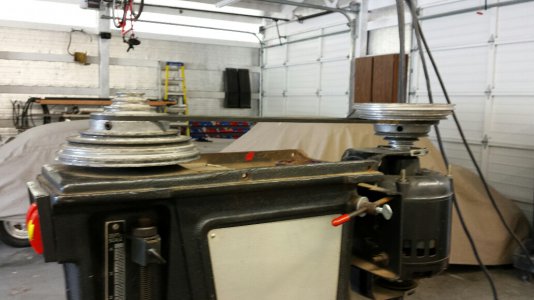
This is the original set up. Eight speeds but only 3 or 4 that were in a useful speed range.
20160210_085747_resized.jpg

Here's pics of the parts I made. This is the idler pulley swivel.
20160210_090309_resized.jpg

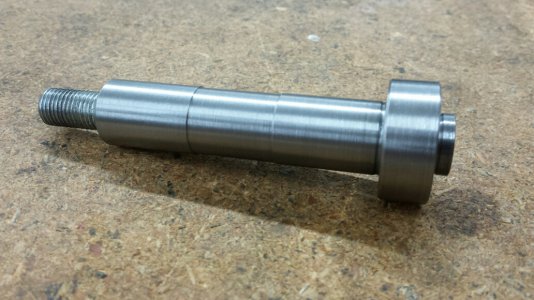
The idler pulley spindle.
20160211_084727_resized.jpg
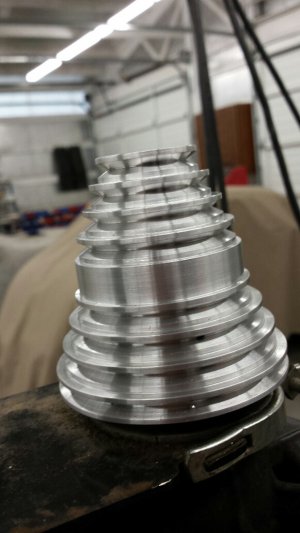
The new motor pulley.
20160211_084414_resized.jpg

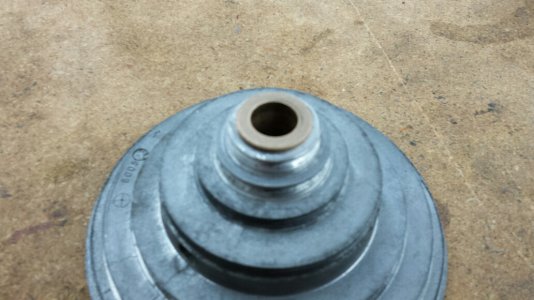
I took the original motor pulley and machined it for flanged oilite bronze bushings on each side.
20160211_084918_resized.jpg
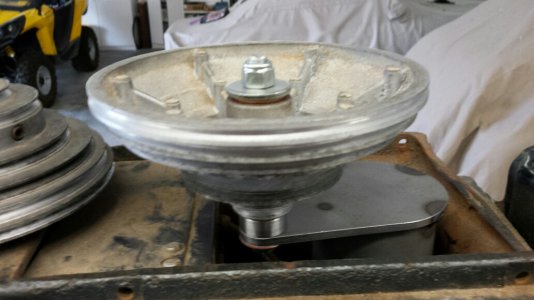
Here's the idler pulley assembled on the spindle.
20160210_085441_resized.jpg

And a picture of the final assembly less belts.
20160211_084319_resized.jpg

Theoretically I have 56 speeds with this set up. In reality I have 34 useful speeds that are 75 to 2000 rpm. That should be enough. Hope you enjoyed the pictures.

Tom S.
 
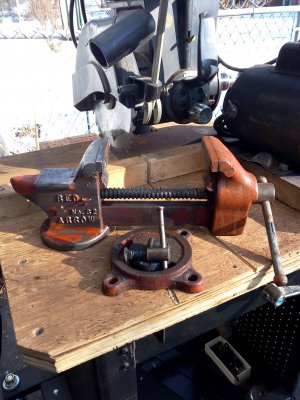
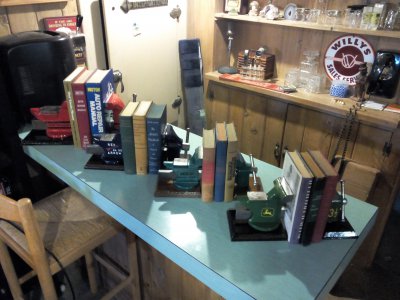
Built 3 bookend sets out of vintage bench vises. These are repurposed from broken bench vises. These, along with one that I built a while back will be featured in a charity art show to benefit TOUCH Inc. Touch is a non-profit organization that provides non medical financial assistance to cancer patients. Had a tough deadline, but I got them done in a week.RED ARROW VISE1.jpg VISE BOOK END GROUP.jpg
The first picture is one of the bench vises before restoration. The second picture is finished products.
 
Back
Top