- Joined
- Dec 13, 2014
- Messages
- 29
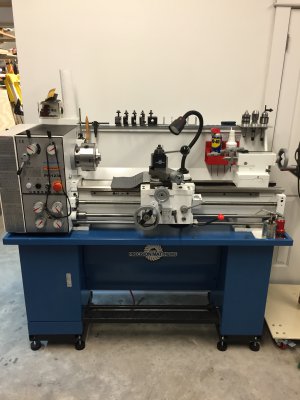
I started a thread earlier on ordering a PM1236 and deiced to put everything about my lathe in one spot titled, Chris's PM1236.
I have had it a little over a month now and couldn't be happier with my decision. I was looking at two smaller PM models and decided to wait on the 1236. Here are some up the upgrades or mods I have done to mine.
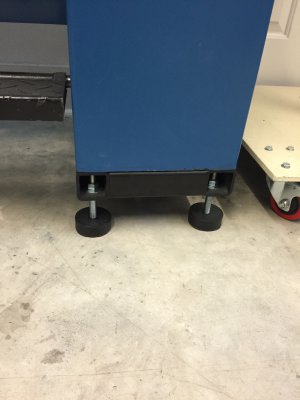
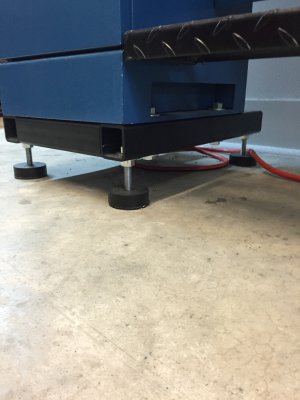
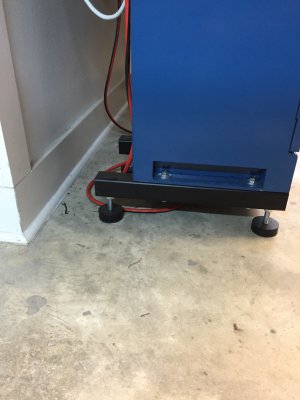
1. The first thing was leveling feet with a riser base. The lathe was a little low and I was having to bend over. With this addition the center of the spindle is now 47.5" from the floor. I'm 6'1" and find that this height is much more comfortable and I do not have to bend over at all.
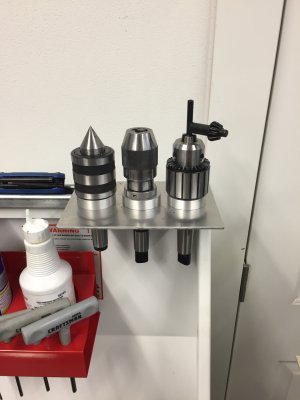
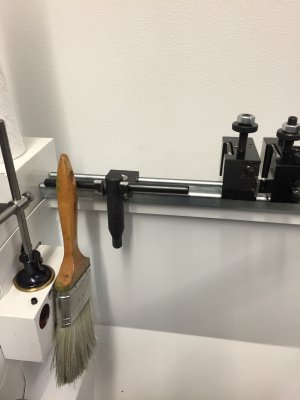
2. I added a tool holder rack to the back of the splash guard and it is more convenient to see and access witch tooling I need. I made a bracket for the chuck key witch I look at first before starting the lathe. If its not in its spot I assume I left it in the chuck and don't start up till its in its spot(safety first). The holders for the tools are made from 2"x2" aluminum angle cut and smoothed on the edges to fit the holders. The drill chuck/live center holder are made from aluminum plate with collars to fit and protect the shanks. I plan on powder coating all of these things later.
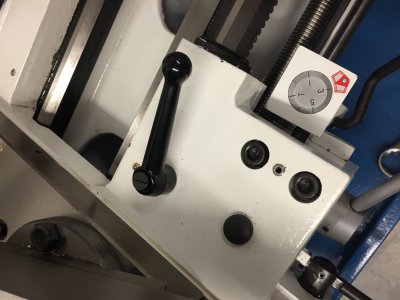
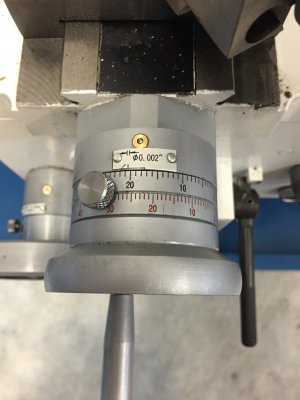
3. I did not like the way my dials adjusted. The springs under them were tight and it was hard to adjust them without moving the handles. I took them apart and tried to flatten the spring out some then they were way to loose. I decided to scrap the springs and make thumb knobs and I like this way of adjusting them much better.
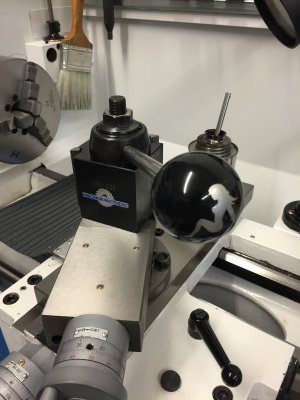
4. I had some knobs that I took off of a Peterbilt's airbrake dump valves and added it to my QCTP. This is not really an upgrade but was more for fun.
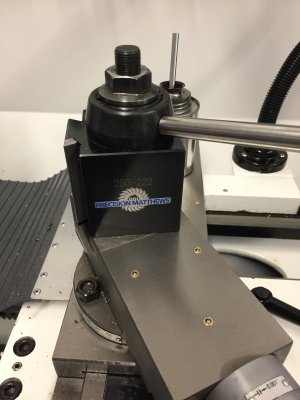
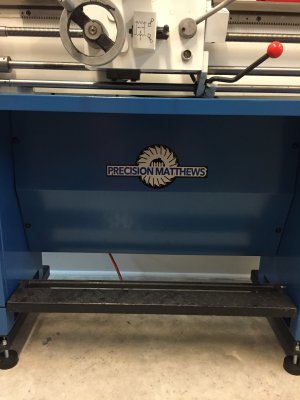
5. I have a vinyl plotter and made a Precision Matthews decal to dress up the base a little.
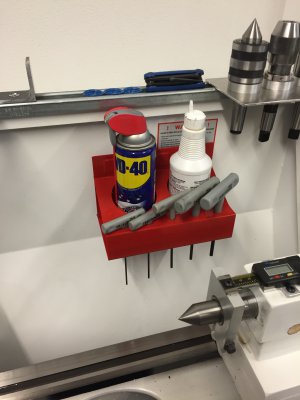
6. I found the red rack that has the WD-40 and oil can in it at Harbor Freight. It also holds the different size allen wrenches that are needed. It is magnetic and is very convenient and doesn't get in the way.
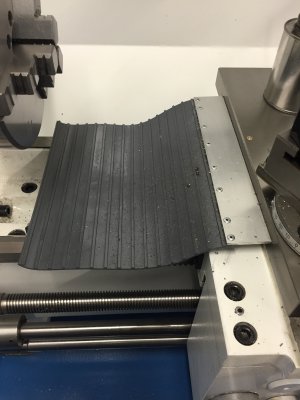
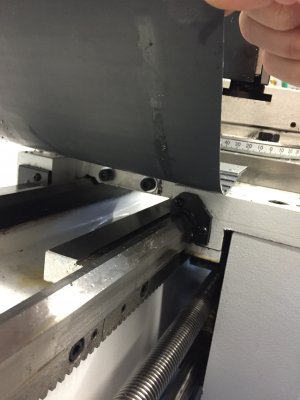
7. I made a way protector for the front of the carriage to protect the ways from all the chips piling up on them. It is made from this rubber floor mat stuff I found a Sam's Wholesale.
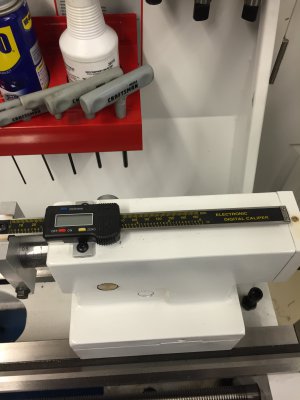
8. I added the "poor man's"dro to the tailstock.
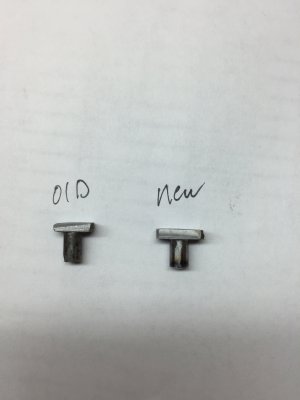
9. The shaft in my tailstock had a lot of twist in it. I took it apart and the little key that keeps it from rotating was poorly made. I turned a new one and milled the sides down to fit better in the keyway on the bottom of the shaft.
That's all I can think of at the moment and just wanted to share these things with everybody. I have found a lot of good information on here and thought these things could help others out. Thanks all.


Last edited:


