2016 POTD Thread Archive

f350ca,

Wow!!! You weren't fooling around. That bender looks like it will hold up for a while. :D

^^^^^ what he said.... That bend is also very clean, did you sand fill the pipe or something similar? We might need a few more pics of that so that we can copy.....I mean admire your work! :)


Sent from my iPad using Tapatalk
 
Thanks Paco.

I was especially curious (what does it activate) about the proximity sensor. I now understand that it initiates an E-Stop. Have I got that right?

Not exactly like an E-stop but does shut machine down with two options of breaking speeds (1 sec or 3-5 seconds). Its also ties in with the bypass momentary push button which when pushed allows machine to run regardless of proximity signal . The air gap is about 3mm, so nothing comes to contact. The safety micro switch (in case hall sensor fails) will result in E-stop and braking in 1 second as well as the E-stop mushroom button all other stops are controlled stops including the foot brake.
An example of using the by-pass would be, Say your boring a blind hole and the lathe stops at your designated depth, so you disengage the carriage travel (Y) but need to clean up the inside face. You would push the by-pass and machine would run for the clean up. Also handy for threading when you want to reverse direction.

The design is quite impressive. I showed a non machinist friend the lathe improvements which he then called it "smart lathe". It kinda is...
 
Spent the day on the lathe finishing up the little things.
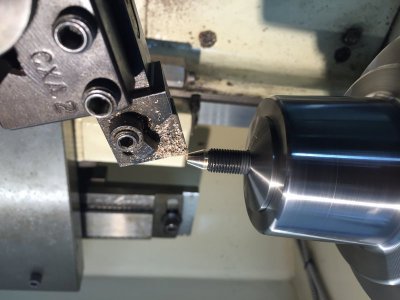
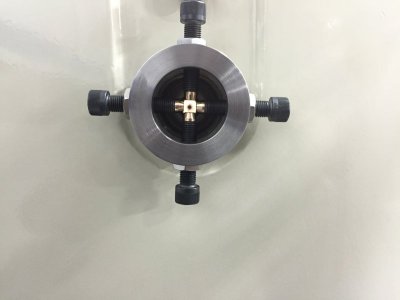
Spider tips got the taper and reduced down to 3/16".
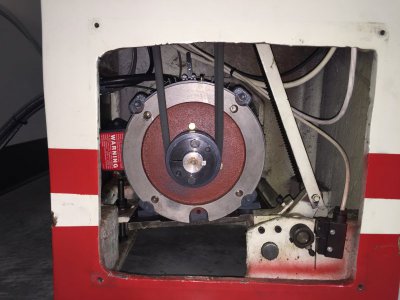
The new motor really responds well to the VFD, extremely smooth and quiet.
IMG_1519.JPG IMG_1505.JPG IMG_1509.JPG
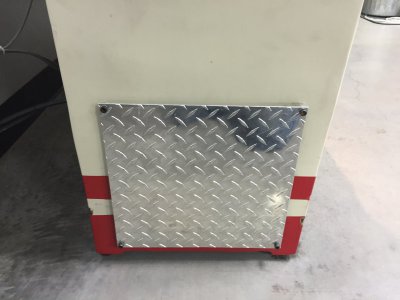
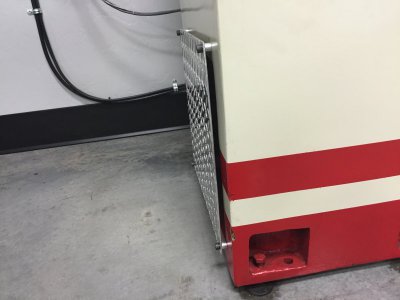
I think I mentioned the motor shaft protrudes a bit. Moving it inward would have required an adaptor plate so the new cover acts as a vent.
The little spacers are .375".
IMG_1524.JPG
IMG_1527.JPG
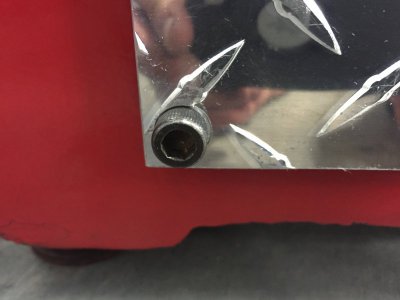
New cover is .125" thick so no vibration or "oil caning ". The raised diamond profile was counter bored flush for the 5/16-24 cap screw heads to sit flush.
IMG_1523.JPG
Its been fun and a real learning experience during this upgrade build.
Thanks for looking.
"Turn and burn"
Paco
 
^^^^^ what he said.... That bend is also very clean, did you sand fill the pipe or something similar? We might need a few more pics of that so that we can copy.....I mean admire your work! :)


Sent from my iPad using Tapatalk
Thanks,
Its seamless stainless tubing, not pipe, forget the wall thickness but bent as is. Had to make a slight modification, not sure why, but added those little 3/8 tabs on the end of the short arm that carries the roller. On the first try the roller would pinch down so hard it would start to crush the top of the tube, and it took a 4 foot arm to make the bend. The tabs limit how close the roller can come to the die, with them its relatively easy to make the bend with a 2 foot handle.

Greg
 
disasembled the table on my Comet (bridgeport copy) to check the screws and nuts. had about a 1/8" slop in thte table x and close to the same in the Y
found worn out screws and nuts, well beyond adjusting . SO went on an easteregg hunt through the internet for parts. There ain't none! Found bridgeport parts but they are too small (max table is 48" mine is 50") and the screw/nut sets are priced well beyond what my SS check can handle. Did find 1.25 acme screw and nuts that will work with the proper amount of TLC on my Voest lathe. Iwill post pic's of the machining of the acme into table screws when the materials get here
 
gaston, are you sure that the screws themselves are toast? you can buy new nuts from surpa machine tool on ebay, otherwise known as Acer
 
Back
Top