Hey everyone, I just joined, really happy to be a part of the forum here. As an introduction, a quick summary of my South Bend story:
About four years ago I bought a 1925 or 1926 South Bend 11 x 5 lathe, It ran but was in pretty rough shape cosmetically. I didn't know enough to be able to check its accuracy, I just assumed it probably wasn't "like new" but also probably good enough for the simple parts I was interested in making (for my motorcycles and other little projects).
So I began tearing it all apart and stripping all the pieces of layers and layers of old paint. This particular lathe apparently was on a Navy ship back in the day. It was all battleship gray, with many critical parts (handles and lubrication points) painted red. I assume to make it easier for 18 year sailors to run and maintain the machine.
After I had all the parts stripped and some of it primed, I got sidetracked with life and ended up with a bunch of boxes filled with all these parts laying in my basement and garage. Fast forward 4 whole years later (where does the time go after 40??), I was ashamed of my procrastinating ways by letting this project stall for so long. Plus I was a little intimidated by trying to put it all back together again. Although I'm mechanically inclined, I never owned a lathe and all those gears and bolts and weird parts sitting in all those boxes was looking pretty hard to put back together.
But, I got the bug again a few months ago and decided to set myself to righting this wrong this spring. So I finished priming the last parts and got some tractor paint enamel with hardener and painted all the parts in gray. Was going to go black like the original, but decided to just stick with gray. Now I kind of wish I went black, but what the hey; I like gray too.
Part by part I figured out where everything went. Amazingly I hadn't lost anything. The hardest part was the apron, which was basically a big clockwork mechanism. But once you delved into it, it was pretty straightforward. The parts can only go back together one way, so it was actually a neat little puzzle putting it back together.
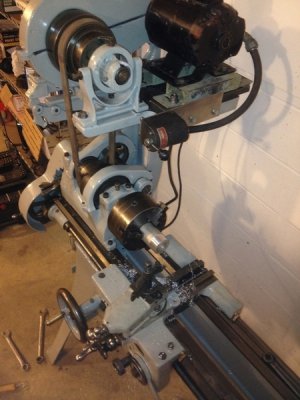
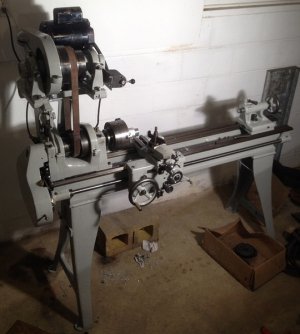
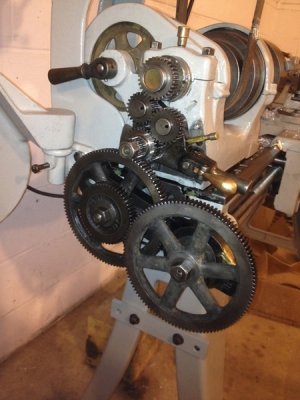
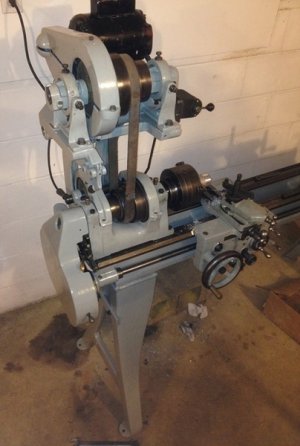
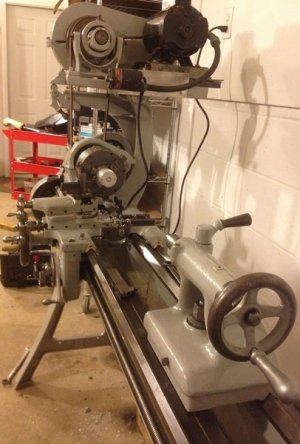
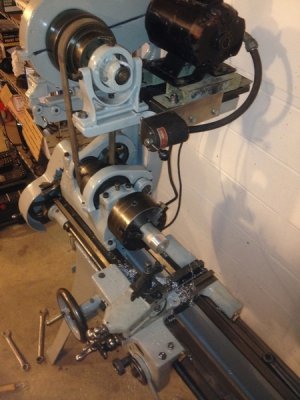
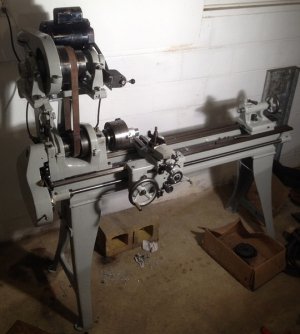
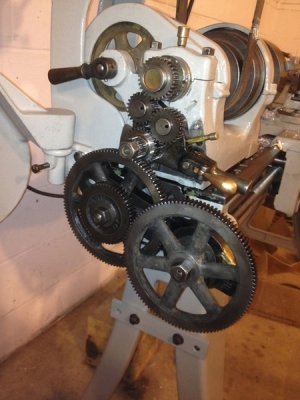
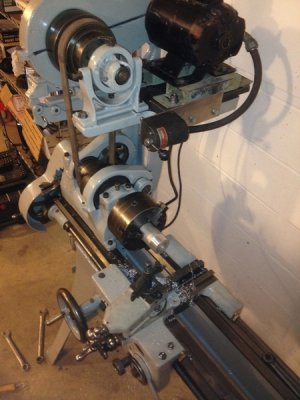
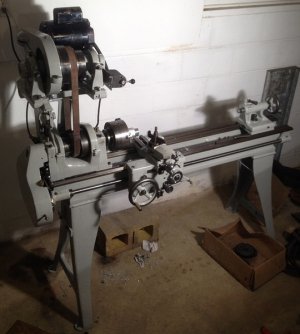
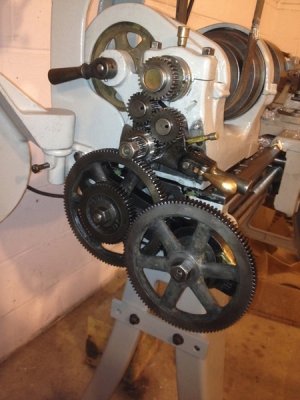
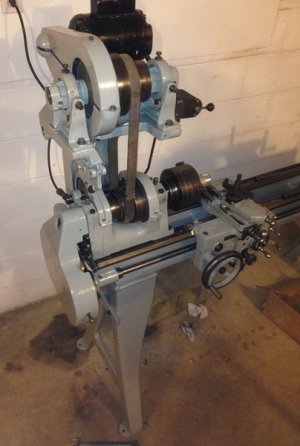
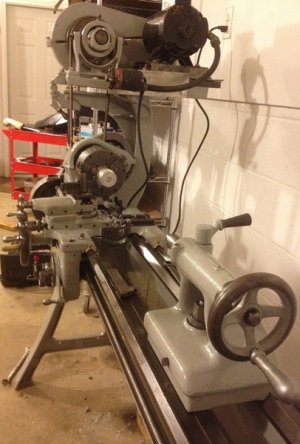
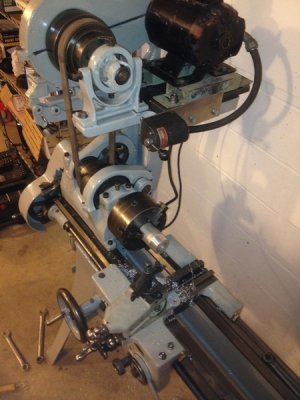
So my lathe is all back together and all cleaned up and looking pretty good if I don't say so myself. I'm so glad I turned that pile of junk into my basement into this phoenix from the ashes. Now I want to learn all about it, fix it up, tune it up and use it the way it was supposed to be used.
That's why I joined this forum to share my story and hopefully learn from you folks. Here are a few pics of my finished lathe...
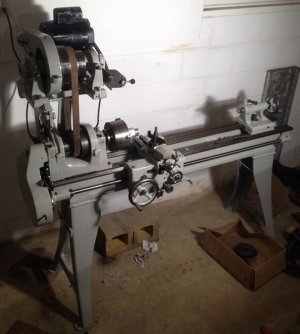
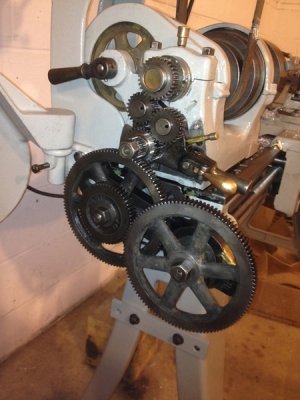
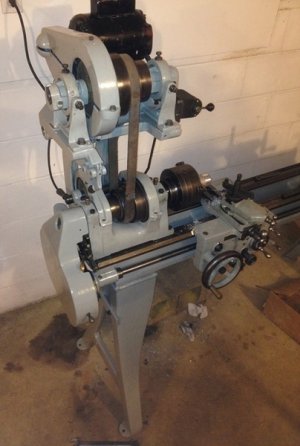
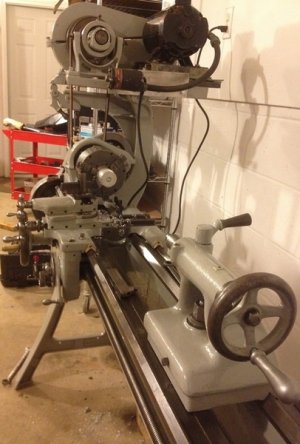
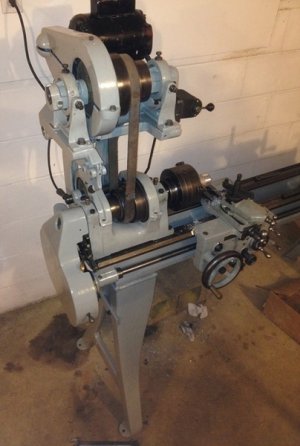
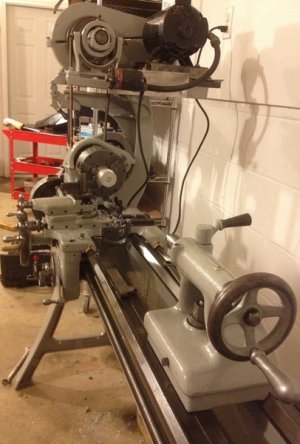
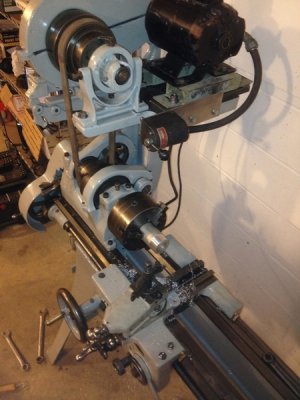
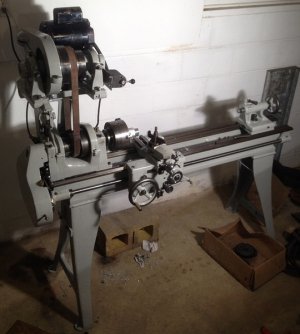
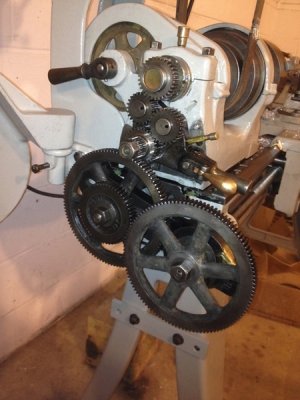
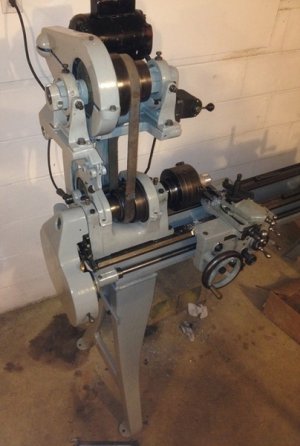
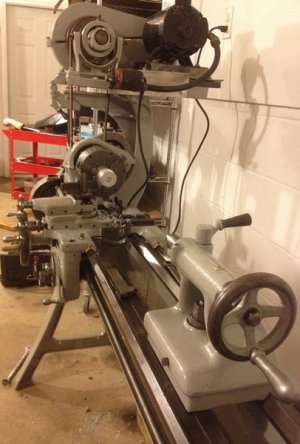
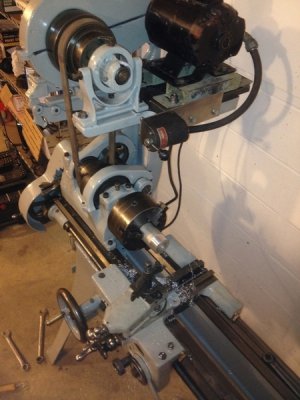
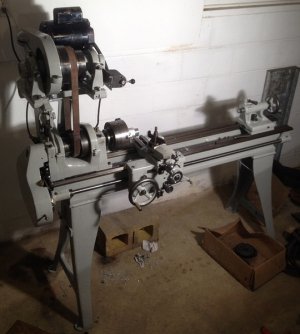
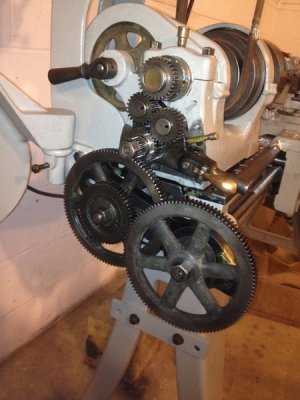
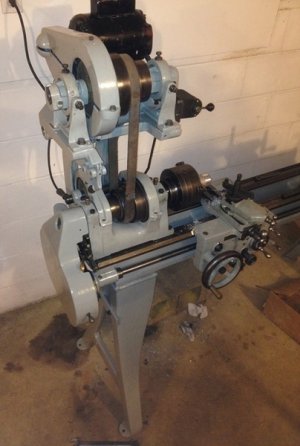
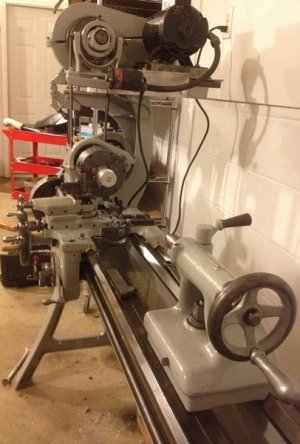


Last edited:


 Steve Shannon