2016 POTD Thread Archive

John,
I like that mount for the x-acto blades. I will have to make one for myself as I have had to cut some seals myself in the past. That will come in handy.
 
figured it was about time to change the plugs on my hemi...now that is at 99,000...it is a pita thats for sure specially when its 98 out...got the driver side done..(the worse side)....pretty surprised that the worst gap was only 60 thou...i was expecting more for never been changed...i'll get the other 8 when the heat won't kill me..


52 bucks for plugs vs 325 for dealer to change
Looks like that second from the right has a little burnt crud on it... ya think it is a little oil, or perhaps an injector issue?
Good thing is... it is not 'oily'... which would indicate the oil not being burnt off with combustion.
 
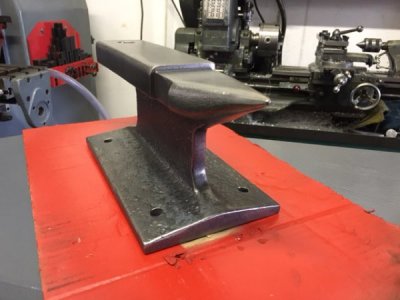
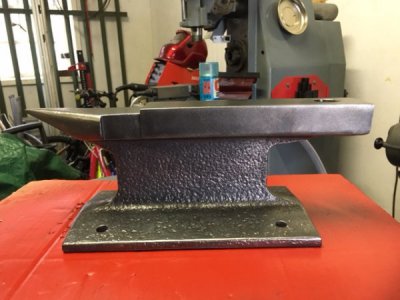
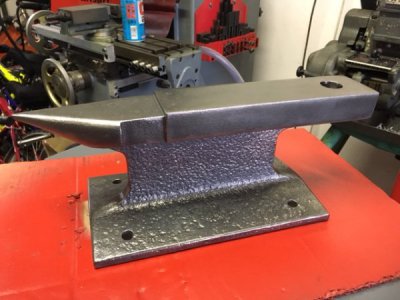
Finally got around to heat treating my railroad anvil last weekend so cleaned it up this weekend - taken me over a year off and on since I stated this anvil but I think I can final call this one finished (I have a bit of a problem with half finished projects).
IMG_1626.JPG

It may be a bit over tempered - tempering simply involved throwing it back in the forge as it was cooling down after quenching the anvil. I had figured adding a large chunk of cold steel back into the forge would of cooled it down quite a bit so I put it in once the forge had cooled to about 400 degC, but it didn't actually drop the temperature a lot so the anvil probable got reheated more than I had intended. It will mark with a file, but it is still quite hard.
The surface finish is just a going over with an aggressive wire wheel on the angle grinder. Left the temper blue/gun metal sort of look which I quite liked so I didn't bother polishing it up with the flapped disk as I had originally intended.

IMG_1631.JPG
 
Last edited:
That's a good looking chunk of track. Nice job, and I know exactly what you mean about half finished projects. Mike
 
Hi All,Pete,
That's a nice anvil. I have one that's flame cut, and it's seen a lot of use. I'll finally have a machine capable of milling the top flat, and I'd like to refine it a bit. How did you shape the horn on it? I do have to say, the railroad track anvil I have is tough as boiled owl. What is the advantage of heat treating it?

Thanks!
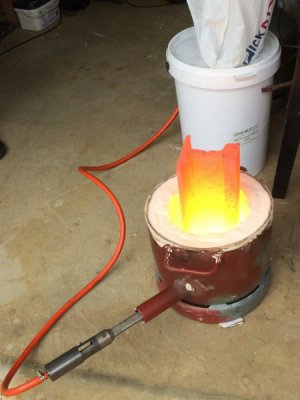
 
What is the advantage of heat treating it?
Thanks!
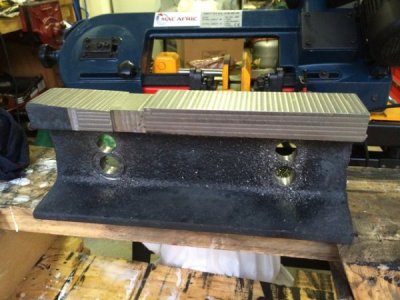
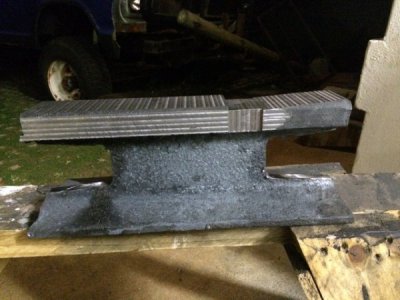
I had the same situation with it being very hard metal so I gave up on milling it as was and annealed the whole piece first it so I could machine the top and sides flat - I don't have any gas or plasma cutting equipment so annealing it allowed me to square the end off on the band saw and to mill and drill it without too much difficulty. The final heat treatment last week was to harden it up again.
059s.jpg

I initially milled the top and side and drilled some holes through the web.
075s.jpg

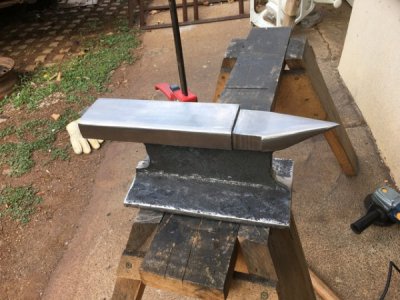
Then it was all cutting disk on the angle grinder to remove the web and form the nose.
078s.jpg

Then grinding wheel and flapper disk to finish it off.
IMG_0502s.jpg

Drilled the pritchel hole and some bolt hole in the base, then quenched and tempered it to re-harden.
IMG_1627.JPG
 
Looks like that second from the right has a little burnt crud on it... ya think it is a little oil, or perhaps an injector issue?
Good thing is... it is not 'oily'... which would indicate the oil not being burnt off with combustion.
looks worse on film...the threads are mostly burnt anti seize....the right bank was just as nice....just a lot easier to get at ;-)
not missing while cruising now..good for another 100 thou..
 
Been handling too much wood, my hands are clean, and it was too hot today to be working outside so we ventured back into the lonely machine shop.

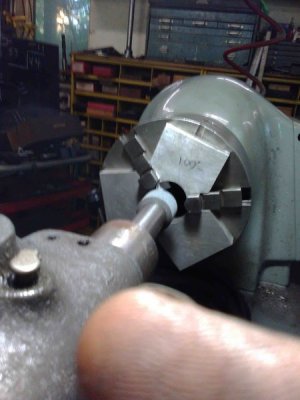
The 3 jaw for the hardinge was badly bell mouthed so thought we'd tune it up. Tore it apart to clean the scroll and found the back side with the pinions totally dry, not a hint that it ever had lube, HUM. There was a small ding on the end of the mouth that was affecting the fit when I checked with blueing. The other day I repaired that with a bit of scrapping to get a good contact impression.

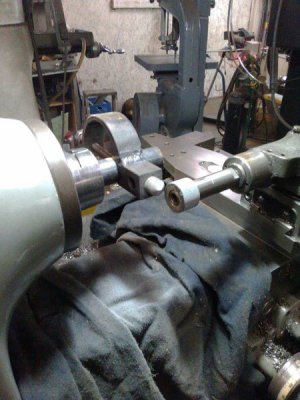
Set up the tool post grinder and dressed a wheel, which is for a valve seat grinder, have a bunch of them in different sizes, 9/16 course thread bore.
KIMG0026.jpg

Dave lent me the spacers he'd used to true up his 3 jaw. Thanks Dave.
KIMG0027.jpg

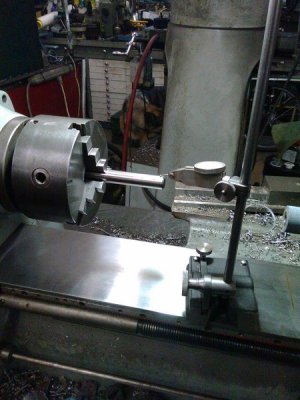
After grinding I have between .0005 and .0015 runout, on different sized stock. Not repeatable, clamp the pin and one time you'll get .0005 the next time .0015, pretty much the nature of a 3 jaw, but the dowel pin stays parallel to the bed within .00025 as interpolated off a 1/2 thou test indicator 2 1/2 inches from the chuck.

KIMG0028.jpg

NOW THE INTERESTING PART.

I've read you should use the pinion marked 0 to get the best results. I do but to be honest have never noticed any difference. I tightened the chuck on the spacers using the 0 one before I ground the jaws. Now if I use the other pinions I get 4 to 5 thou runout on the test pin, never better than 3 and the test pin will be a thou or worse off parallel. Go back to the 0 pinion and all is well. Tomorrows project is to check the 12 inch Bison chuck on the Summit and see if it gives similar results.

Greg
 
Back
Top