The Reclamation of Nelson's Heavy 10L

HMF

Site Founder
Administrator
Joined
Sep 22, 2010
Messages
7,223
Hi Guys,

I have dreaded posting this. These are the BEFORE pictures- "pre-Nelson"

A few years ago, I bought a Heavy 10 and had it shipped in from Michigan.
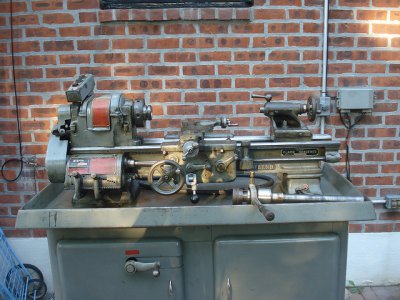
It was a nice looking machine before I got my fool hands on it. I have photos of how it looked in my back yard.

Wanting to get it into the basement, and being a fool, I disassembled it. But I didn't stop there. I continued once it was downstairs.
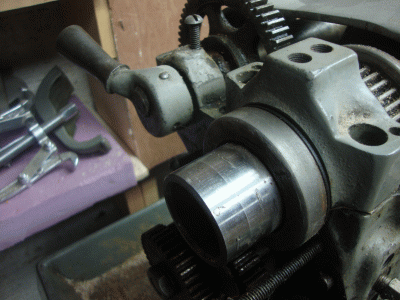
I scarred up the spindle getting the old spindle gear off in order to install an extended spindle gear for the lever collet closer.

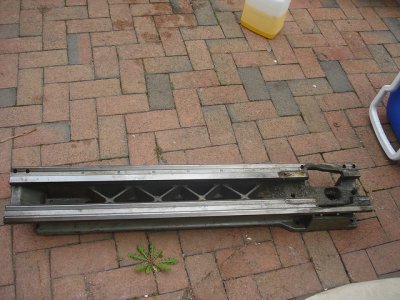
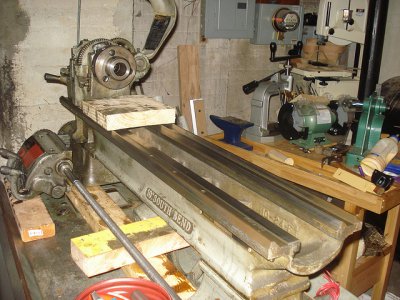
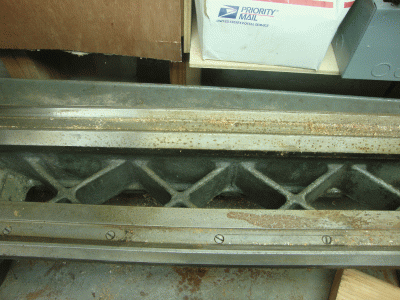
The ways, showing a few nicks.

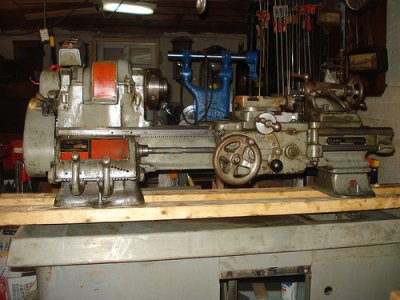
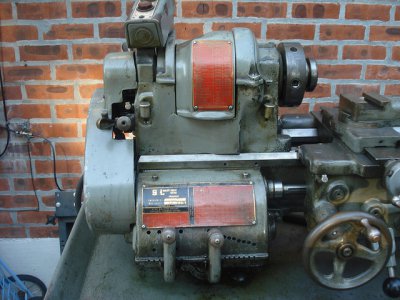
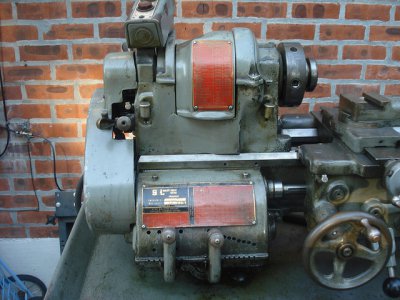
The headstock outside, before I touched it.


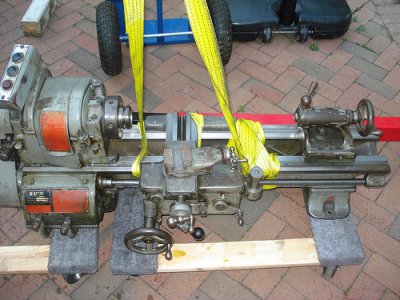
The lathe on dollies and slinged for movement.

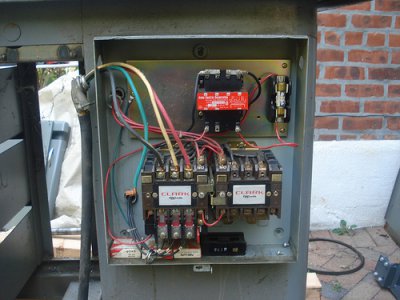
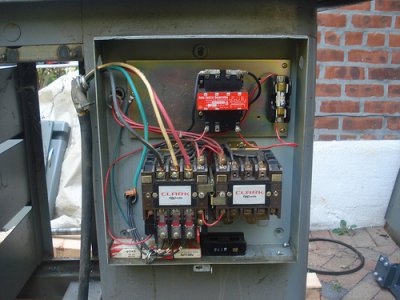
The old Clark contactor box.

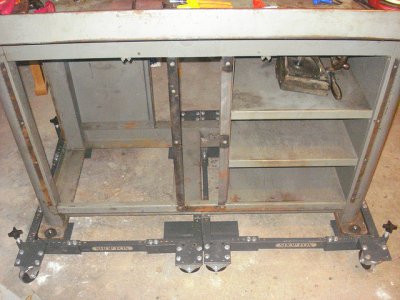
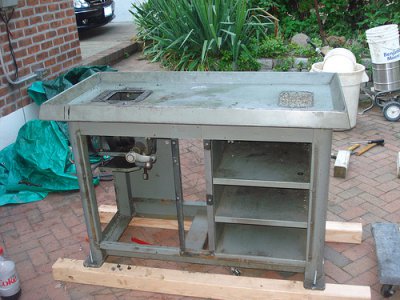
The cabinet frame with as much steel as possible removed.

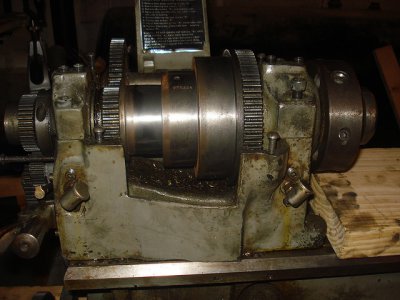
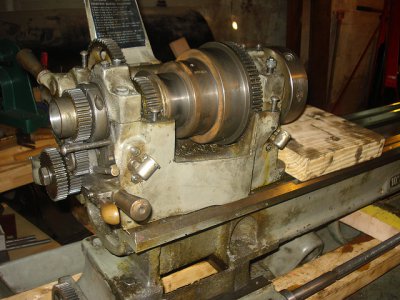
A view of the headstock inside.

Another view of the headstock in the basement.

Another view of the cabinet.

Another view of the ways.

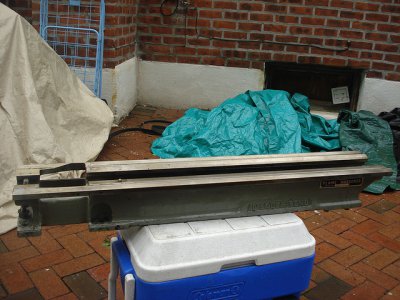
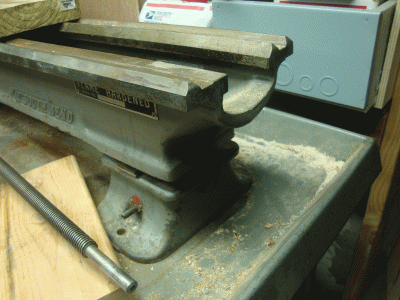
The lathe bed outside.

Closeup of the headstock inside.

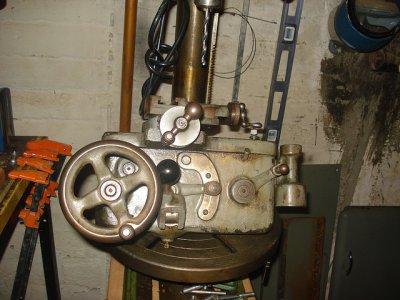
The carriage inside sitting on a drill press table.

The whole lathe inside bolted to some 2x4's.

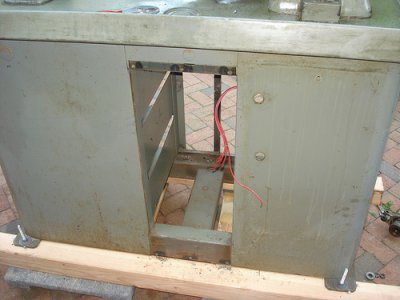
Steel cabinet outside, steel being removed.

Steel cabinet outside, more steel gone.

Steel cabinet inside down to skeleton.

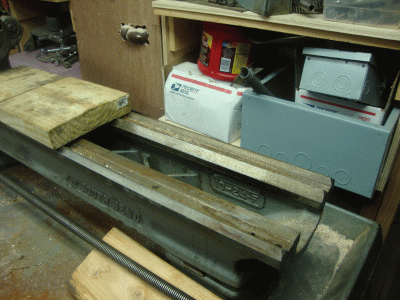
Lathe bed on a cooler outside.

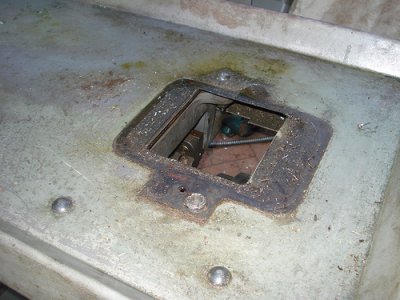
The hole in the steel cabinet for the headstock belts.
3249099105_214e12536c_z.jpg 3249102281_153e8bcdd6_z.jpg 3249102495_c059feb3c2_z.jpg 3249934188_7ece93928c.jpg 3249926928_8d1a826de3_z.jpg 3249101771_138f1d0bb6_z.jpg 3249105175_a0444c430e.jpg 3249105827_ba19809336.jpg 3249931044_14e2b05b77_z.jpg 3249102727_3bdd0be41f_z.jpg 3249099963_602bca117a_z.jpg As_Delivered.jpg 3249935168_e50dbbeb65_z.jpg 3249933724_e7e691bd1d.jpg 3249106025_52259b60ea.jpg 3249934116_68cd991855.jpg 3249935168_e50dbbeb65_z.jpg 3249933724_e7e691bd1d.jpg 3249929208_0cfa125829_z.jpg
 
Last edited by a moderator:
These are the AFTER pictures.

It has been sitting there about two years. I have been framing walls and trying to finish the basement around it. I sprayed some graffitti remover on some of the parts, and the bed and some of the gears rusted up. Stupid thing to do. By the way, I realize I was an IDIOT to treat the lathe this way.

The lathe is not bolted to the feet or the cabinet. So the first question is, do I bolt the tailstock side feet to the bed and then the whole thing to the cabinet?

How should I proceed here? Help!
(Steve Brooks' 10" Renovation guide is expected this week, and I expect to buy one)

(And please don't tell me to scrap it and buy a working lathe- I want to try to restore this one)

Thanks,

Nelson


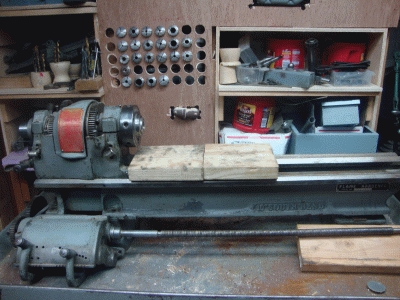
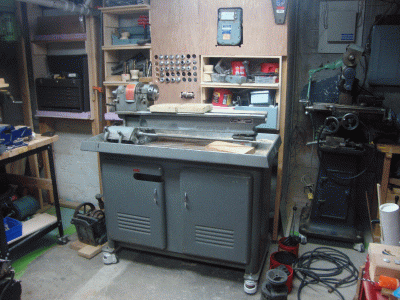
Looking into the shop area.

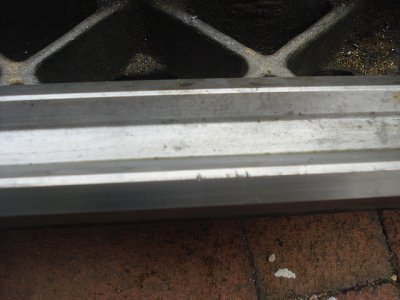
The ways of the lathe are now stained and rusted.

A front view, showing some paint that flaked off.

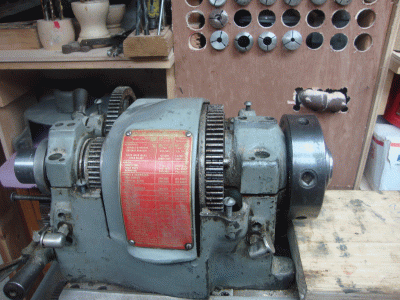
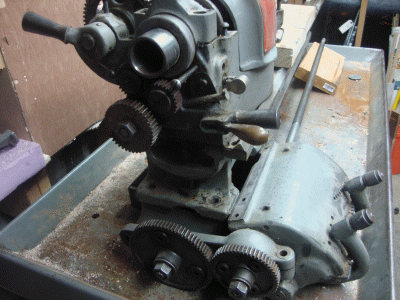
The headstock gears are a bit rusty.

The headstock.

Tailstock side ways.

A closeup of the stained and rusted ways.

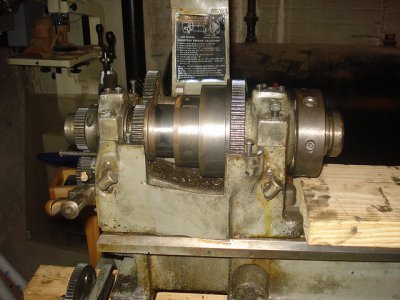
The spindle is scarred after I removed the small gear to install the extended. How do I install the extended gear without damage?

DSC02792.gif DSC02787.gif DSC02789.gif DSC02791.gif DSC02793.gif DSC02790.gif DSC02786.gif DSC02788.gif
 
Last edited by a moderator:
Nelson

For the most part, I only see some slight surface rusting that a spray oil like LPS2 and a bit of scrubbing with a rag or non abrasive scrub pad won't take care of.. Don't worry about a bit of staining, only something that will effect the accuracy of the ways.

I have removed worse with burnishing tool, basicly a heavy scraper that has a slightly rounded tip.

Not sure what you want, a pretty lathe that you don't dare touch in case you scratch the paint, or a working tool. So if you want to paint, and make purdy, then you will really need to finish cleaning, no oil, finish sanding and paint away.

Personally I go with the working tool. Oil everything, wipe down and start using.

OK so you have to get it together first.

Start by putting the lathe back together, Feet on bed, headstock mounted to bed, etc. When you have the lathe put together as an assembly then install that assembly to the cabinet which you have already levelled. Then level the bed to the cabinet using shims or if your lathe has them the jack screws.

Not sure on the gear, depends on what the new gear looks like. Start by cleaning up the spindle with a scraper, best scraper made is to grind a curved taper on one edge of the tip of a slim triangular file, alternatively you can use a file or a stone. once you get all the burrs off the spindle, then decide how the gear needs to be seated. How is it held on? set screws, friction, clamp collar? each of these will determine the appropriate mounting procedure for the gear.

Walter
 
Walter,

I want a lathe that WORKS. I don't want to be afraid to scratch it. I'm careless obviously. I can always disassemble it another time to paint it.

I will file and/or stone down the spindle to remove any high spots. The key is also scarred. Should I stone that down too or try to replace it?

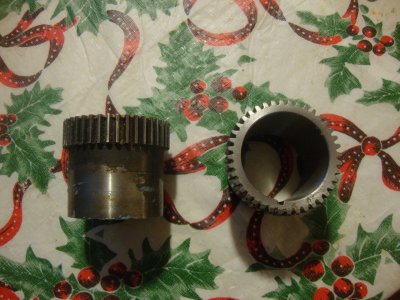
The extended spindle gear looks like this:


DSC02794b.JPG
 
Last edited by a moderator:
Nelson

You would be suprised at how many tools are brought in for repair because the owner took them apart and can't figure out how to put them back together, so on second thought I think it would be best for you to strap everything to a pallet, and ship it to me prepaid, I will then arrange to recycle your mess properly. LOL

Seriously, first start by printing off a few copies of the parts list for your model. Go through and identify all the parts that you can. As Knudsen stated separate all the fasteners and measure them. From the description on the parts list tag them as to where they were supposed to go.

The key, if it is really mangled, then it is a cheap part and easily replaced. You do not even have to get it from SouthBend, just get a key of the right size. On the other hand if it has only a few nicks and bumps, then file, scrape or stone off the high spots.

The gear should align easily, as it is fairly long and keyed. Get thyself a stout length of all-thread (redi-rod) and a couple of thick washers and use that as a pulling fixture to press the gear onto the spindle.

Overall, if you take your time, and be careful you will end up with good useable tool in the end.

Walter
 
Walter:

The key has one gash. I will stone it down. I have allthread that I bought just for this, but I don't have large enough diameter washers that won't pass through the spindle, so I thought I would cut a couple square pieces of steel, put a hole in each, and use them as the "stops".

Sound reasonable?

Thanks,

Nelson
 
Perhaps you are thinking too hard, making yourself believe the situation is worse than it really is and it's causing you to be discouraged. If it were my lathe, I would paint it while it is still apart. The paint I am using on mine is probably the toughest you can get and believe me, it is very hard to scratch. Very dangerous to paint with though. Looking at the whole project can cause you to be overwhelmed, but by tackling it a section at a time, you will soon see a light at the end of the tunnel and before you know it, be staring at not only a thing of beauty, but a fine working machine.

On the other hand, if looks aren't important, just clean it up, put it back together and use it. I would reuse the spindle and gear, after removing the minimum amount of the gouges. I used a piece of all thread with a series of washers and spacers and pressed my spindle back together on my Atlas. The light surface rust can be removed by using a scotch bright pad, 0000 steel wool, wire wheels and brushes.. with WD-40. Do a little re-assembly every day and it will be done before you know it.
 
Chuck,

You have some points. By the way, what type of paint are you talking about?

If I were repainting, I would use the B-M color that is on a sticky in this forum- it comes close to the original.

As per what Walter said, I am going to put all the screws and other handware together and try to ID it first, so I don't go too far off.

Thanks,

Nelson
 
Nelson,
Before you get too far with putting it back together check the gear box. My 9a was sitting for awile and is now locked up tight, it's been soaking in kero for days and still not free yet. Your head stock has to come off to get the one screw out at the top, better now than having to tear it apart later again. I picked up some washing soda today and will do the battery charger trick to try and loosen it up tomorrow. It's a pitty because the gears show hardly any wear inside, just stuck. Operate the chuck by hand to make sure everything works and not binding anywhere before adding power.
Have fun,
Paul
 
Paul,

The gears in the gearbox work (turn) and are in decent shape, but they are coated with a slurry that looks like a combination of steel dust and oil. They will have to be flushed out with mineral spirits and a stiff brush.

By the way, guys, I opened up a box and found some spare gears that I apparently bought off Ebay, including a new back gear, a bull gear, and some other stuff that I bought to have as spares in case the ones on there were damaged. The back gear looks like NOS- not even used. The gears on the lathe don't seem to be broken, so I think I will leave the ones that are on there, and use these as spares.

Nelson
 
Back
Top