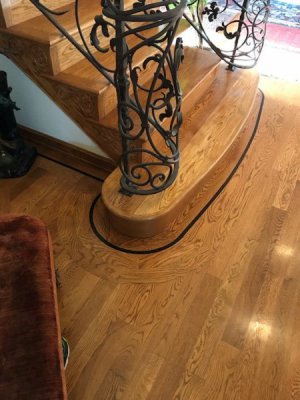
Repeating others.
Oak bends well when soaked as does others.
We once made clutch liners for rc helicopters by making thin planks that we soaked then shipped in a mold and they worked better than factory mystery stuff.
Make a fixture from scrap that has matching groove as top and bottom matching sets to hold it in the shape it needs to be.
Make a backer that is simply a board that matches the shape of the back side, cut it so it can rest on the back side and front of it matches the arc and it should go past in both directions.
Start with scrap to determine actual process first.
With radial arm saw and a very sharp and thin blade cut kerf on back side almost completely through.
Get large bucket to soak the kerf area in that can take some heat or get an aquarium heater and set it high as it can go or other method to get water hot.
When it is soaked well it will be like pasta...brittle but sudden flexible.
Get it into the fixture and let it dry for a week.
After it is dry and can be glued work in time bond or glue of choice into the kerf to fill the gaps and make it solid then add in the backer.
Proper glue will hold it and no need for fasteners but they can be added at the solid areas from back side if desired.
Let cure another 2 days.
Now remove from fixture and finish as needed.
Sent from my SAMSUNG-SGH-I337Z using Tapatalk


