Old, Unique or New

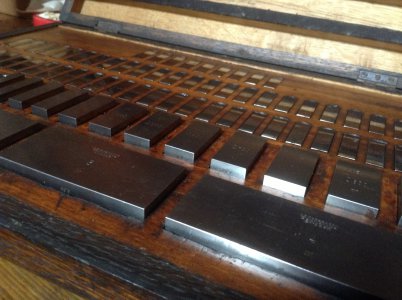
I was looking for some gauge blocks at a not to expensive price and accidentaly got a set of second generation jo-blocks

i like the way they must have taken a long time to make so they let the spelling mistake in sweden go past (either that or somones faking antique gauge blocks??) they were very cheep and seem acurate

Stuart

image.jpg
 
A set of Lufkin Precision End Measuring Rods. The micrometers read in 10ths. These were used to set up jig bores, among other things.

View attachment 158355

View attachment 158357

We had a couple of sets of these when I was an apprentice. 1961 to 66. One was metric and the other imperial. I think the imperial one
was Moore & Wright. I don't remember the make of the metric one. At that time Australia was still imperial, but the place where I worked was the importer and agent for two European firms so we had to be conversant with, and work in both systems.

We mainly used these in setting up our jig borer, which had a table of about 3 Ft square, and was mainly used for setting out the top and bottom plates for stamping dies, and also metal injection moulding dies. We worked in both Aluminium and zinc based alloys.

I was very lucky to have obtained an apprenticeship at this plant, because we had every kind of machine that I have ever heard of. and during our training we got to use them all.
 
If I could get to my box , I have many of tools listed ,but I've got some really old starrett squares one has a double size square with a protractor center, I have a extra wide center finder for the set . Big ball trammel set , scales up to 36" with both sizes of right angle and blade joiner . More old tools I used and bought way back when. 1/2 " starrett, Mic satin from almost fifty years ago. God I wish I could walk
 
I have this.
I don't know what it is from.
The more I get involved in machining the more it makes sense to me.
Mostly wondering if anybody will recongnize it and know is purpose.
I'm sure it is missing some parts.
View attachment 43944View attachment 43945View attachment 43946View attachment 43947View attachment 43948View attachment 43949

Wow from 5 years ago.
Bill Gruby answered that it was hardness test equipment. If it wasn't for that I'd have been at a loss to know what I had in those pictures.
I still have those and have been trying to find more to go with it.
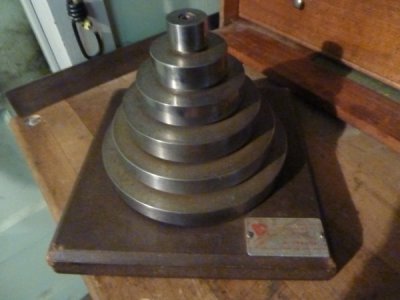
I did find the Wilson rockwell test block calibration set.
These two reside in my "tool & relic" china cabinet in the house.
Someday I'll find a hardness tester. I've come across a few for a good price but they are heavy and the shipping has killed the deal so far.
20171124_093040[1].jpg20171124_093124_001[1].jpg
 
The only credit I can take for these is ownership due to buying an old Kennedy tool box at an auction.

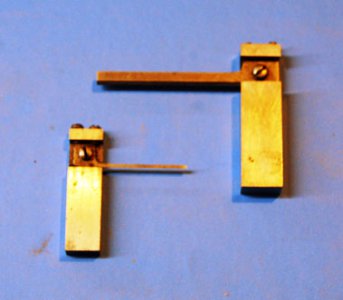
The beam on the small one is 1 3/8 long. The large one is dated 3-8-29.

They are adjustable squares. Both beams have ground knife edges on the bottom.

Two squares.jpg

The Color is way off, they are polished steel.

I also have a 48 inch .025 Starrett Vernier caliper. It is in its original mahogany case stamped USAAF, US Army Air Force. I've used it in the last month. Its too big to photograph.
 
A guy wandered into our shop last Friday, he is retiring and was selling his tools so my boss buys a bunch of them.

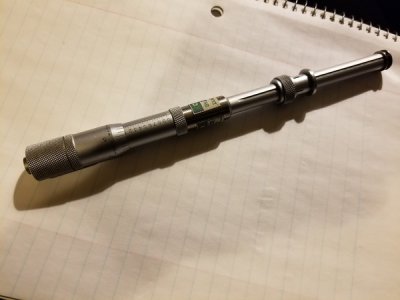
He gives me this, a Mitutoyo 0-1" intermal groove Mic with a March 2017 calibration, he paid $20.00 for it.
i-crCsnHG.jpg
 
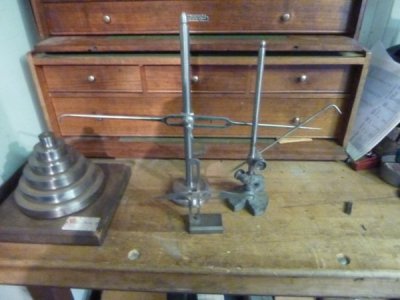
First, a micrometer setting fixture,1" to 6" I was told these were used at Mare Island Navy Yard so machinists could set their own mikes.
Second, a planer gage made by toolmaker Frank Way, back in the 1920s.
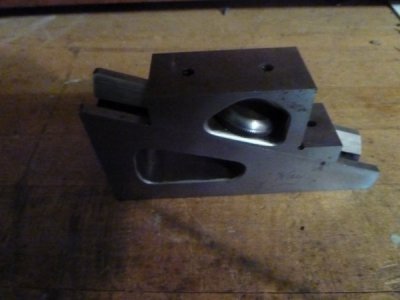
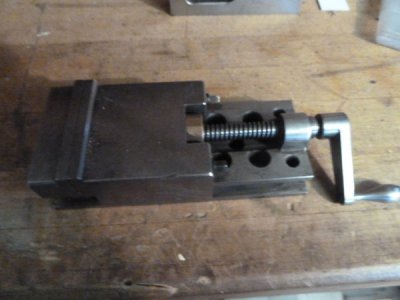
Third, a grinder's vise also by Way "It will grind as close as the machine can grind" Made in General Motors toolroom in the mid 20s.
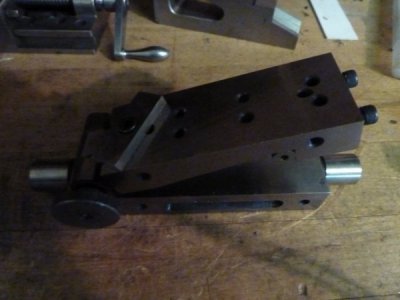
Fourth, a tilting sine fixture, by Way; it can be held on centers, in a collet or on it's base, 3" c-c.
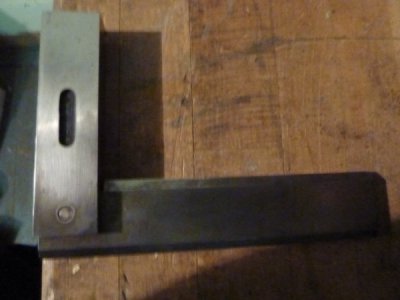
Fifth, an adjustable precision square, the blade pivots on the pin, and screws in the end of the beam project through to the blade for adjustment.
I bought some tools from Way back in the 1960s after he retired through an ad in the Machinist's Union Newspaper.
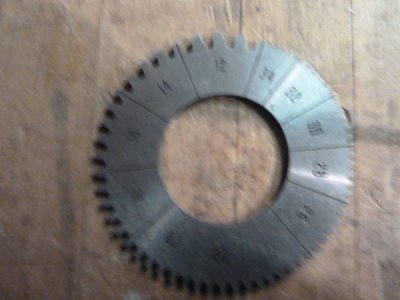
Sixth, a gear pitch gage; I think this was a Mare Island job.
Seventh, three unusual surface gages, the one at the right is Starrett, the others shopmade.
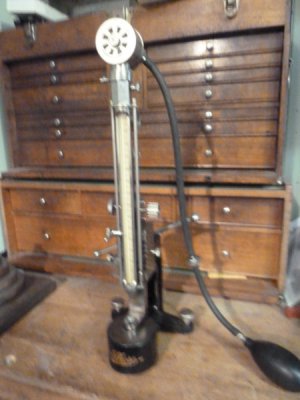
Eighth, a Shore Sclerescope hardness tester; it bounces a diamond tipped weight on the part being measured and measures the rebound; it measures hardness without leaving an unsightly mark as does a Rockwell hardness tester.
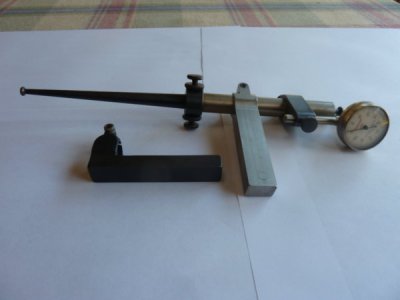
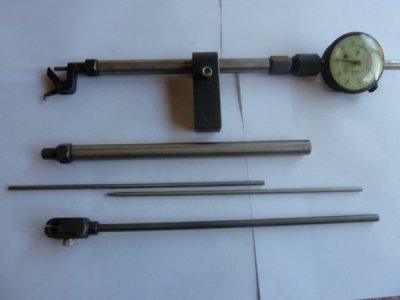
Ninth, a dial indicator tool for indicating in holes; the arm swivels in the center; a Mare Island tool, I made this one from a sample that I had.
Tenth, another indicator tool with swiveling contact point arm, can indicate a face, bore, or back face through about a 1 1/2" hole and 14" deep, also a Mare Island tool design that I made in my shop.
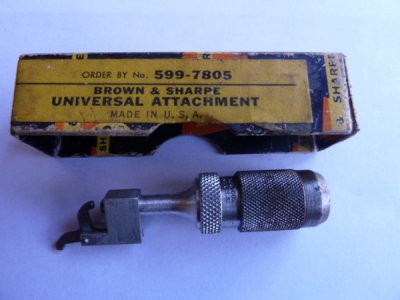
Eleventh, a similar bell crank indicator accessory by Brown & Sharpe.
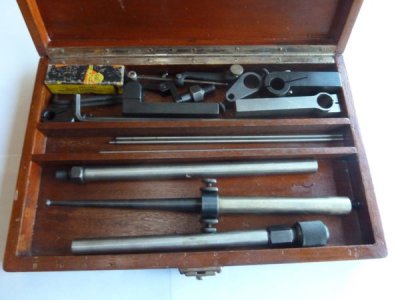
Twelfth, all the indicator stuff in a box that I refit to hold it all.

Click on the pictures to see the full images.
special tools 001 - Copy.JPG

special tools 002 - Copy (2).JPG

special tools 003 - Copy.JPG

special tools 004 - Copy - Copy.JPG

special tools 006 - Copy - Copy.JPG

special tools 007 - Copy.JPG

special tools 011 - Copy.JPG

special tools 012 - Copy.JPG

special tools 014 - Copy.JPG

special tools 016.JPG

special tools 017.JPG

special tools 018.JPG
 
Back
Top