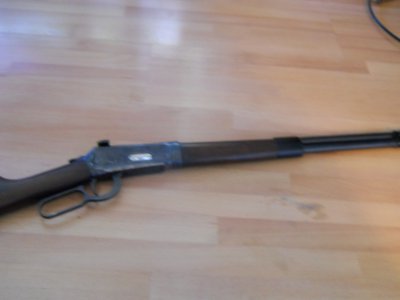
Sorry I didn't get any pictures. Anyway, I picked up a Sears version of the Win 94 for a reasonable price and decided to more or less follow the instructions in the NRA Gunsmithing Guide to convert it to a takedown. The guide said this would take about 5 hours. Well, I am a hobbyist, so it took about 3 times that. Step 1, procure a piece of 5/8" x 2" cold rolled steel. Well, I had none, and none was available locally, but I had some 3/4" hot rolled stock, so I cut a piece slightly oversize on my less than accurate little bainbridge horizontal band saw. I put that on parallels in my round column mill and face milled it slightly oversize for thickness, then end milled it to size in the other directions, then put it on sandpaper on a glass plate and lapped it smooth. The result was a piece cut to size and only several hours wasted. This was probably overkill, as the work piece will later be lathed or ground on 5 of the 6 sides, but it made an easy to lay out.
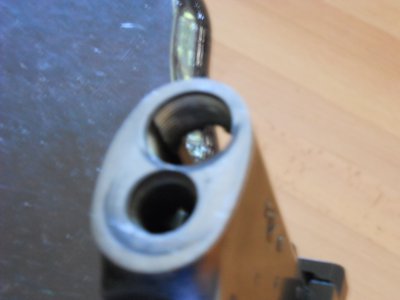
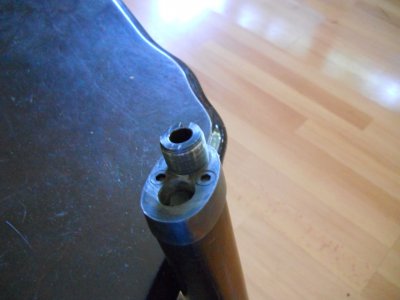
Step 2 lay out center lines and mark for and cut two holes, one for the barrel, and one for the magazine tube. As I see it, the critical dimension is the distance between the center of the two holes. The barrel hole must end up one thousandth less than the machined area on the barrel, but that could be accomodated later with the lathe work. The other hole needs to end up a couple of thousanths larger than the magazine tube for a sliding fit, but the relationship between the two holes must be close to exact. Nevertheless, I wanted to cut these holes to size, as well as location. The ideal way is probably to drill, then ream them. However, I did not have the drills or reamers in the appropriate size, so, I chose to drill undersize, then bore them on the mill. Step one of this was to use an acidulated copper sulfate solution to lay down a thin coat on which to scribe center lines, then mark and center punch the centers of the two holes needed. Then mounting the work piece on the mill, I first center drilled, then drilled the two holes using the graduations on the mill table to confirm the locations of the center punches. Next, indicating the holes, I snuck up on the desired diameter with the boring head, cleaning out the holes with several passes without moving the adjustment as I got close to avoid as much as possible tool springing and tapering of the holes, measuring with a hole gauge and micrometer. I was pleased with the final dimensions, as they were as close as I could measure to the suggested dimensions in the Guide. Now two holes must be drilled, counterbored, and tapped for two 1/4-20 cap screws. These are used for future wear adjustment, and also to secure the forend to the action. I didn't like this latter use, as there is very little wood left after drilling the holes for those screws, so, I deviated from the book, and instead of cutting the handguard off, and relying on these screws, I put the plate into my rotary table, and machined a groove to match the forend. That resulted in a much more secure attachment, without weakening anything critical.
Now it was time to tear into the rifle. Step 3 was to strip the rifle down and pull the barrel. That involved building a bushing for my barrel vise, which I made of oak, then coating this with powdered rosin, tightening down on the barrel, and putting the assembly in my bench vise. As this is a straight sided action, I covered the sides with masking tape, and used a smooth jawed monkey wrench as the action wrench. A quick jerk, and the action unscrewed smoothly from the barrel. Up to now, the work could all be reversed, but now it was time to alter parts of the rifle. A section of the barrel must be lathed off to accomodate the plate previously made. The dimensions here are critical. First, the length of the section machined must be about two or three thousandths less than the plate thickness to accomodate final fitting. Second, the diameter of the cut section must be a thousandth over the hole diameter to allow for an interferance fit. So, I put the barrel into my 7x12...at least I started to put the barrel into my 7x12 lathe. I couldn't get it to go through the headstock. I had previously cut down the front sight and dovetailed it to match the peep that I had installed, and I had removed the insert, so it should fit. I got out my mike, and miked the end of the barrel, and checked the listed spindle bore dimension. It should fit. Checking, there was enough accumulated crud in the bore that it wouldn't go. After cleaning that out, it fit. I carefully centered my 4-jaw, and the rear spider, and supported the chamber, and carefully cut away the necessary material, then went back and chamfered the hole in the plate so that it would fit snug to the end of the lathed section. Now for the action, "remove the lip so that the front face is flat". I decided to do this with a file, then lapped the surface smooth and flat. That seemed to work well, and obviated the need to try to make a solid jig in the mill.
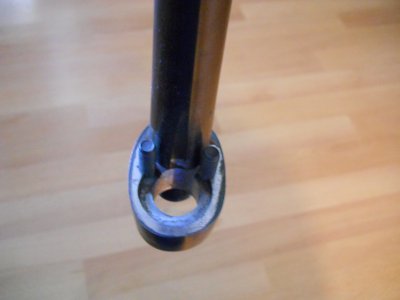
Now it was time to fit the plate to the barrel. I got some dry ice, and put it in a wide mouthed thermos, along with some denatured alcohol, and soaked the barrel. This results in a temperature of about -109 degrees F. I also heated the plate to about 130 degrees. That just about exactly changes the dimensions by .001" Then, using a deepwell socket and leather mallet, tapped the two pieces together. That resulted in an easy fit that allowd carefully aligning with the vertical centerline of the barrel (also critical) while the parts were at different temps. After the temps normalized, this makes for a very secure attachment.
Screwing the resultant into the action, left it tight short of aligning, which is the desired result. I then put the barrel assembly back into the lathe, and took a very light cut on the plate. Re-fitting onto the action, I was close, but not able to line up completely. Not trusting my lathe skills, I finished this off by spotting it in with a diamond hone until it aligned perfectly with a bit of effort. Sure enough, the magazine tube and extractor would both slide home.
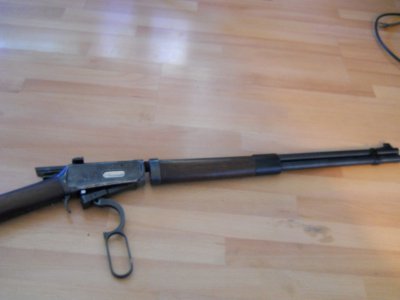
Next, I scribed the plate to match the oval contour of the action, and used a hacksaw to knock off the corners. Then using a 1" belt sander and progressively finer grits, I cut the plate down to the scribed line, then reassembled the gun. It did take a slight modification,as the forend now extended about 5/8" farther on the barrel, which required filing a groove for the securing screw in the barrel.
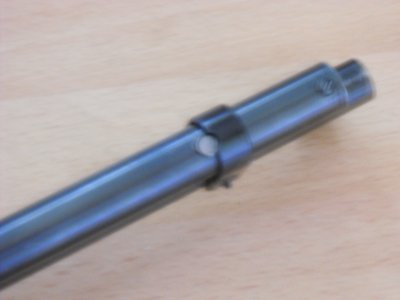
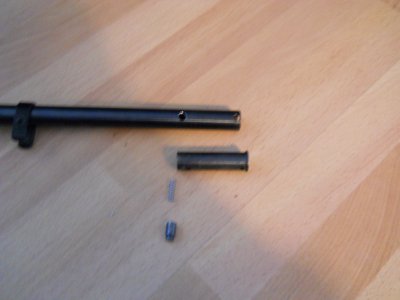
Now to modify the magazine to slide out for takedown. This involved building a new end plug long enough to extend beyond the barrel band, and drilling through the magazine tube and plug, then building a push button. I successfully cut the hole with an end mill, but that probably is not the best way to accomplish this, as it is hard to cut through the diameter without wandering off line, but I was lucky and it came out right. The new plug is then drilled larger, and a stepped plunger is made to go into a recess in the barrel band. Then the hole in the band is enlarged to allow for a sliding fit to the magazine tube, and the two areas where the magazine tube abuts cross screws, at the barrel band and at the front of the forend are machined flat for about an inch to allow for a sliding fit. I also added a 4-40 x 1/8" set screw to the barrel band to further secure it. I found that the front band on this rifle was aluminum, but a little aluminum black made it look right. I then cold blued the steel parts, and was done.
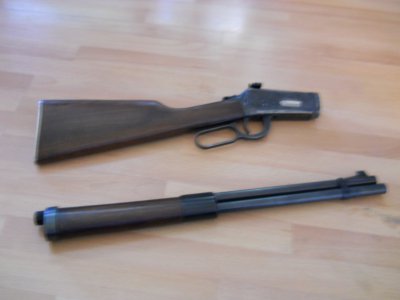
To take down, then, all it involves is to open the cocking lever to pull back the extractor, then push the button on the magazine tube and slide it out an inch, then unscrew the barrel. The result is two piece about 20" in length that can be stored conveniently. I have not included any dimensions, as they are all in the NRA book, which is a very good guide to this procedure.


