Making One Washer

Check out myfordboy's youtube channel. He is always cutting sheet metal on the lathe, using some of the techniques given here and using some other ideas too.
 
The tolerances are pretty loose in this whole problem

That really makes things easier.

There are many ways to skin this cat. My personal choice would be all drill-press solution; hole saw the outside, clamp the ring down, hole saw the inside using the same centre hole......just because I could do it so quickly.

Do you have either a set of inside jaws for your 3-jaw chuck or reversible jaws for the 4-jaw chuck that are small enough to go into the 1" ID?

Another useful device is an expanding collets, they can be bought or made:
http://www.bealltool.com/products/turning/ix_collets.php

The shop made ones are typically a "stepped cone" with a number of stopped axial slits and a tapered internal thread (pipe thread) and plug that goes into the end. The work is placed onto an appropriate "step" then the plug is screwed in to expand the cone and grab the part. If I was at home I'd include a photo of one.

One advantage of this type is that the part can be pressed against the shoulder of the next bigger step to help overcome the problem that @mmcmdl mentions above. They are useful for turning parts like washers and rings.

also a related thread:
http://www.hobby-machinist.com/threads/how-to-do-it.33081/

-brino
 
Last edited:
for 1 off big washers I save old saw blades, tile cutter blades and the like. straight in the three jaw chuck, bore or trepanne the ID then measure and sharpie mark the OD, and trepanne that out, less than 5 minutes. Made one a couple of weeks ago for a 2-1/2 sink waste.
Phil
 
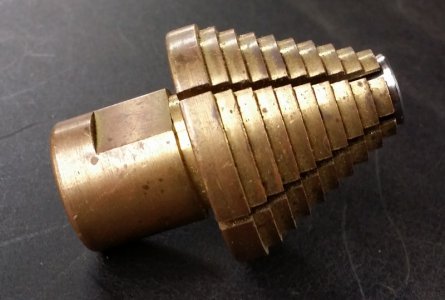
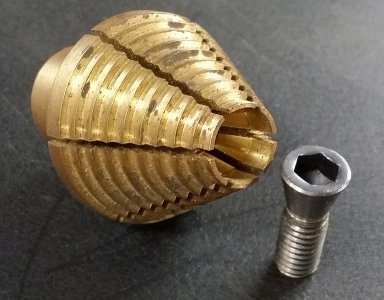
Here's some shots of the "stepped cone" expanding collet:

profile.jpg end.jpg

The shoulder of the next bigger step helps get the washer square to the lathe axis.
This one is meant to thread directly onto a small lathe spindle.
The smallest step is about 5/8" diameter, the biggest about 1-5/8".
It is about 2-1/2" overall length.
The screw has a tapered head that rides on a tapered hole above the threads for the bolt.
-brino
 
Last edited:
Brino , that's a nice home project for everyone and and a handy little fixture . We made them quite frequently drilling the hole and tapping with a tapered pipe tap . Same results . I nice ID holder .
 
A simple method, made several of these Friday afternoon, not actually washers as they get some mill work done to them, from the drawings they appear to be some sort of flanges used in a linear motion assembly.

This is 6061 aluminum but I would do it the same way in steel.

2 1/4" OD X 1.063" ID X .188" thick. All dimensions +- .005

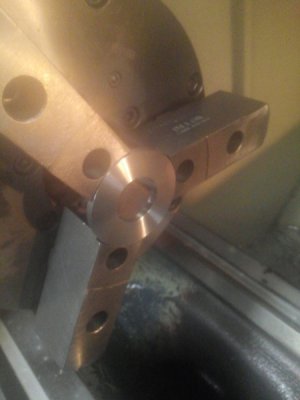
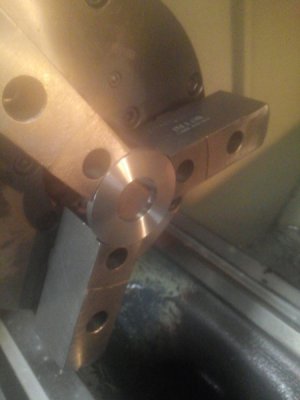
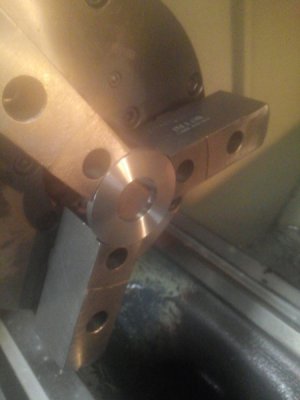
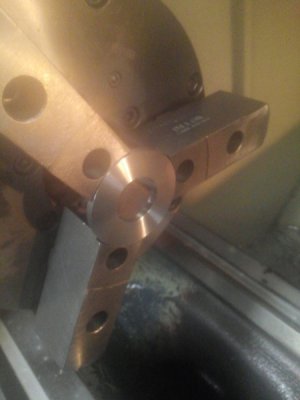
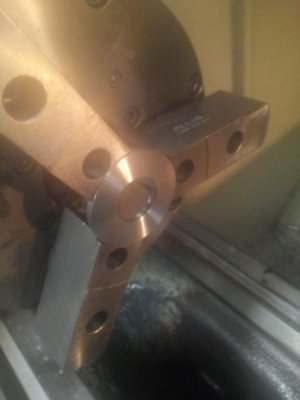
Install suitable soft jaws on chuck, the jaws in the pic are the wrong diameter for the stock but this does not matter as the material is 2 3/8" they do however have the proper sized pocket to hold the finished part.
Face the stock then turn the finished OD, rough drill the bore, in this case I used a 31/32 drill.
Turned with an 80° diamond aluminum specific insert, 1000 RPM's, .008 IPM feed and .032" DOC
Drilled at 530 RPM's from the tail stock with a 31/32" S&D drill without a center drilled or spotted hole, also no pilot hole, straight in with the .980" drill.
drillandturn_zpshwxwzunh.jpg

Finish the bore with a boring bar, used a 1/4" shank bar because I had used it on the previous job that had a .6254 +.0005 -.0000 bore and 0nly had to go from .980 to 1.063 on these parts. 1000 RPM's, .015 DOC and .004 IPM feed. I left them .010" long for finishing.
bore_zps7idtbjhb.jpg
Part off, Kyocera .125" wide insert parting tool 500 RPM's .002 Feed rate, caught the part with a T-handle hex key.
part%202_zps2pjer905.jpg
Place parts in jaw pockets and face off the .010" left, this customer requires very nice surface finishes and the parting does not leave a suitable finish itself.
Done, including set up, changing jaws, adjusting the chuck, picking out the tools and programming, the first part came off in less then 45 minutes.
This is in a chucker CNC lathe, it is possible that I could have done it faster on a manual lathe for one part but the chucker is superior when making several parts.
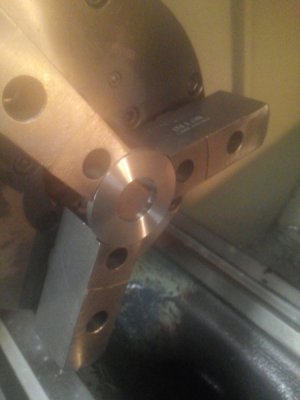
finishface_zpsu4lhqtlb.jpg

drillandturn_zpshwxwzunh.jpg

bore_zps7idtbjhb.jpg

part%202_zps2pjer905.jpg

finishface_zpsu4lhqtlb.jpg

drillandturn_zpshwxwzunh.jpg

bore_zps7idtbjhb.jpg

part%202_zps2pjer905.jpg

finishface_zpsu4lhqtlb.jpg

drillandturn_zpshwxwzunh.jpg

bore_zps7idtbjhb.jpg

part%202_zps2pjer905.jpg

finishface_zpsu4lhqtlb.jpg

drillandturn_zpshwxwzunh.jpg

bore_zps7idtbjhb.jpg

part%202_zps2pjer905.jpg

finishface_zpsu4lhqtlb.jpg

drillandturn_zpshwxwzunh.jpg

bore_zps7idtbjhb.jpg

part%202_zps2pjer905.jpg

finishface_zpsu4lhqtlb.jpg
 
Last edited:
Back
Top