- Joined
- Nov 10, 2013
- Messages
- 837
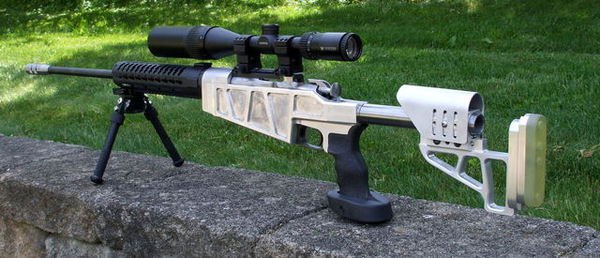
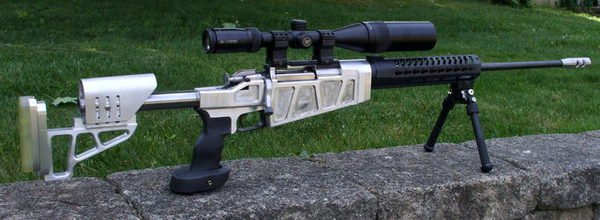
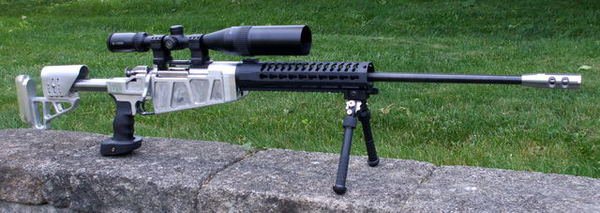
After the 7.62x54r mauser I decided to build a Mosin in the same style for comparison.
I was given a barreled action that had already had some modifications done to it, an ATI bolt handle and scope rail were mounted. The ATI scope rail is beefy but only contacts the receiver ring with nothing in the rear to keep it from bouncing from recoil after the weight of a scope is added. Having done a little slow-motion recording I knew it was going to happen.
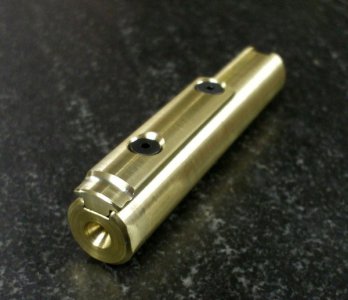
I started by removing the scope rail and welding up the screw holes for a fresh start. I made a brass welding backer to fit into the chamber area so I wouldn't have to fight a bunch of weld blobs inside the chamber when I was done.
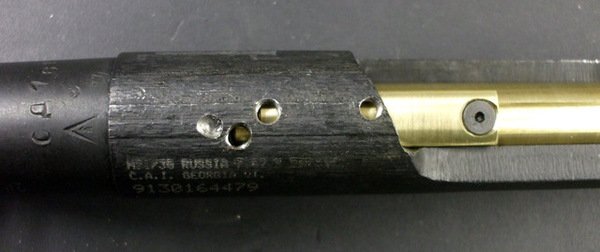
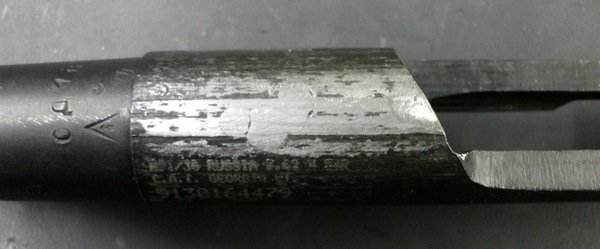
This rifle started life in 1943 and the receiver is rough as a cob, given that the Russians were manufacturing to save heir lives all it needed to be able to do was shoot and no time was wasted on finishing.
Because of the ATI bolt handle mod the original handle was already gone and a tapped hole was left in it's place. I was moving the handle anyway so all that was left was to weld up that hole too.
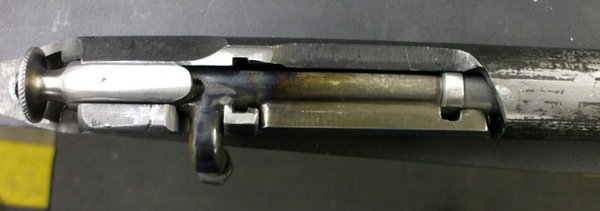
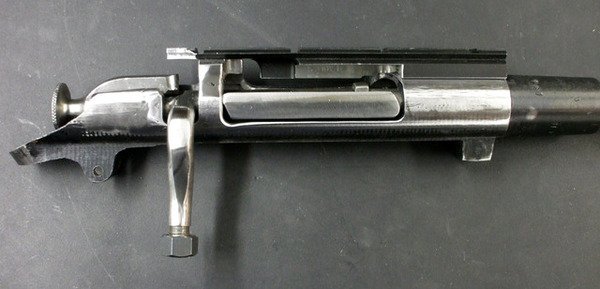
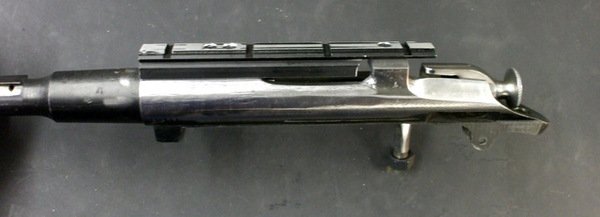
I took a guess at the length I wanted and turned a new handle on the lathe with a slight taper and milled 2 flats so it'd look pretty after the rifle was complete. I tig welded it to the bolt body an inch or so further back than the original would have been.
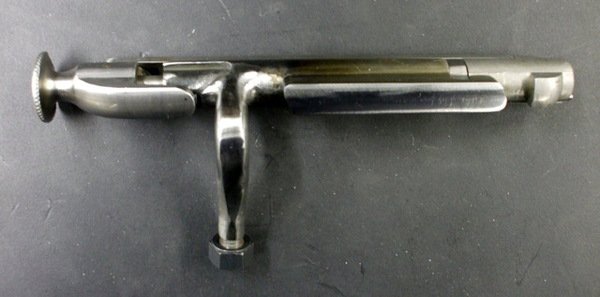
I had to shorten the cocking knob extension back to where it's lower lip made contact with the back of the bolt. I don't know much about M-N's but I read that that lip was part of a safety system and didn't want to remove it.
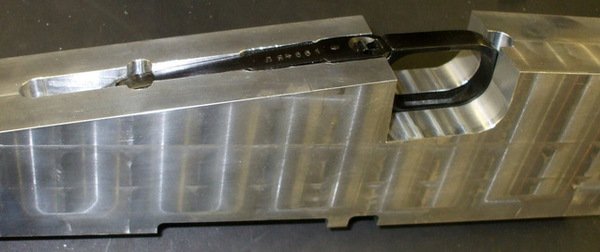
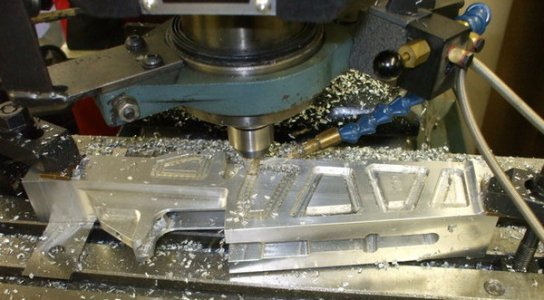
Next the receiver went back to the mill and I cut the notch for the newly placed cocking handle.
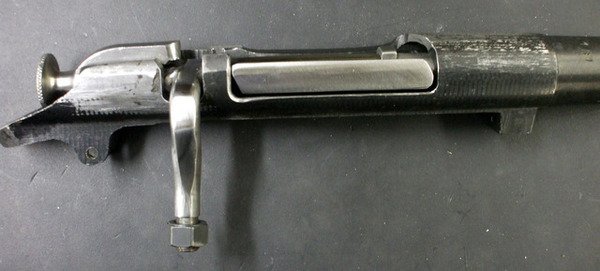
I was given a barreled action that had already had some modifications done to it, an ATI bolt handle and scope rail were mounted. The ATI scope rail is beefy but only contacts the receiver ring with nothing in the rear to keep it from bouncing from recoil after the weight of a scope is added. Having done a little slow-motion recording I knew it was going to happen.
I started by removing the scope rail and welding up the screw holes for a fresh start. I made a brass welding backer to fit into the chamber area so I wouldn't have to fight a bunch of weld blobs inside the chamber when I was done.


This rifle started life in 1943 and the receiver is rough as a cob, given that the Russians were manufacturing to save heir lives all it needed to be able to do was shoot and no time was wasted on finishing.
Because of the ATI bolt handle mod the original handle was already gone and a tapped hole was left in it's place. I was moving the handle anyway so all that was left was to weld up that hole too.
I took a guess at the length I wanted and turned a new handle on the lathe with a slight taper and milled 2 flats so it'd look pretty after the rifle was complete. I tig welded it to the bolt body an inch or so further back than the original would have been.

I had to shorten the cocking knob extension back to where it's lower lip made contact with the back of the bolt. I don't know much about M-N's but I read that that lip was part of a safety system and didn't want to remove it.
Next the receiver went back to the mill and I cut the notch for the newly placed cocking handle.


