Vise is done! Here was the day or two leading up to finishing it.
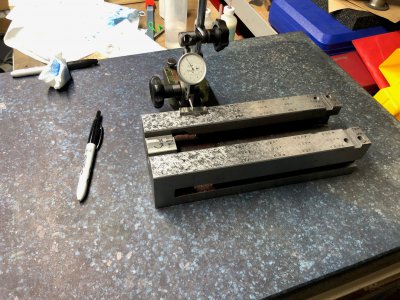
Continued work on the bottom, scraping for flatness, bearing, and parallelism to the bed.

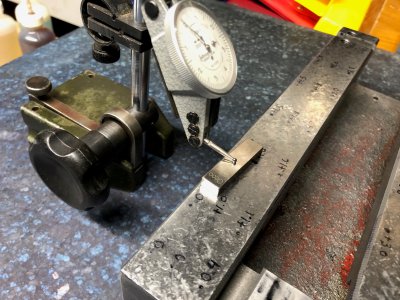
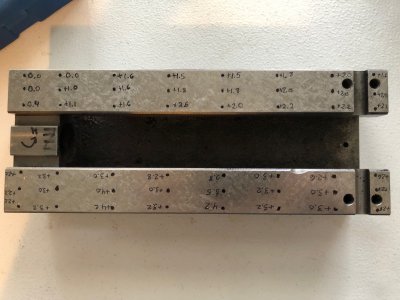
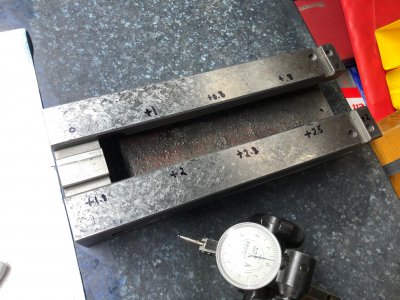
Measurements of the bed surface indicated about 2 tenths of convexity in the surface. More careful hinging also seemed to indicate this, although difficult to tell once it is this flat.

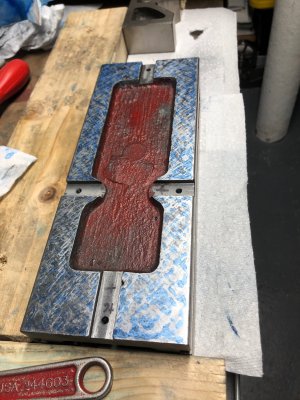
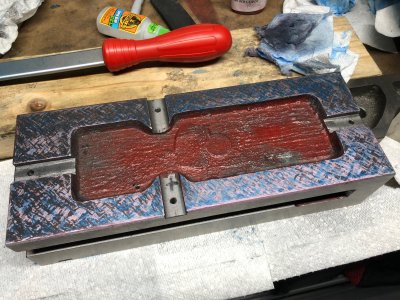
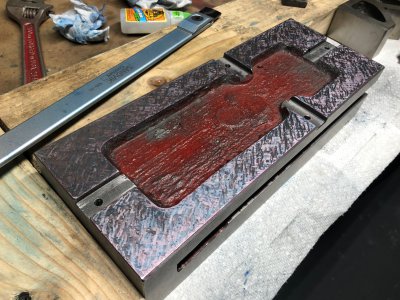
More scraping on the bottom to remove the wedge from side to side - about 2 tenths. Using red canode as contrast.

Light scraping for increasing bearing. This surface is less critical to me for fineness of surface.

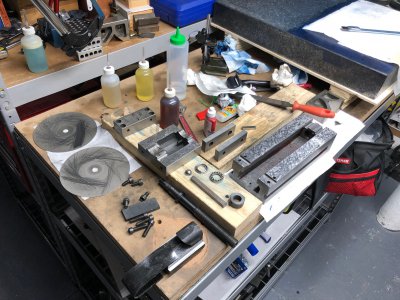
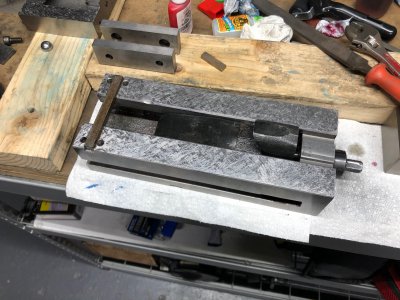
Here is how my bench looks while scraping (a bit more cleaned up since I have the extra pieces of the vise pulled out in this photo). The surface plate takes up about 1/3 of the bench, some 2x4's provide good blocking to hold the vise in position while scraping. The diamond lapping wheels on the left are used for hand sharpening.
The vise nut (black slide at the very bottom of the photo) has rough milled slides, which seem of sufficient quality for the job they do. Unfortunately both slides has dings which were the only bearing points as shown by the wear pattern. I stoned these slides with a sharpening stone and got better contact. They are too small to bother scraping, nor is the inside edge of the vise of ground or scraped quality.

Starting to fit the vise back together. I took a full hour to deburr and edge break all the components as well as give it a deep clean.

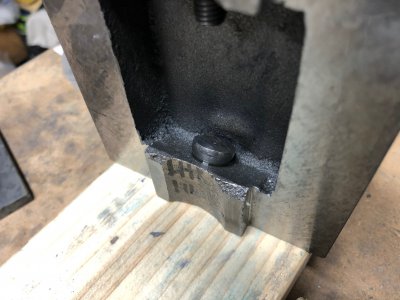
There is the half ball to reduce jaw lift. Mine seems to be better than a lot of the import vises I see people talking about in this regard, however the cast socket that mates to the ball is rough cast and not super smooth.

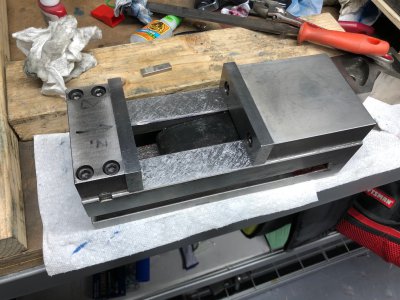
Here is the vise assembled.

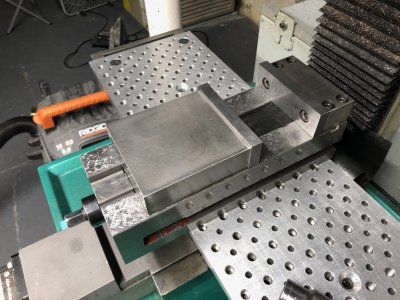
And back on the mill.

I would have to guess I put about 40 hours into this vise, although I wouldn't call all of that time super productive.
The surfaces are flat and parallel within 0.0002 all over, but most areas are within 1/2 tenth. The jaw lift adjustment screw can be tightened MUCH tighter than before without binding which is a testament to the improvement of the bedways and moving jaw slides.
The screw was cleaned as was the thrust bearing (lots of chips in there). The Chinese must have invented the class 4B thread for the screw retaining jam nut (visible on the left side of the vise in the image above) as a special for this vise. The nut was loose enough that it slid over the major diameter of the threads on the screw for about 1/2 of the length, and just barely threaded for the rest. It is retained with 2 setscrews which crush the threads underneath and probably contribute 95% of the strength of that fastener - what garbage.
Here are a couple more things I learned:
-My Interapid DTI (0.0001") is not very repeatable in the sub-tenth range of measurements. I think any influence (dust, heat expansion, stickiness in the indicator movement, etc.) contributes to measurement error at this range.
-Determining convexity, concavity, twist, etc in the 1-2 tenth range is difficult, at least with my surface plate and measuring tools.
-My indicator base needs to be scraped, it is not flat enough to be reliable in single tenths measurements.
-Changing the inclination of the scraper reduces the cut width and is useful for more accurate high pointing.
-As a righty, scraping 45 degrees to my left is easier than 45 degrees to my right. My body gets between my hands and the work and makes the posture more difficult. Don't know the solution.
-I purchased a 30mm optical flat ($20) to bridge high spots rather than the gage block. I might break it but I think the larger contact area will be preferable to the gage block.
-I still want to pick up the AQUA WASH version of the Charbonnel. I don't find the high spot blue to be *that* messy though.
-My surface plate has a 2" x 1" divot along the back edge, roughly 0.0008" deep. Was never lapped flat - ugh. I have to avoid this. Otherwise my poor man's repeat-o-meter readings using a DTI on a base gave deviations no greater than +/- 0.00015. This is probably sufficient for my needs at this point.
-Part of my inaccuracy when mounting the vise on the mill comes from bending of my 5/8" thick aluminum tooling plate (last photo) as the clamps holding the vise are tightened. Now that I know the vise is true, I can contribute all the error to my machine and workholding setups.
All in all I am very happy with the outcome. I took a cheap vise, all I could afford at the time, and turned it into a much higher precision tool which should last me a long time. The 40 hours spent on it also taught me some scraping fundamentals which I will carry forward with me to my next scraping projects (a CI parallel, a CI surface plate, and hopefully a dovetail straightedge and eventually my G0704 mill).
I want to thank everyone who contributed and has answered my questions.
-Mike


