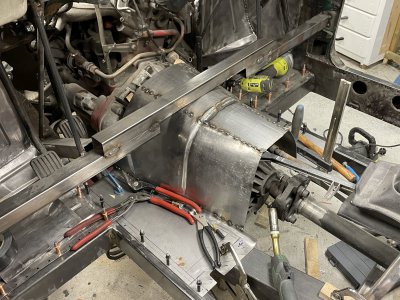
Random little break to reorganize the garage and help out a friend with his car.
Long story short:
-Garage is chaotic and dirty. Bunch of drawers have over time become extremely disorganized.
-Friend discovered a bunch of rust above the rear subframe and the subframe itself is also in poor condition, on his fairly nice BMW, quite a big project with removing exhaust system, subframe, disassembling it etc. Took a surprising amount of attention and energy away from my volvo.
Regarding the first point. I made this bench ~7 years ago and it's definitely accumulated a fair amount of dirt over time as it's all untreated wood.
In the photo I've already sanded everything with 40 grit paper, the 'dust' coming off was oily enough to use like a loose clay.

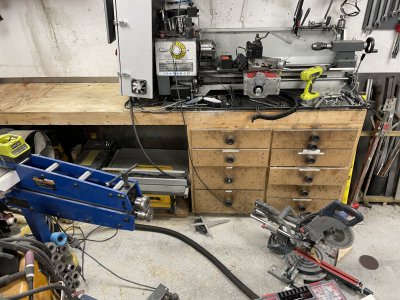
Since I had already started disassembling/removing stuff I just kept going, pulling out all the drawers etc.
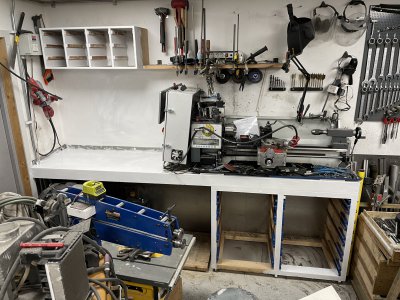
"Final" product.
-Everything is painted white(to make the room brighter, will definitely get dirty fast but still a mile better than plain wood.
-Built/painted sorting box holder to the left to both get rid of some sheet material I had and to be able to pull out a single box instead of rearranging the entire stack everytime I need something. Still need to label the boxes so it's easy to see which one to pull out.
-Replaced the drawer knobs with proper handles, much nicer to grip and you don't get stuck on them if you brush up against them.
-Added a proper shelf to the right of the compressor. Before the miter saw was stacked on the table saw etc, again a situation where you had to take everything out everytime you wanted one of the tools = inefficient and annoying.
-Used latex sealant around the entire drip tray of the lathe, should both reduce resonance and avoid small items/dirt getting in underneath and collecting.
-Reshaped all drawer fronts to have a nice chamfer.
-Moved the black allen keys over to match the "new" lathe position, these were far left before(where lathe used to be) and super annoying to go get.
-Furthermore all drawers have been emptied and reorganized so each is of the same category ie top is drills, second is tap/thread related, third is sanding related, fourth is grinding related and so on. Still need to label these up.
Still plenty of stuff to clean up and sort in here but it's a work in progress, basically everything laying loose needs to find a home.
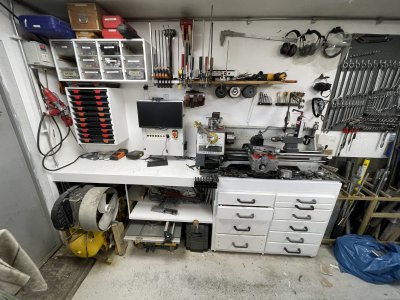
It is HOWEVER good enough and I've reduced the 'garage clutter' enough that I can resume work on the volvo!

Quite a bit of work that's hard to show to get to this point.
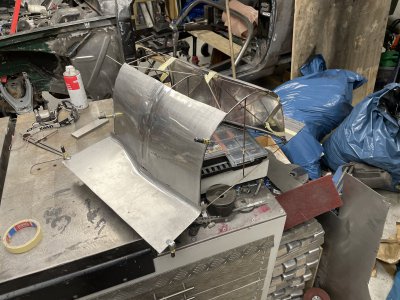
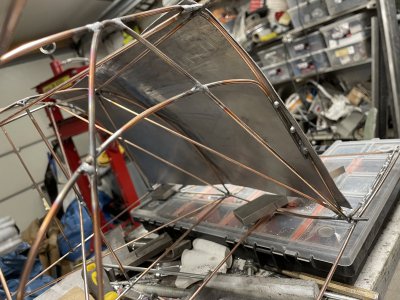
The wire buck wasn't serving it's purpose anymore as it's become too beat up and crooked, should've made it sturdier and spent more time trying to make it symmetrical/smooth.
Basically this made it very difficult to judge how symmetrical the pieces were and keep all shapes in order.
I marked some important measurements up on a sheet of plywood(transfered from buck) and screwed these parts onto the plywood so the "floor" part was flat.
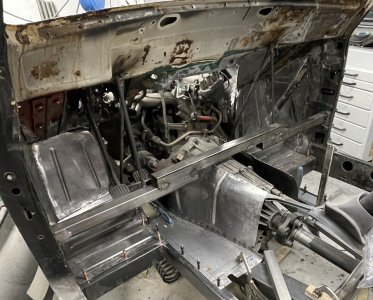
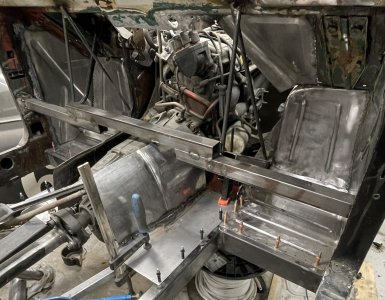
After that it was much easier to judge what needed to be adjusted and so on, some rough adjustments later I could start drilling both sheet and car to cleco it in place.
I've added temporary supports underneath to make sure the sheet is still flat in the car and wooden blocks have been added to the gearbox to keep the proper distance from it.
Next step is to make some kind of symmetry line and do some "final" adjustments to the upper edge before I can start making the piece that will connect the two sides.
