2013 POTD Thread Archive

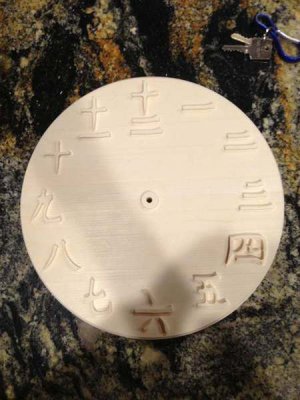
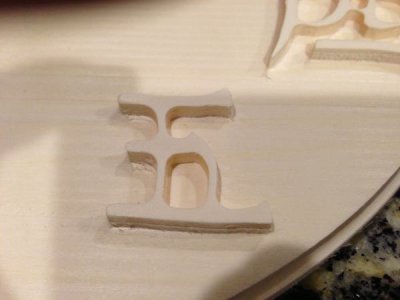
i had someone at the zone convert a clock with Chinese characters on it to dxf so I could test my cnc router. It is for my 6 year old who is in Chinese immersion school. I finished my router and this is my first project, to work. I messed it up the first time. I have a feeling he is going to love it.

Thank you to the people that helped me out with this.

He's the pics---
ypadymab.jpgvygena5a.jpg
 
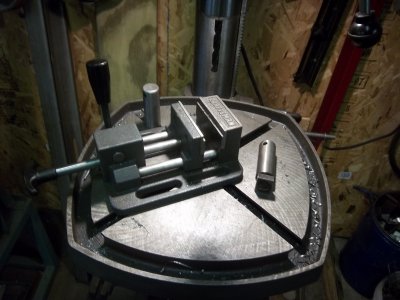
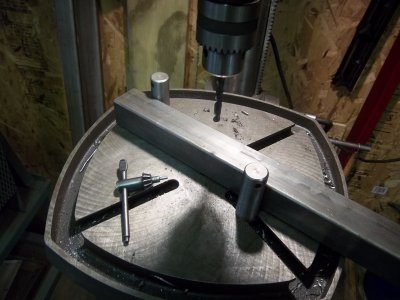
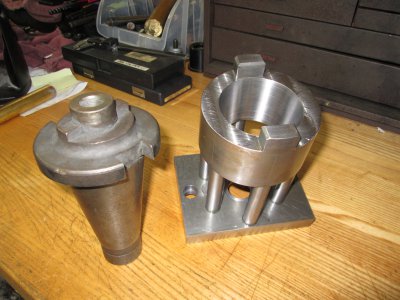
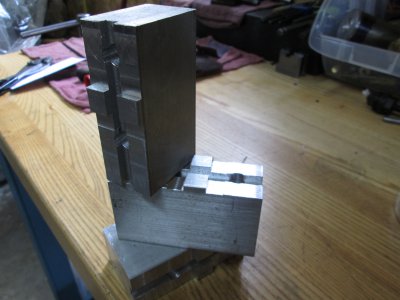
Here's something simple you may want to make. I made these stops to use on my drillpress. They are just T-nuts with a stud and a drilled and tapped shaft. They have a cross drilled hole to tighten them with the chuck key handle. Just so your vise or workpiece isn't caught and spun out of your hand. Since we all have a habit of drilling stuff without bolting it down.

100_8471.JPG 100_8472.JPG
 
Here's something simple you may want to make. I made these stops to use on my drillpress. They are just T-nuts with a stud and a drilled and tapped shaft. They have a cross drilled hole to tighten them with the chuck key handle. Just so your vise or workpiece isn't caught and spun out of your hand. Since we all have a habit of drilling stuff without bolting it down.

Great idea and simple to make - I like simple!

Duncan
 
Here's something simple you may want to make. I made these stops to use on my drillpress. They are just T-nuts with a stud and a drilled and tapped shaft. They have a cross drilled hole to tighten them with the chuck key handle. Just so your vise or workpiece isn't caught and spun out of your hand. Since we all have a habit of drilling stuff without bolting it down.
Thanks for posting this.
The idea is not only practical and useful but surely effective.
Will definitely save someone from an accident - and they happen, we know !!!
Take care
aRM
 
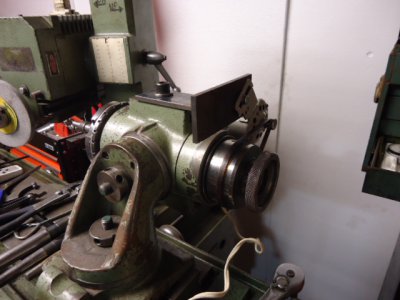
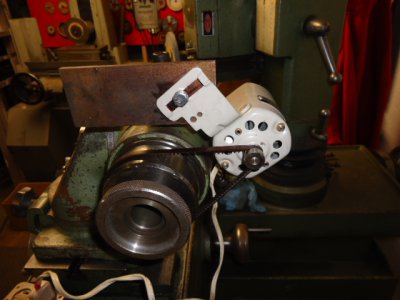
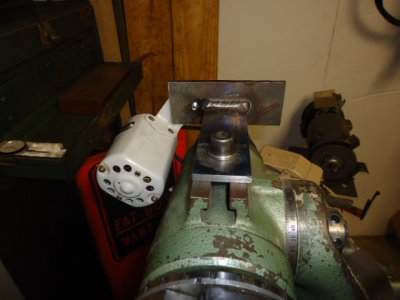
Picked up a working sewing machine at a garage sale today for $5.00. Immediately dismantled it for the motor and pedal then scavenged some hardware (all metric). I made a mount for the motor and made myself a nice powered work head for my tool grinder. Still need to drill & tap another hole in the mount so I can reverse the motor and/or the whole assembly. Really should replace the pedal for a rheostat.

Powered Workhead (1).JPG Powered Workhead (2).JPG Powered Workhead (3).JPG
 
Finished leveling my lathe (Enco 12 x 36) with a precision level then fine tuned it using Rollie's Dad's method. Leveling was a real pain but eventually I was able to get it within one bubble on both ends both laterally and longitudanilly (is this a word?). I used a 10" level and each division on the scale represents .0005". Using a 2" piece of cold rolled steel with 20" of stick out I was able to get repeatable readings that indicate headstock to way alignment is within .001" both vertical and horizontal. Not bad considering I'm taking indicator readings about 19" apart. Next step is to make a two collar test bar and prove out the alignment. I'll post the results when done.

Tom S
 
Here's something simple you may want to make. I made these stops to use on my drillpress. They are just T-nuts with a stud and a drilled and tapped shaft. They have a cross drilled hole to tighten them with the chuck key handle. Just so your vise or workpiece isn't caught and spun out of your hand. Since we all have a habit of drilling stuff without bolting it down.

Cool idea, will have to make some for my drill press.

M.L.Woy
 
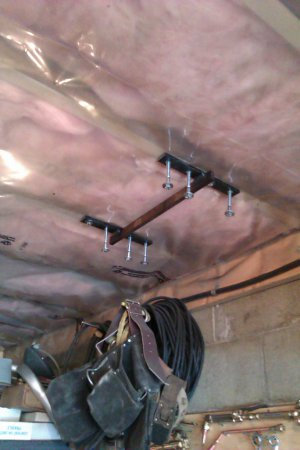
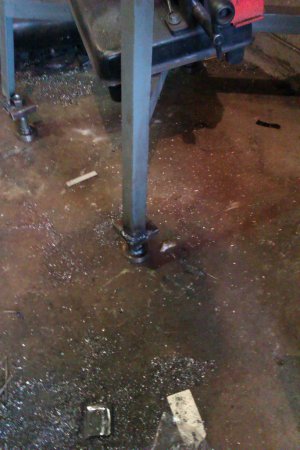
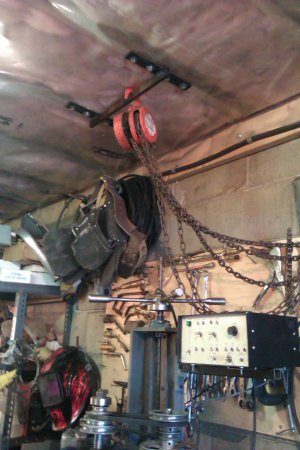
Made some adjustable feet for my mill, then had to figure out a way to get them on. Since its to heavey to tilt, I rigged up a chain hoist which worked well.

IMAG0130.jpg

IMAG0131.jpg

IMAG0132.jpg

Wasnt sure if the hoist plate would take the weight, but had no issues at all. Next is to brace the bottom of the legs (put a shelf on the bottom) and make a coolant tray.

IMAG0130.jpg IMAG0132.jpg IMAG0131.jpg
 
Back
Top