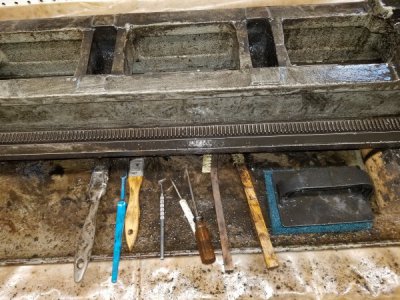
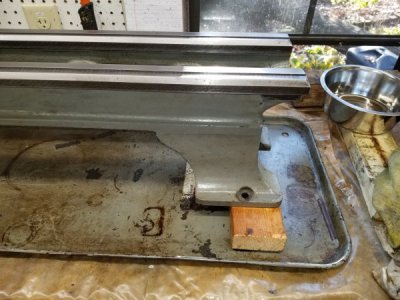
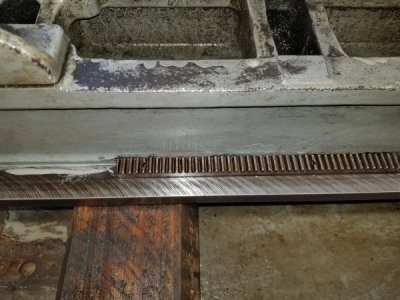
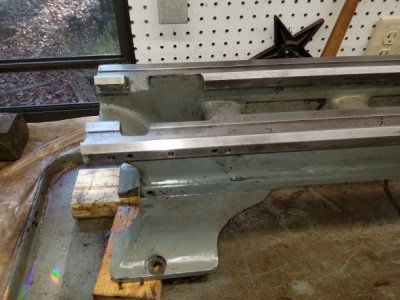
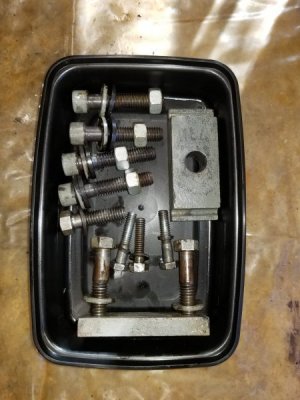
My first retirement project - Logan 820 clean up and put back together.

Day 2

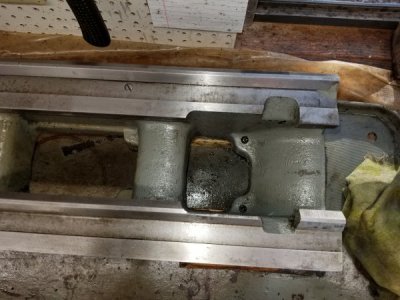
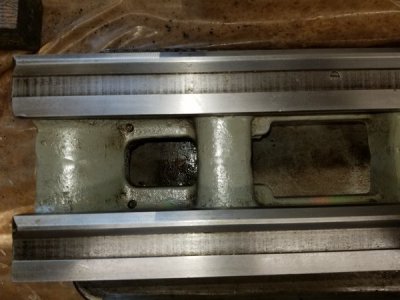
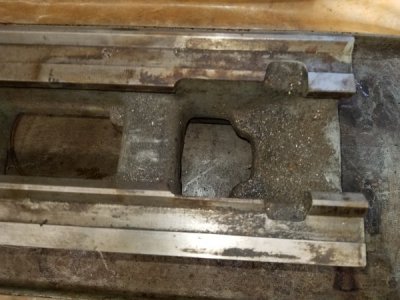
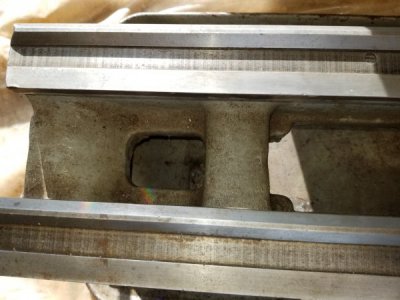
Well it looks like some of the grease residue is probably as old as the lathe. Serial number is 59563 which would make 1952 as the year of manufacture, if I am reading the chart correctly (which I did not do last week). Well, we have all heard of the “measure twice cut once” rule and part of my coping with my aging process is I now “read several times” to make sure I understand what I am reading. That along with spell check help keep my mild dyslexia in check.

For non-critical work such as cleaning I like to listen to music so I listened to the “Paul Butterfield Blues Band” via Spotify on my new vintage Boston Acoustics HD-8 speakers, which really sound good in a small 10'x14' shed. Nothing like getting lost in some music while cleaning up old gunked up grease off a lathe bed. Need to buy another gallon of WD-40 as I like to use that for cleaning up stuff and hope to have the bed cleaned up by tomorrow.

Buy the way it is great fall weather around here for this cleaning up as I like good ventilation when working with WD-40.
20181118_1.jpg

20181118_2.jpg
20181118_3.jpg
 
Could consider bringing all those large parts to a manual car wash. Blast all that grease and crud off with high pressure soap water, rinse with clear water, bring home then cover with WD 40 to keep away rust.
 
that's how I got the gunk and some of the paint off mine, I used a portable power washwer the ones at the spray booth dont have the pressure required for good paint removal ;p (they need the tips changed) but the el cheapos you can buy for personal use do well. I worked from different angles until the majority of the goo and paint was gone then wire wheeled the rest off, wiped of the water droplets and taped off the machined surfaces then hit it with a primer spray bomb. was easy back when it was warm out this time of year could be a bit of a handful
 
Could consider bringing all those large parts to a manual car wash. Blast all that grease and crud off with high pressure soap water, rinse with clear water, bring home then cover with WD 40 to keep away rust.
Since I work by my self the effort it would take to load/etc is not worth it to me and I have plenty of time and enjoy getting lost in tedious tasks such as this cleaning entails. Not really worried about rust as my shed has good ventilation and I keep my metal equipment covered with used cotton sheets and leave a small fan running 24/7.
 
Day 3&4

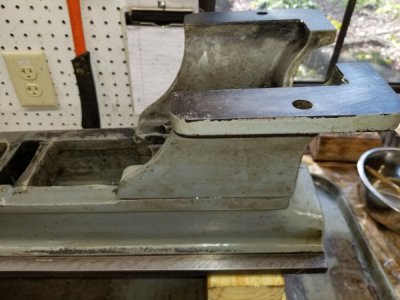
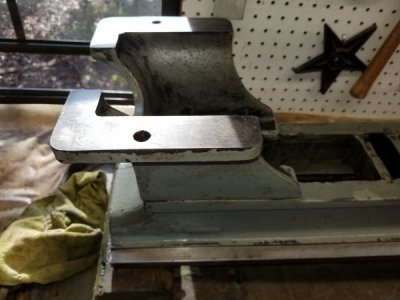
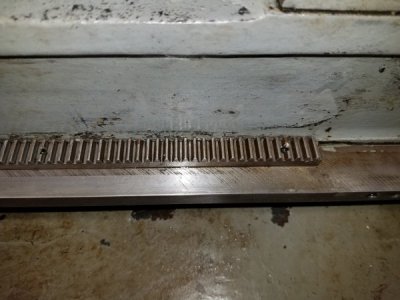
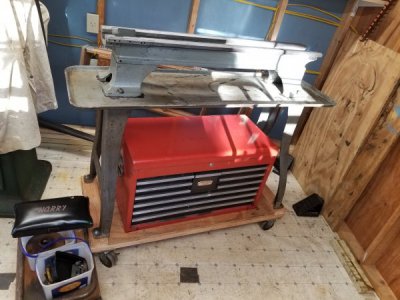
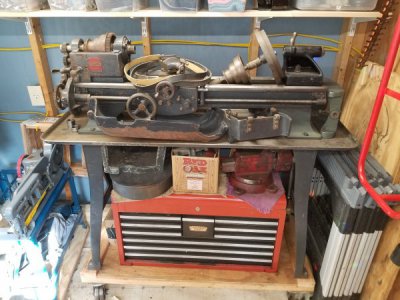
Well I finished cleaning up the legs, pan and bed and while not as pretty as painted I think they are looking good. Next chore was removing the 200 from its mobile support and setting up the 820 in its place. Sure do wish I had my 20 year old back as 7 hours of working today sure made things a little sore. I like the height with the rollers (waist and elbow high at pan level) and will figure out a way to raise it up once I take the rollers off as I just have them on for keeping it mobile until I insulate and panel the shed.

Will start on cleaning up the quick change gear box next and my cursory glance the other day spotted a stripped out gear and it looks like it may be the gear next to the lowest one.

One thing I noticed about the legs is that the 820 has a raised letter casting on the top inside of each leg - LOGAN LA-820-1.
20181119_1.jpg


20181119_2.jpg20181119_3.jpg20181119_153628.jpg20181119_4.jpg20181119_153635.jpg20181120_13.jpg
200
20181120_14-jpg.280353

820
20181120_16.jpg

Beautiful fall day for doing this as temp in the 40's-50's and my buddies visited me for their treats every once in a while.
shop dogs.jpg

20181119_5.jpg

20181119_7.jpg

20181120_14.jpg
 
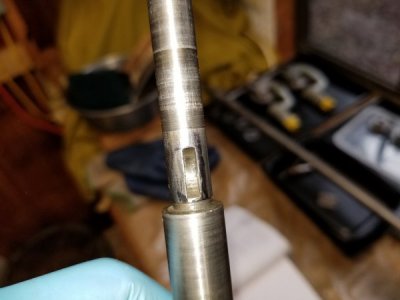
Well along with a 2 stripped gears and one not looking so good I also have a gear (#1) binding on the drive shaft (#15). The gear is keyed to the shaft.

The gear will turn freely until I start sliding it down past the shaft keyway and then it starts binding up independent of the location of the gear keyway to the shaft keyway and without the woodruff key installed.

I covered both sides of the shaft keyway with a magic marker and wrapped a cloth around the gear and tried rotating it around the shaft in order to see where it is binding, which turns out is only on one side of the shaft keyway.

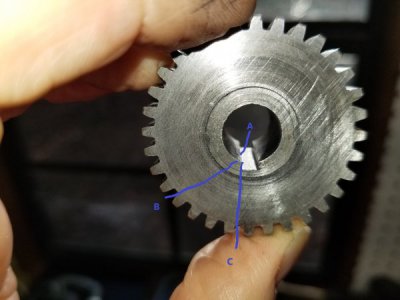
Looking at the inside of the gear keyway I see two small rough right triangle areas (A,B,C) only on one side of the gear keyway and on both ends of that side.

I miked the shaft at the edge of the binding keyway and it is a little over .002 bigger than the other side that does not bind.

This gear box has seen some rough times as there looks to be some jerry-rigging fixes that I will write about later on.

So what do you think of my solution of getting some valve grinding compound and using that to smooth out the binding areas on the shaft and gear by rotating the gear around the shaft?

The shaft probably needs replacing and this would be just another jerry-rigging fix until I can get this lathe up and running and then make a new shaft.

20181129_155356.jpg20181130_154810.jpg
 

Attachments

  • shaft.pdf
    635.9 KB · Views: 4
If you just have a few spots that need clean up, I'd consider using a diamond lap or similar for those parts. Grinding
compound will remove metal where you don't want it removed as well as where you do.
 
  • Like
Reactions: jcp
If you just have a few spots that need clean up, I'd consider using a diamond lap or similar for those parts. Grinding
compound will remove metal where you don't want it removed as well as where you do.
Well that was too easy and I just remember that I have a small set of HF diamond files with 600 the smallest grit and will give that a try tomorrow, and thanks!
 
After a little side project of converting my shed to a shop I finally got back to my cleaning up and putting things back together.

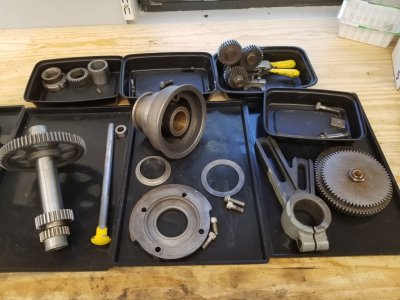
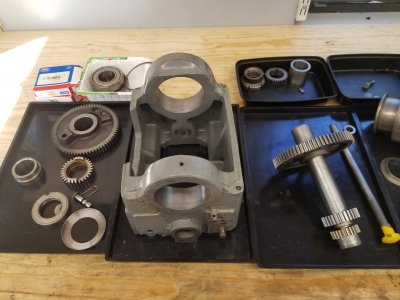
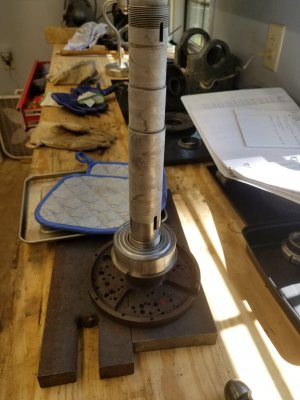
I decided to replace the headstock bearings with ones from Logan and they arrived yesterday and I used the heat and freeze method to install the new chuck side bearing. I placed the spindle in the freezer last night and this afternoon placed the chuck side bearing in the oven at 450 degrees and left it in there for about 15 minutes including heating up time. I screwed a face plate to the spindle (for a stand) and the bearing slide on without any effort on my part as this is a very easy technique for installing a bearing.
20200410_090010.jpg20200410_090018.jpg20200410_145347.jpg
 
Last edited:
Back
Top