Hey Guys, sorry for the time its been since my last post. I got quite sick for over 2 weeks and didn't feel up to working on the mill.
Anyway as promised I'm now starting work on the head. As requested I will also try to take really good pictures of the disassembally as a resource to others.
Please note the head was working fine so this just a tear down with the purpose of cleaning and painting. If anything seems really hard to get apart I may choose to leave it since it was all working.
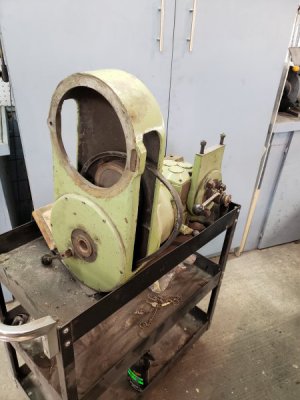
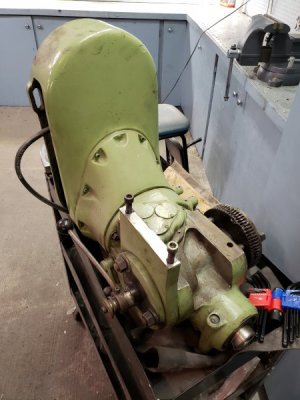
The head with the 3ph motor removed:
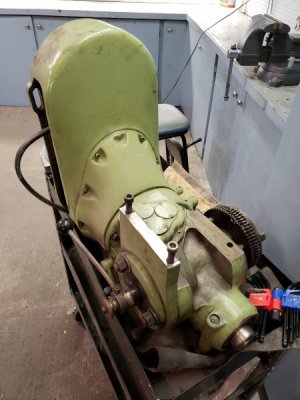
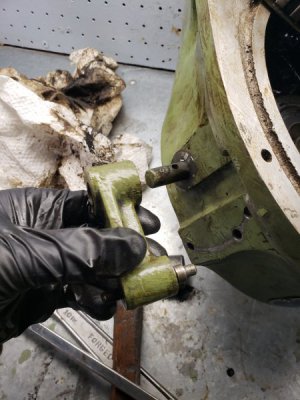
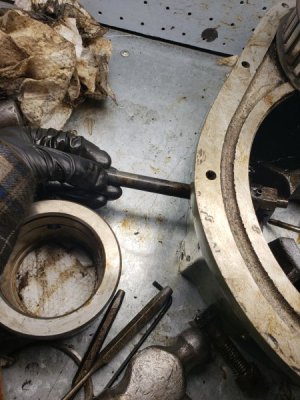
I first removed this handle first. It had a small pin holding it in place which can be driven out with a punch.
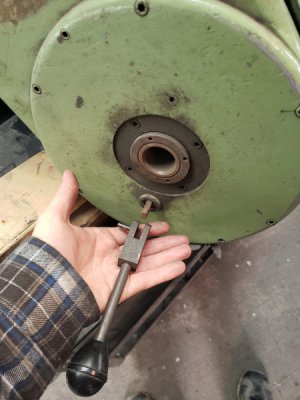
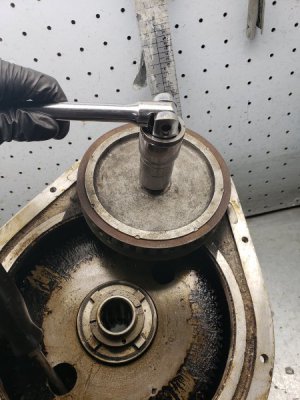
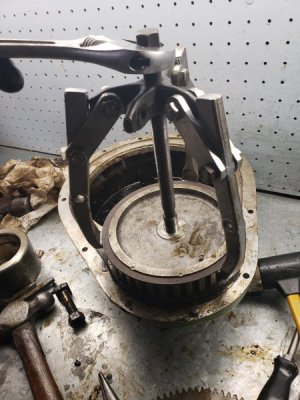
Next was to remove the pulley from the belt guard.
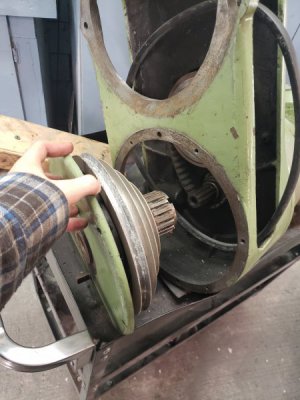
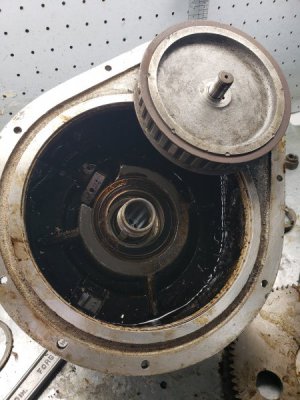
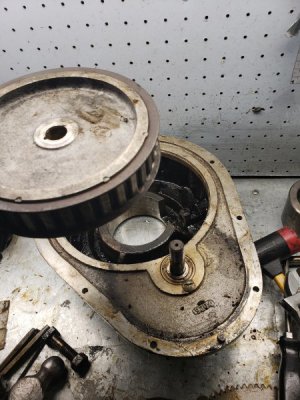
Here is what it looks like with the cone belt pulley removed:
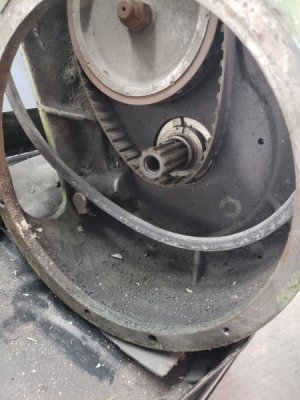
Here's the cone pulley:
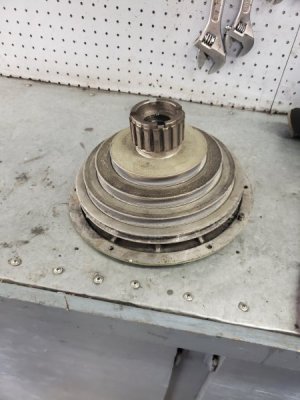
At this point I realized working on the head with it on a rolling tool cart was unwise so I picked it up and move it to my work table. Wow, this head is pretty heavy! Be careful if you lifting it by hand like me, its heavier than it looks.
With the head in a safe spot the work could now continue...
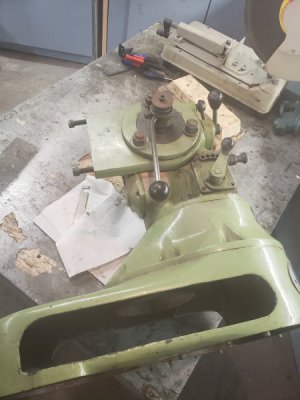
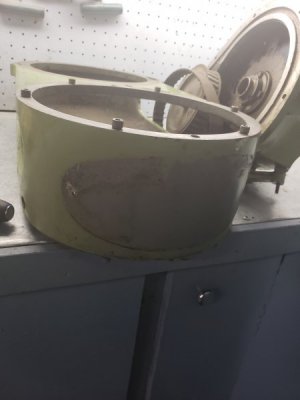
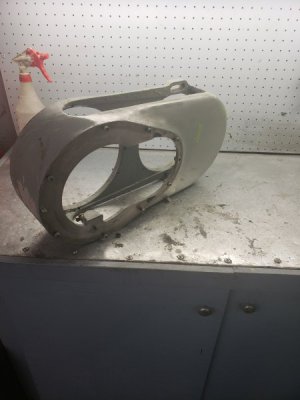
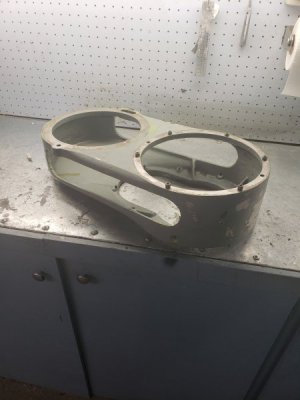
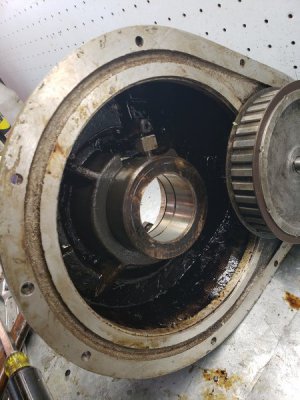
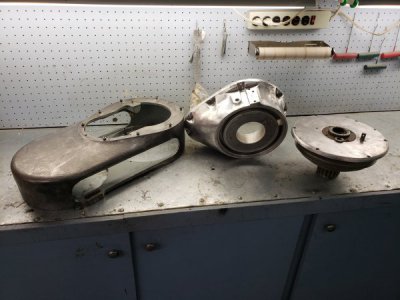
After removing all the allen bolts I was able to remove the belt guard:
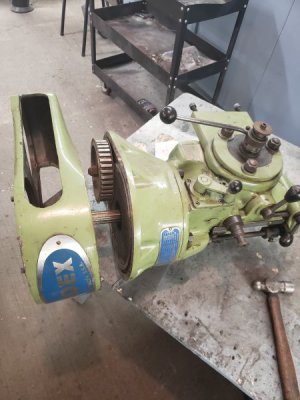
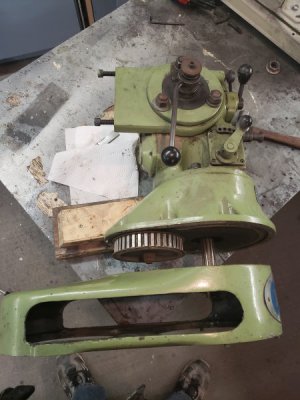
The belt guard is very heavily built. No way the belt guard would ever break in normal use, looks to be made of at least 3/8 or maybe 1/2 thick cast iron!
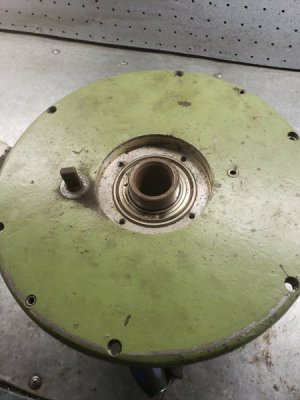
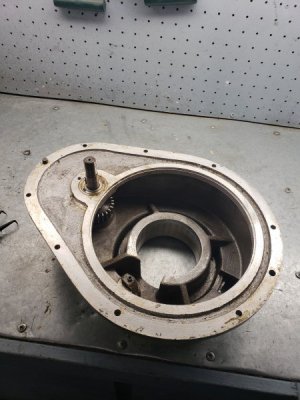
Here's the head with the guard removed:
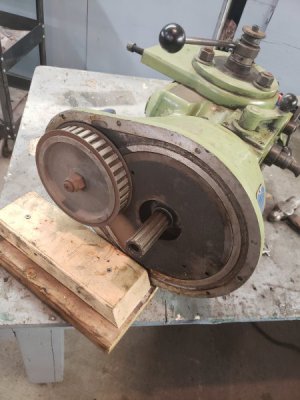
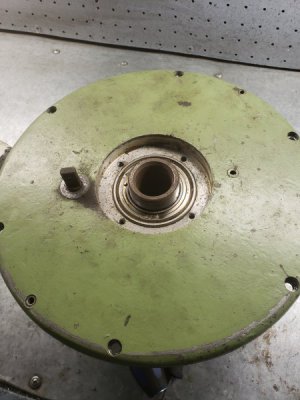
There is a sturdy metal cover under where the pulley sat that just sits in place and can be easily removed:
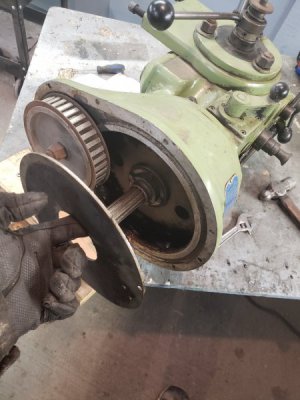
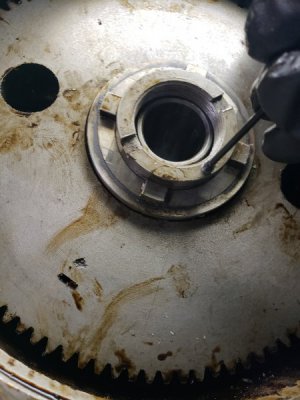
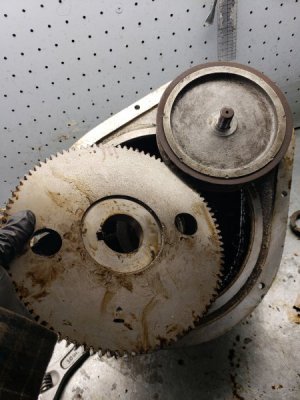
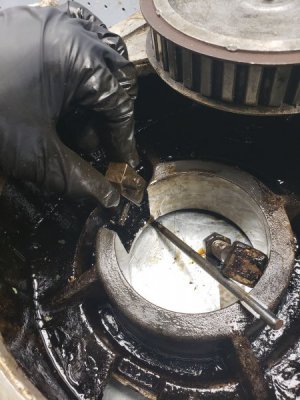
Under that cover is a large gear drive, maybe the back gears?
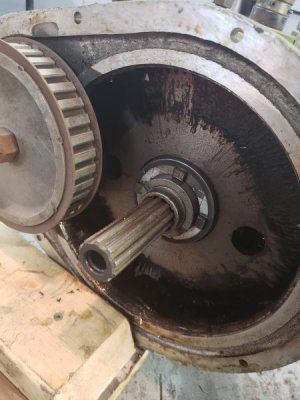
These gears spin very easily and smoothly.
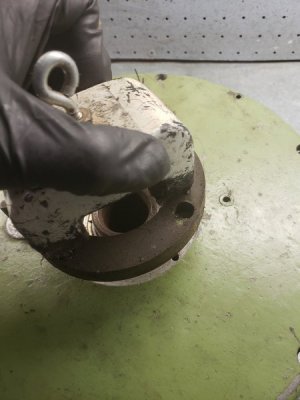
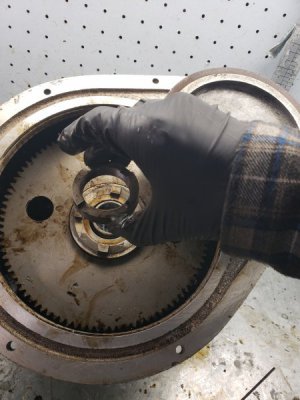
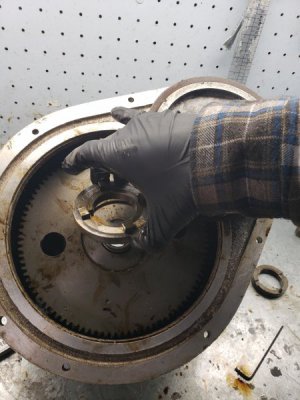
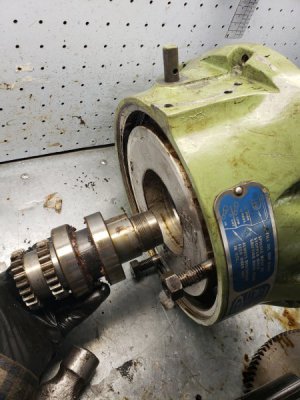
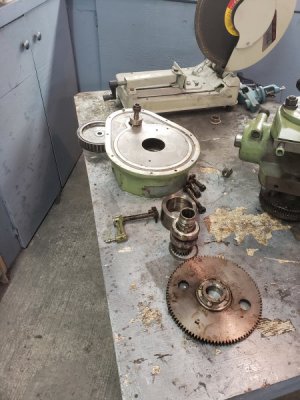
There are 3 nuts at the bottom of this assembally which you remove to take it off. Then just gently slide the assembally off:
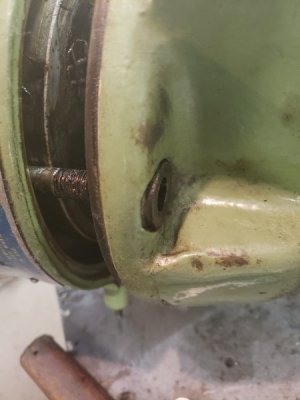
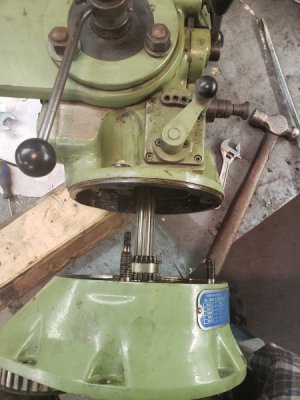
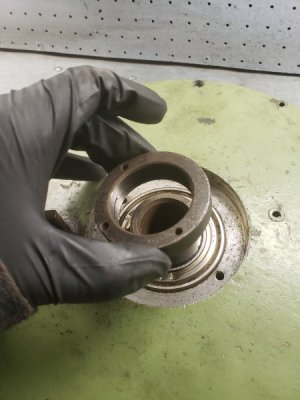
Here'a what the underside of this gear drive assemablly looks like:
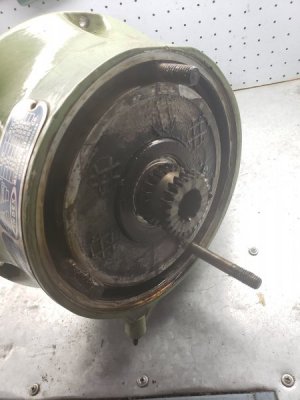
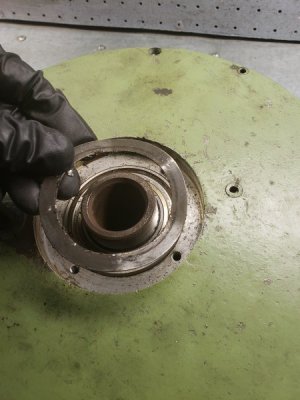
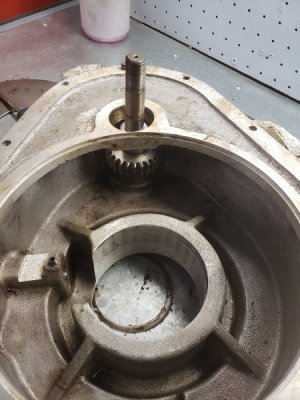
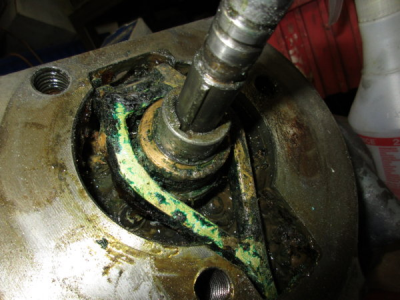
And here is what is under that assemablly:
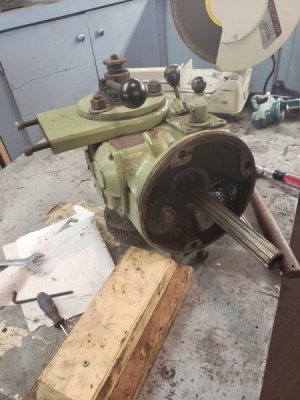
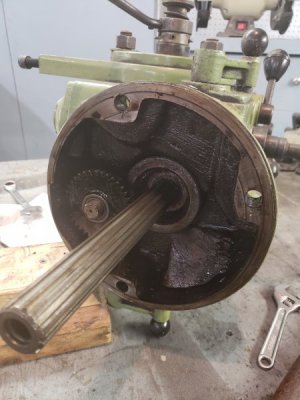
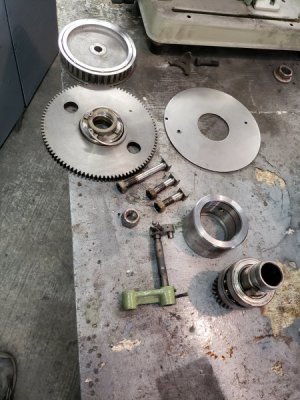
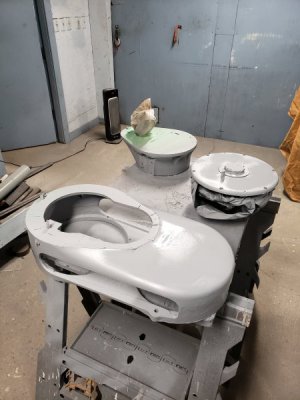
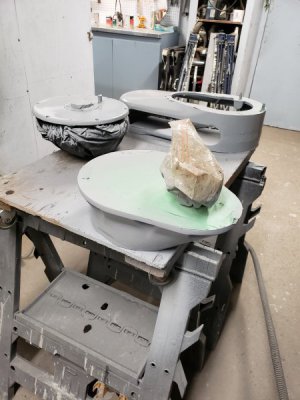
Here is a real life exploded view of the top of the head:
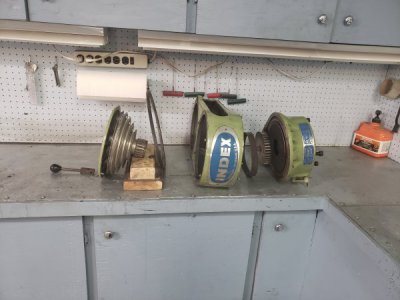
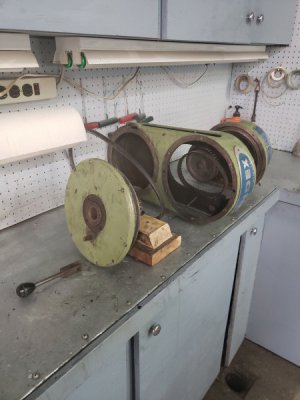
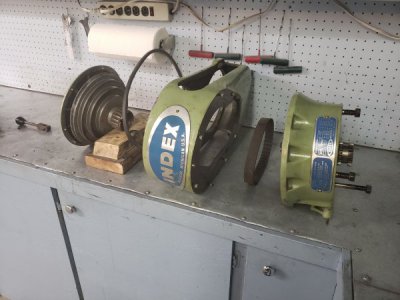
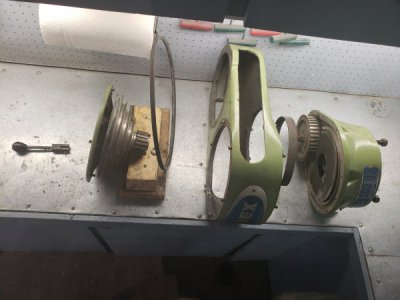
Hope the pictures will serve as a resource for Wells-index owners.
All the best until next time...
Anyway as promised I'm now starting work on the head. As requested I will also try to take really good pictures of the disassembally as a resource to others.
Please note the head was working fine so this just a tear down with the purpose of cleaning and painting. If anything seems really hard to get apart I may choose to leave it since it was all working.
The head with the 3ph motor removed:


I first removed this handle first. It had a small pin holding it in place which can be driven out with a punch.

Next was to remove the pulley from the belt guard.

Here is what it looks like with the cone belt pulley removed:

Here's the cone pulley:

At this point I realized working on the head with it on a rolling tool cart was unwise so I picked it up and move it to my work table. Wow, this head is pretty heavy! Be careful if you lifting it by hand like me, its heavier than it looks.
With the head in a safe spot the work could now continue...

After removing all the allen bolts I was able to remove the belt guard:


The belt guard is very heavily built. No way the belt guard would ever break in normal use, looks to be made of at least 3/8 or maybe 1/2 thick cast iron!
Here's the head with the guard removed:

There is a sturdy metal cover under where the pulley sat that just sits in place and can be easily removed:

Under that cover is a large gear drive, maybe the back gears?

These gears spin very easily and smoothly.
There are 3 nuts at the bottom of this assembally which you remove to take it off. Then just gently slide the assembally off:


Here'a what the underside of this gear drive assemablly looks like:

And here is what is under that assemablly:


Here is a real life exploded view of the top of the head:


Hope the pictures will serve as a resource for Wells-index owners.
All the best until next time...


