POTD was repairing an old (circa 1918) toy. Not an Erector set part this time, but a really scarce Gilbert Machine Gun. Here's an ad from 1918 of the gun.
.jpg")
These are really hard to find and most of them show up with a broken firing spring. The gun "shoots" wooden bullets using a leaf/torsion spring of sorts that rides on a cam attached to the crank. Each turn of the crank yields two shots. I suspect these show up broken from either turning the crank the wrong way and/or just the abrupt "snap" as the gun fires. Some photos below show how it works.
As the crank is turned CW, the cam pushes the spring to the left

The spring falls off the cam and "spanks" the bullet down the barrel

I've fixed 5 of these guns for other collectors; all were broken in the same spot - at the bend that slips over the cam. Did the initial repair by TIG welding the two pieces together. I didn't shoot pictures of it, but ended up cutting a piece of 1/8" thick steel gusset filler that fit just to the left of the bend at the cam in the photo above. I figured if it broke once, it will again unless I beef things up.

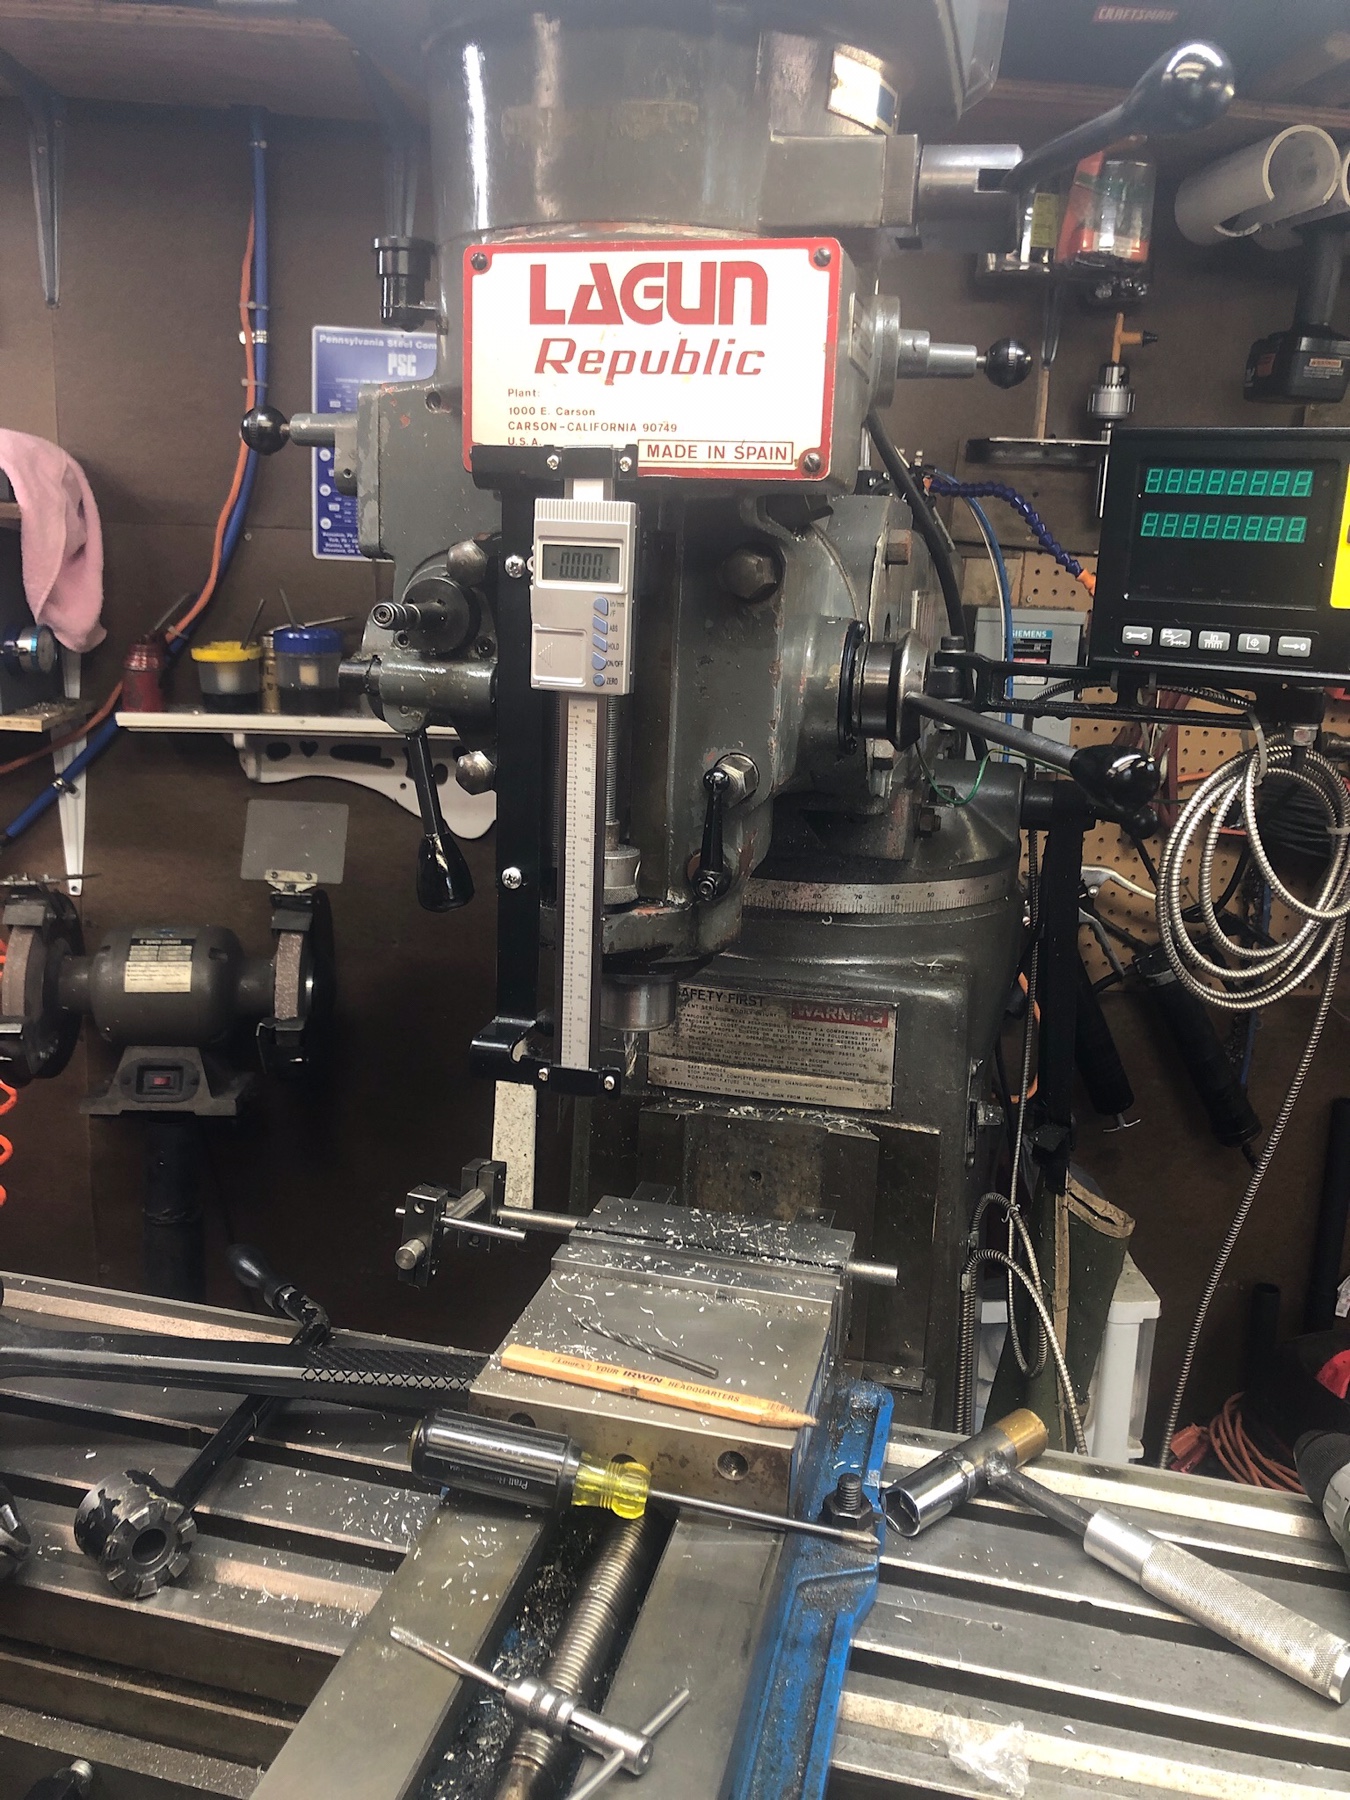
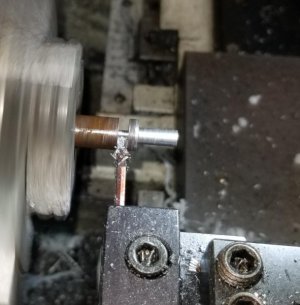
The crank assembly is held together with a couple of rivets. I milled the peened ends off to break open the crank assembly to access the spring. Simple lathe job with some 3/8" CRS turned to 3/16" for a pair of new rivets. Verified the diameter with the crank assembly and parted.


Set the firing spring in place, brought the two crank side pieces together, inserted the new rivets and peened them in place. Painted the rivets with a black paint pen.

Photos below show the crank assembly screwed to the gun and the tip of the spring that actually hits the back of the bullets and sends them on target.
Spring at the back of travel about to release

Spring snapped forward

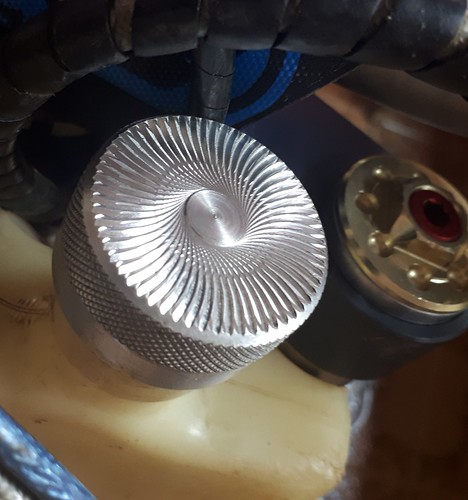
As long as I was repairing the gun, I decided to make another magazine for the bullets. This is made from 0.018" sheet metal. Measured up the original, laid out the pattern on a blank by scribing on the Dykem'd steel. The magazines have a depth stop on the front and back. They have a half-dome area pushed out which rides on the top of the breech area. Made a punch for forming the sheet metal by bull-nosing a piece of 1/4" CRS with a file on the lathe, then milled away half of the bull nose.
1/4" CRS with a bull nose for a half-dome punch

Milled away half of the bull nose

Punched a relief area with a small slot punch/die

Hit the punch into a piece of plywood to form the female die half. Then set the sheet metal blank in place and hit it with the punch/hammer.

Resulting half-dome


Did the appropriate notching with an Adel and import hand notchers.
The notch on the LH side is where the firing spring travels through the back of the magazine and strikes the bullets. The RH notch is wider to clear the 7/16" diameter bullets. Cleaned up the notches with a die filer.


Bent up the sheet metal on a DiAcro break, then Scotch-brite'd and blued the new magazine (original is on the left).

Finished gun ready for action. The gun shoots the dowels about 50 feet. The magazines hold 10 bullets which are gravity-fed into the breech area. It also "features" a crank for elevation.


Thanks for looking.
Bruce