Tool and cutter grinder build

Subscribed.

As I plan on starting a Bonelle (or variant thereof) too, when things warm up a bit, I will be very interested in how you go about this. Making the bowl of popcorn now... :))

I already like the idea of lengthening the base. Are you going to use TGP rounds for your base?
 
Subscribed as well.

A lot of people will look at this complex machine and see just that, a complex machine. I look at it and I see this round rod, that bushing, the dial, the pulley, etc.. Just a bunch of "simple" parts that belong to an assembly. Look at it that way, and I'm sure you'll be fine, and from all the excellent work I have seen you post, you'll probably be a lot more than fine.

Mark
 
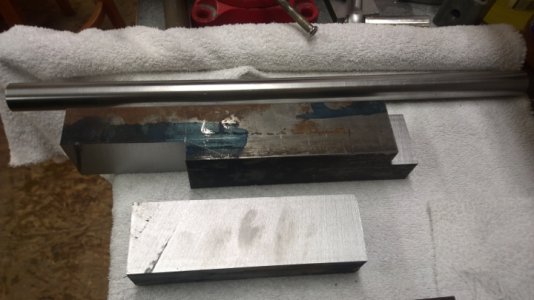
Well, it was warm enough in the shop today to get started. I gathered up my parts, cleaned them and plunged in. I was asked about the rods I am using. I saw the price for 1" drill rod and said "I ain't payin $100 for 6 ft. of drill rod". I bought 4 ft of 1" CRS for $5. The finish, size and straightness of the cold finish steel rod is remarkably good. But I ran into a problem. The 19" rods are too long for my 3 ft. bed S B lathe. I will take them to a friend's shop to face the ends and drill the one end of the front bar. I spent about two hours sanding, polishing, more sanding and more polishing until the rods were smooth and shiny. It was worth the work to polish them for the big difference in money. I chose the best one for the front bar with the sliding work head on it and polished it extra shiny. They mic up at .999" to 1.00" when I finished so they will be fine. I figured if I had to skim cut them I would and make the bores to fit but it worked out good.
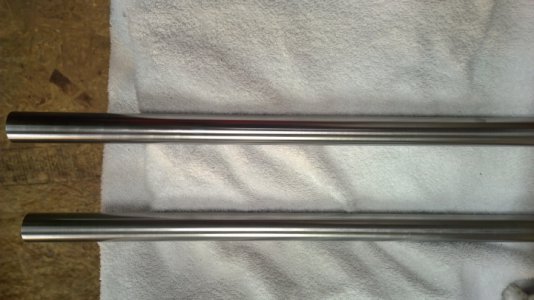
polished bars.jpg These are the two bars all polished up and ready to use. I talked on line with a few Quorn and Bonelle users and they all said to lengthen the bars to 18" as 12" is just too tight an area sometimes. The end brackets take up about three inches of them So at 19" , I will have almost 16" of usable bed length.
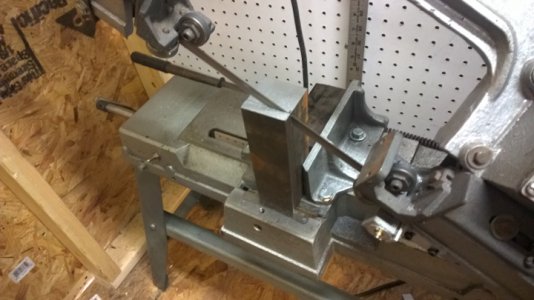
creative sawing 2.jpg The rear end was supposed to be 1 1/2" by 1 1/2" . All I could get was 2" square and I want mine 2" x 1 1/2" so I had to saw 1/2" off the piece and mill it to finish size. ( I save that sawed off 1/2" x 2" x 6 1/2" piece to make something else in the future instead of turning it into chips and this is faster also.)
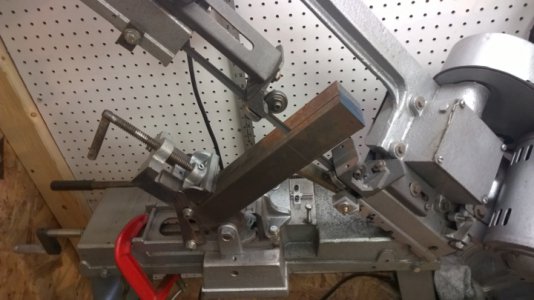
Creative sawing.jpg The front end bracket is 2" x 2" x 11" long and needs some cutout areas. It is faster to saw them out and finish mill them, but I had to get creative to cut them on my saw. I don't recommend trying this unless you know what you are doing. I don't know if you can see it but there is a bar propped under the outboard end to stop vibration. Those saw modifications I did are really paying off now. :))

Ends rough cut.jpg These are the ends after sawing. Next I will put them on the mill and finish them. The front bar is wrapped in the towel to protect it. The second bar does not need to be as perfect because it is strictly for support and nothing rides on it.( I still polished it well because I am a bit of a perfectionist and looks are important.

If the weather is good enough tomorrow, I will be milling. I realize it starts slow and kind of boring, but these steps are important to do right as the whole machine is based on them.

polished bars.jpg creative sawing 2.jpg Creative sawing.jpg Ends rough cut.jpg
 
Let me know if you need material Mark. I have a lot of friends in the trades within a 30 mile radius. There isn't much I can't get my hands on.

"Billy G"
 
Let me know if you need material Mark. I have a lot of friends in the trades within a 30 mile radius. There isn't much I can't get my hands on.

"Billy G"

Bill,

You have a set of Bonelle plans don't you. I have something on them that is puzzling me. On the sliding base, there is a shallow slot in the back 1/2" wide and 2 1/2" long. Then it seems to get covered by the rear plate. Why go to the trouble of machining a pocket and then cover it up?

Mark
 
Bill,

You have a set of Bonelle plans don't you. I have something on them that is puzzling me. On the sliding base, there is a shallow slot in the back 1/2" wide and 2 1/2" long. Then it seems to get covered by the rear plate. Why go to the trouble of machining a pocket and then cover it up?

Mark

Don't know if I can help (seems drawings have changed a bunch in the 40 years since I took drafting) but I have a set of drawings: Which Drg number are you looking at?

Also, is there a material list anywhere, or did you just figure your material requirements from the drawings? Thanks.
 
Don't know if I can help (seems drawings have changed a bunch in the 40 years since I took drafting) but I have a set of drawings: Which Drg number are you looking at?

Also, is there a material list anywhere, or did you just figure your material requirements from the drawings? Thanks.

These drawings are extremely difficult to read because they were made in England ( which uses a different view perspective than we are used to). They were converted into inch drawings (and a lot was lost). There are numerous errors in the drawings. Every time I find another set of drawings, I find some missing information. I have spent hours and hours studying these drawings and still don't have all the information or answers, but it will be worth the effort in the end. If you build one of these you should get copies of every set you can find and compare them. I have been also comparing photos of builds and find no two are alike.

I have never found a material list. I have to figure out what I need from the drawing. I will tell you, I take a copy of each drawing and change and edit it to match what I build, so when I am done I have drawings that match my machine.


Yes, I wil make them available to anyone who wants them when I complete this machine.
 
Don't know if I can help (seems drawings have changed a bunch in the 40 years since I took drafting) but I have a set of drawings: Which Drg number are you looking at?

Also, is there a material list anywhere, or did you just figure your material requirements from the drawings? Thanks.

After hours of study and comparing drawings sets , I finally figured out what that slot is, I think. In the drawing there are two 1/8" holes that go into that space. I believe as a vent for the over engineered dust seals, which I have no intention of building, so, I will not be needing that pocket.
 
Back
Top