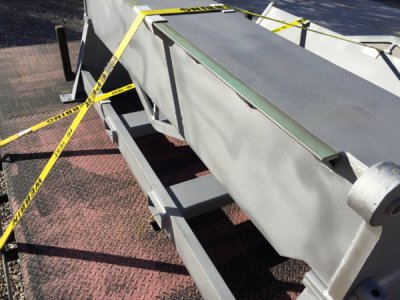
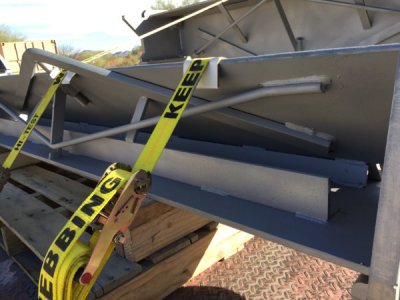
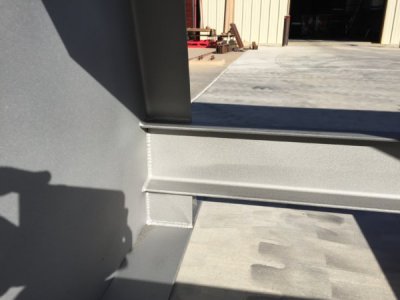
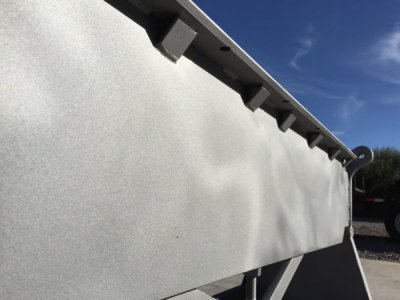
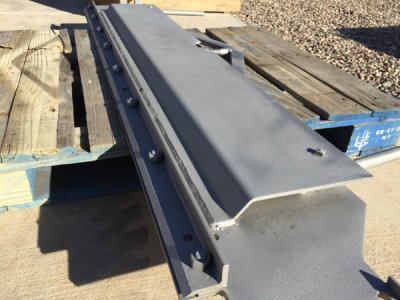
Chicago Dreis&Krump Box&Pan brake rebuild

I focused on the adjusters for the top clamp. These are used like screw jacks that move the entire top clamp forward and aft to adjust for material thickness and bend radius. Located at each end and rear of the machine. They come from Dreis&Krump with hand wheels and should adjust with little effort. The right one would bind when the machine was assembled so I suspected a bent screw. Both cranks where fabricated and not OEM. The right crank was ok but sloppy while the left crank was made from tubing ,angle iron and a round bar and also sloppy. Both where held in place via roll pin.

The right crank looked better than the left crank, but would bind when rotated.
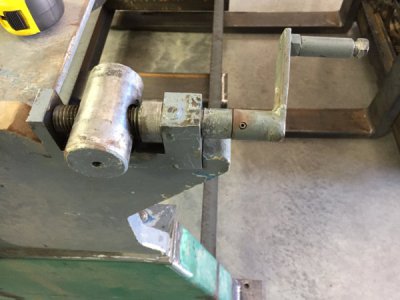
fullsizeoutput_641.jpeg
The left crank was crappy compared to the right, but turned with lite effort, but also had a wobble when rotated.
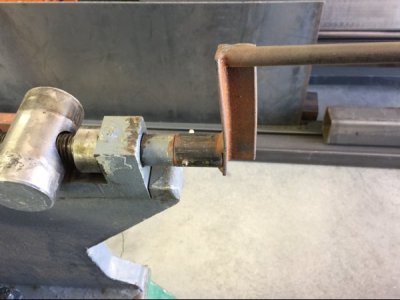
fullsizeoutput_640.jpeg
Disassembled the right jack assembly and confirmed my suspicion of a bent screw shaft.
Luckily, it was only bent on the last section where the crank slid on.
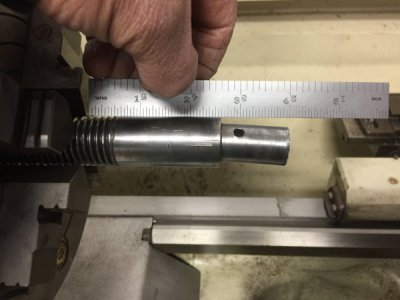
IMG_2499.JPG
After indicating the screw in the lathe, I cut off the bent section to salvage the remaining shaft.
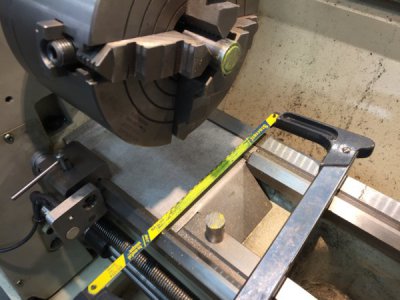
IMG_2500.JPG
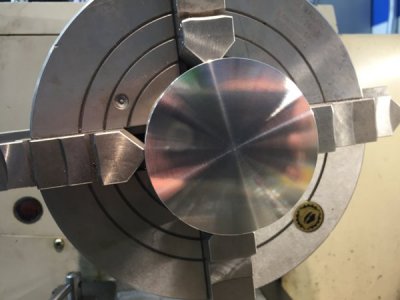
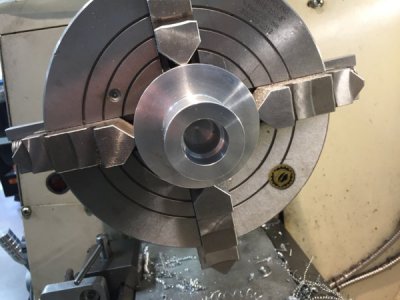
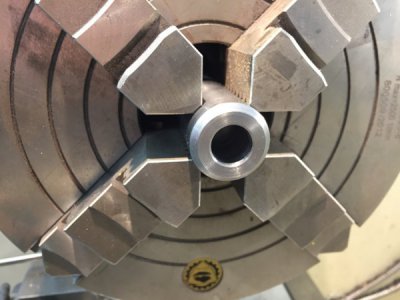
After facing, a center drilled was used then drilled to 11/16" x 1.250" deep. I also used a 11/16" four flute end mill to create a flat bottom hole. A 3/16"bevel was also turned prior to removing the screw. IMG_2501.JPG
I then took a piece of 1" CR round and turned the for a interference fit +.0015". I also beveled the shoulder for welding.
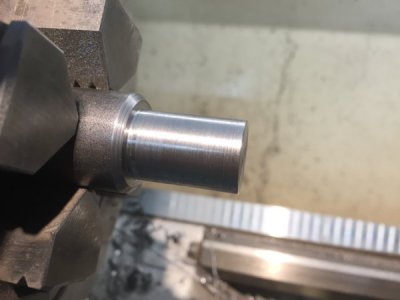
IMG_2506.JPG
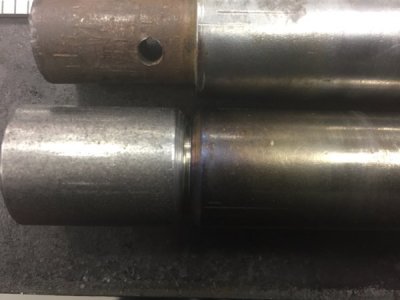
A small propane torch was used to heat the receiving screw bore to eliminate heavy hammering with the brass hammer.
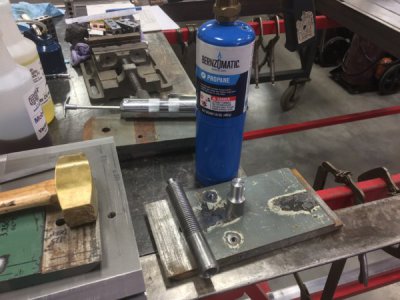
IMG_2510.JPG
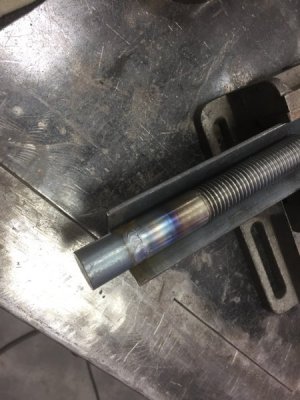
The new sleeve worked well after fully seated leaving a nice area for a root pass for TIG welding.
fullsizeoutput_643.jpeg
Heating for pressing also preheated for TIG welding.
IMG_2515.JPG
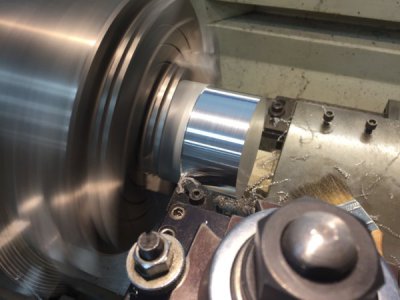
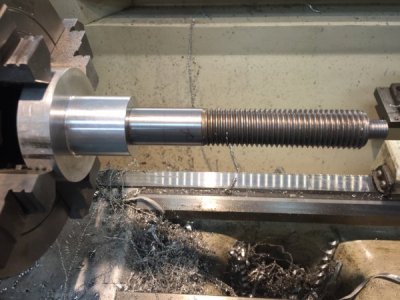
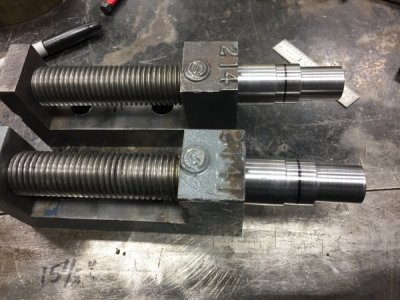
Chucked up and turned for the hand wheel design (in my head). Turned .060" to blend in the weld. The Bevel ensured weld remained with zero porosity. The smaller diameter .775" (stepped) will be matched with the new hand wheels for a good hold. I also did the left screw as it too was bent (not as bad) and the the two will be identical and beefier.
IMG_2518.JPG
Bothe screws are now running true and more robust than original. The hand wheels will be turned from 3" round aluminum I have in the scrap bin. The will turn a hub and bore to match the profile of the screw shafts. The roll pin or set screw will secure to the larger diameter (welded area) while the smaller diameter will provide added stability. I want the feel of a single piece when turning with zero play when adjusting.
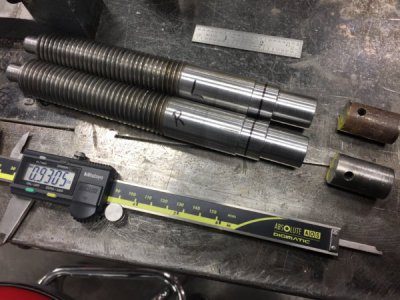
The black sharpie lines are where the welds are for reference. I think this was a good solution for salvaging those screws and can be used for other similar applications. I used a total of 5" of 1" CR to fix these screws and saved a lot of time vs turning new ones.

Here you can see the original (smaller) bent ends to the right of the salvaged screws.
IMG_2521.JPG
And finally the right jack assembly resting where it will be located. I should have plenty of clearance for the hand wheel once assembled.
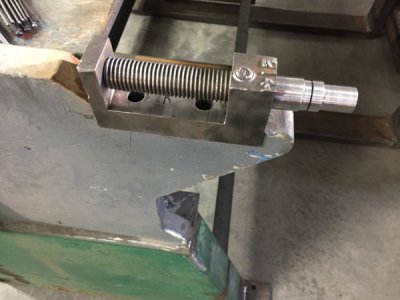
IMG_2522.JPG
That all for today, they had us running last night so running on empty.
Thanks for stopping by.

Paco
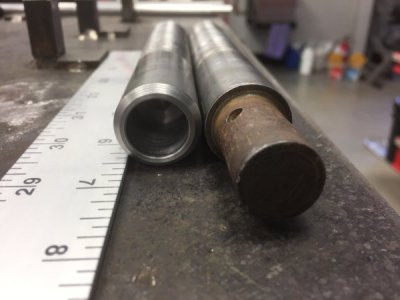
IMG_2504.JPG

IMG_2505.JPG
 
Last edited by a moderator:
That's a nice repair. A little Lubriplate or similar, and they will turn real well. I'm waiting to see what you come up with on the wheels. I'm sure they will look good on there. You've put a lot of work in on this, and it will be a great addition to the shop. Cheers, Mike
 
HI Mike,

Thanks, I was really expecting to find the screw FUBAR and prepared to turn a new one (or two), but the way the cast iron bracket supports both ends leaving only the crank end exposed for abuse it worked out. To say this thing was abused by some users during its earlier life would be an understatement, but I'm almost done with the with the major repairs that where obvious to me.

Life's funny, I'd been looking for a used finger brake for several years with no real luck until this find. A couple of weeks ago I herd a radio announcement about a large local auction open to the public with a large amount of sheetmetal machines available. Well now those machines are popping up on CL. One guy is selling a 8' power shear ($2500) and a 8' D&K apron brake (2 yrs old) for $2500. Another guy is selling a D&K 6' finger brake for $3500 and appears in nice shape. Oh well....It should work out in the end and I will be familiar with every aspect of this machine.

Hey, is the Lubriplate better than standard molly grease? I'm always looking to learn so educate me brother.

Thanks again for stopping by Mike, and stay safe in PR. At least your not freezing in CO at the moment:cool:.

Paco
 
Nothing really special on the Lubriplate, just a good engine assembly, light weight grease that I have a bunch of. I like it as it seems to be less messy than most, and stays put. They make a full line of products including machine and way oils. Definitely enjoying the warm weather. Pretty much 75-82 every day, but in many ways I'd rather be back in the shop. Mike


LubrpltLogoBlkBkgSm.jpg


zh-cn.png中文es-ve.pngEspañol
Contact Us | Site-Search:
Log in | My Account| Shopping Cart Shopping-Cart.gif
Distributor Access

Products
Home > Products > Automotive Lubricants Motor Oils > No. 105 Motor Assembly Grease
No. 105 Motor Assembly Grease
White Motor Assembly Grease
L0034-094.jpg
A smooth light-bodied grease that contains a zinc-oxide anti-wear additive made especially for motor assembly and engine rebuilding. This product prevents “dry start.” It provides necessary lubrication during initial startup before the motor oil has circulated, thereby preventing damage from scuffing, scoring, and friction. Protects freshly machined engine parts from rust and corrosion.

Packed in 10 oz. / 284 g plastic tube.

Part No. L0034-094
Related Items No. 105 Motor Assembly Grease - 10 oz. tube

$8.30


Add to Saved Cart Add to Cart

SDS
>No. 105 Motor Assembly Grease

Product Data Sheet
>No. 105 Motor Assembly Grease


U.S. Distributor Locator


Ask a LubeXpert


NSF-H1-Logo-Blk.jpgOU-Kosher-Logo-Blk.jpgM-HALAL-Logo-Blk.jpgISO-9001-Logo-Blk.jpgNSF-ISO-21469LogoBlk.jpg

LubriplateType.jpg
129 Lockwood Street Newark, NJ 07105
1500 Oakdale Ave. Toledo, OH 43605
800.733.4755 | 800.347.5343

About Us | Sitemap
© Copyright 2016 Lubriplate Lubricants Company
 
Nice project. Impressive band saw. OEM parts always seem expensive. I have a Motion Industries outlet a block away that is very accommodating and can get most things here by noon the next day. Good idea to keep the oilers, can't hurt anything and might preserve all your work. You need to make a brass plate "Rebuilt by xx 2018". I've found that just because something was "Made in a factory" it wasn't necessarily precisely made. I have a $90K German made bore & insert machine that has miss-drilled holes. I also find some poor engineering on equipment making it very difficult to repair. My current rebuild project is a case in point. 9 spindle boring block with bearings pressed into blind holes. No name on it but pretty sure it is Italian.
 
Thanks Larry,
I like the brass plate idea, who know where the machine will end up in 50 years haha, I be long gone and playing with past dogs. Some OEM quality or lack of does have me scratching my head, a common occurrence unfortunately.
Are you posting on your current rebuild project? It always good to see solutions folks come up with.
Paco
 
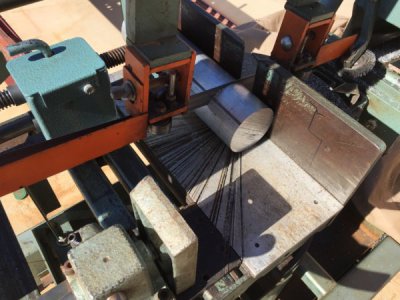
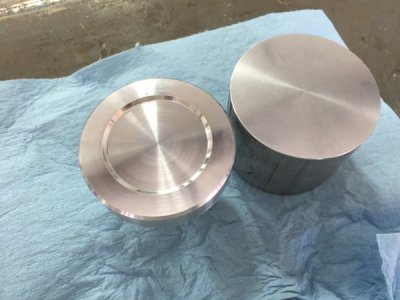
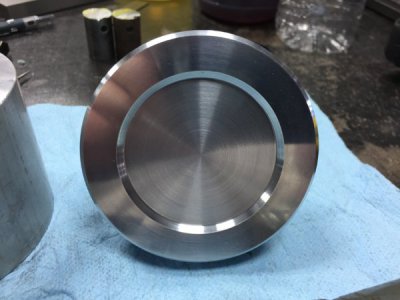
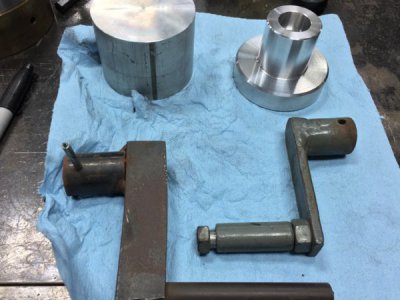
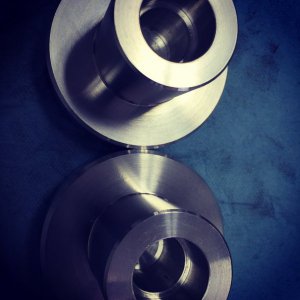
After shift I had a little time to knock out one of two hand wheel for the top clamp adjuster. As mentioned, I had a scrap piece of 3" aluminum round bar and cut two pieces at 2-5/16". I'm still amazed with the Bahco blade. I've put it though plenty of hard cutting and still cuts like new.

IMG_2527.JPG
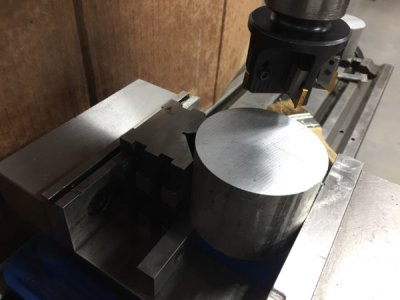
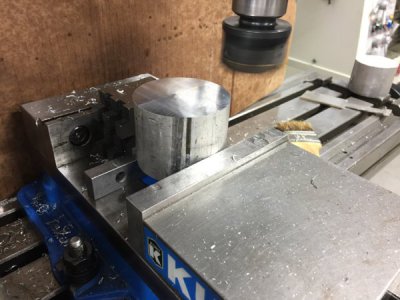
To maintain parallelism for chucking on the lathe, I set up the piece/s on the mill and used a V block and a small parallel against said block. This allows for the round bar to pivot and nest onto the V block resulting in a square setup regardless of my cuts. A light face mill pass cut the end perpendicular to the bar. This side will be pushed against the chuck to face the opposites side resulting in parallel ends with minimal waste of material.
IMG_2528.JPG
Sure enough he saw cut was slightly off a couple of thou requiring .005" total to clean up.
IMG_2530.JPG
Chucked up against the face of the chuck and faced off the opposite end. I was turning around 550 RPM and a lite shot of WD-40 gave me a beautiful surface finish.
IMG_2534.JPG
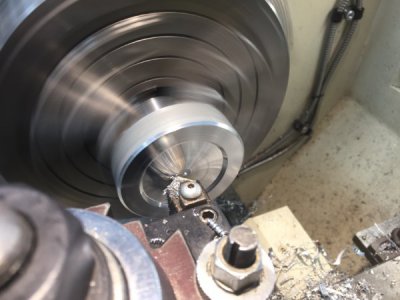
Rotated the piece and used two 1/2" parallels to space out the piece for the next operation. I turned down to a diameter of 1.600" x 1.500".
I wanted to have plenty of meat for drilling/tapping a set screw to secure the wheel to the screw jack. I took several .060" DOC and a final cut of .025" to reach my target size.
IMG_2535.JPG
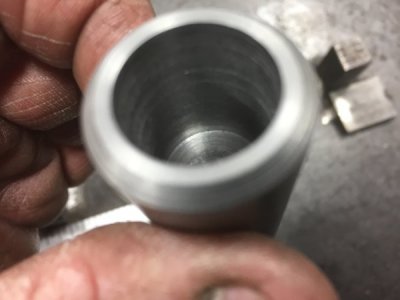
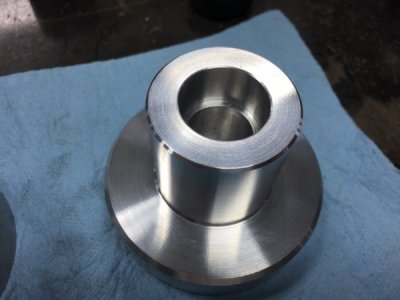
I then drilled a .750" hole x 1.500", bored to .776" x 1.500". Used the proximity carriage stop for a consistent bore depth. Man I love that feature.
I then cut a second bore for the larger step on the screw shaft .001" over.IMG_2536.JPG
The shaft fit very nice and had a suction cup "pop" when pulled apart. The shaft spun on the hand wheel like a bearingIMG_2537.JPG
Cut some chamfers and rotated and re-chucked. Cut another chamfer on the outside edge, then cut a decorative face .080"deep.
IMG_2538.JPG
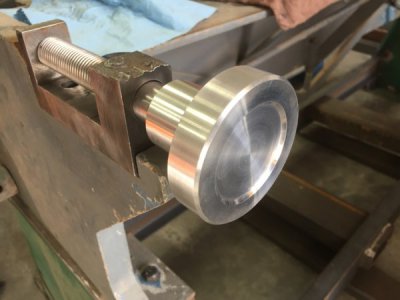
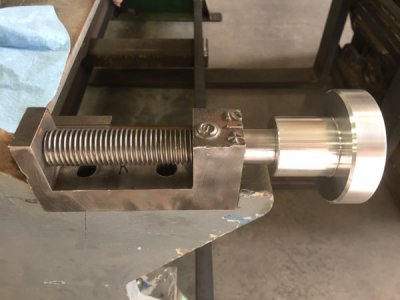
Reassembled clamp adjuster to check out any Bozo visits and none where found ;)
IMG_2539.JPG
They have a good feel to them too.
IMG_2540.JPG
I'll turn the second wheel on Tuesday.
IMG_2544.JPG
IMG_2548.JPG
fullsizeoutput_645.jpeg
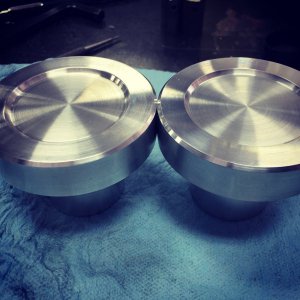
Much better looking than the previous hack cranks if I do say so.
fullsizeoutput_644.jpeg
When I finish the second wheel, I will mill some flats on the shafts for a set screw, drill/tap the wheels.
I also have another operation that will finish these hand wheels. It requires a rotary set up (which I done own) and a visit to mksj's shop will help.
I see the finished pieces in my minds eye, so I'm stoked.

That all for now and thanks for looking.

Turn and Burn!
Paco
 
Last edited by a moderator:
Had a fair amount of domestic chores today including mowing the grass. I did mange to finish the second wheel in short order. It took just about one hour to complete since the setup and operations where still fresh in my head. Same suction cup fit.
IMG_2558.JPG
IMG_2557.JPG
Took me longer to clean up the swarf and service the lathe but a good day overall.
Time to relax with my furry kids for a spell.
Have a great night brethren.
Paco
 
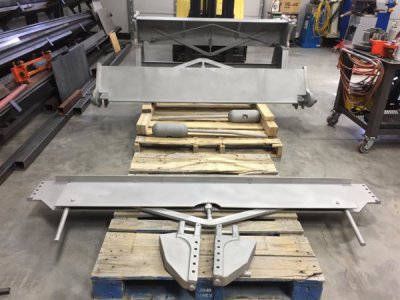
After shift this morning I loaded up for the blasters. I'm not as lucky as Greg to have a friend with a big compressor nor do I own a blasting rig.:(
My friends at Anderson Paint and powder coat had time to knock this out in a couple of hours. They have been my go to for all my RescuExpress carts since 2003 as well as bumpers builds etc. Mr Anderson is 93 years old and is a Iwo Jima survivor, I have a deepest respect for him. He now visits his large facility twice a week as he's really too old to put in a full day. His daughter Janet is the president and they employ 40 or so. They have done work for exotic telescopes in Chili, Missile components for Raytheon and many other DOD contracts. They always make time for me. Sorry, I felt the need to share a tiny bit of Mr. Anderson's extraordinary story.

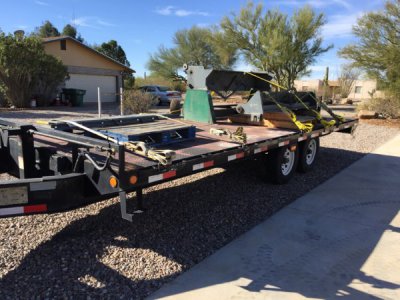
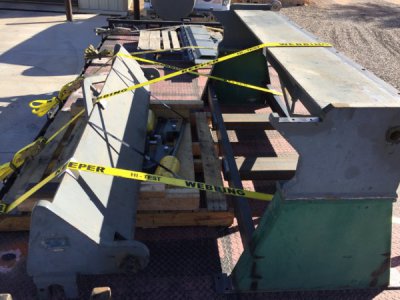
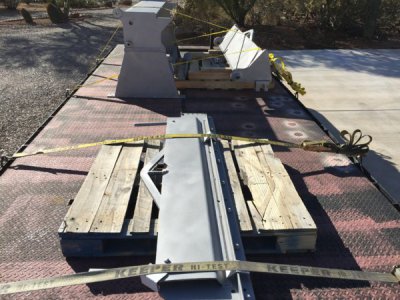
Loaded up for the 30 mile trip.
IMG_2563.JPG
Everything was kept on pallets for easy loading/unloading.Except the main body with the new fork pockets.
IMG_2564.JPG
A couple of hours later.
IMG_2565.JPG
IMG_2566.JPG
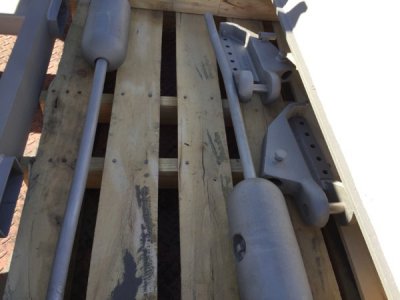
I requested copper slag media as it had well over 50 mill of slopped on paint. I didn't want them to spend more time than needed plus I wanted a medium aggressive finish for the hammer tone finish to bite onto.
Something about bare heavy steel make me warm and fuzzy inside.:chunky:

Some details of the underside.
IMG_2570.JPG
Makes those new welds pop!
IMG_2572.JPG
IMG_2573.JPG
They use a special rubberized tape to protect any machined surface.
IMG_2574.JPG
Machined surface where one of the adjustment jack screw lives.
IMG_2575.JPG
All moved in, protected from the harsh Arizona winter :p.Todays high was 76ºF, just beautiful.
IMG_2580.JPG
Kidding aside, I'm getting close to paint and that is one of my favorite phases when restoring. I think I have a neat color scheme in mind.

Stay tuned fellas and thanks for stopping by.

Turn and Burn!
Paco

IMG_2568.JPG

IMG_2578.JPG
 
Last edited by a moderator:
Back
Top