- Joined
- Aug 22, 2012
- Messages
- 4,100
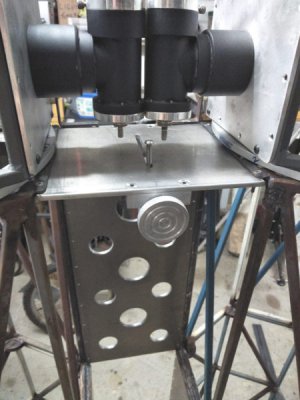
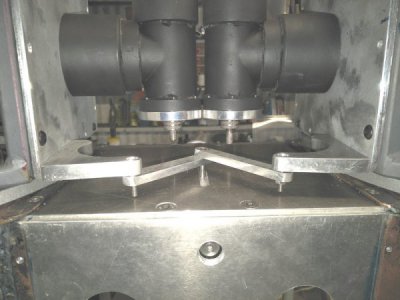
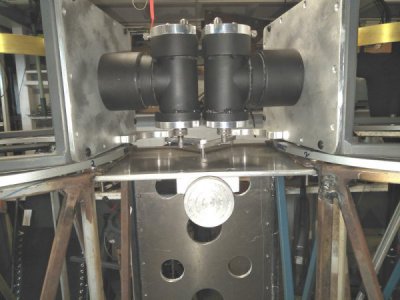
Now its beginning to look like a binocular.
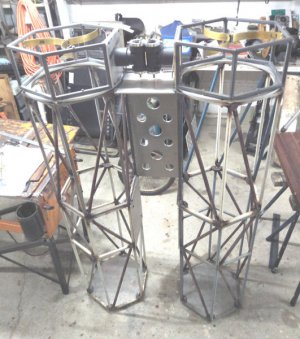
I had to strip down the lazy susan bearings as there was a touch of stickyness in their movement.
A good clean and re pack and now they are very smooth.
They do not need to move far, just enough to spread the eyepieces from 50mm apart up to 75 mm apart which should be sufficient for most people aged from 12 to 100.
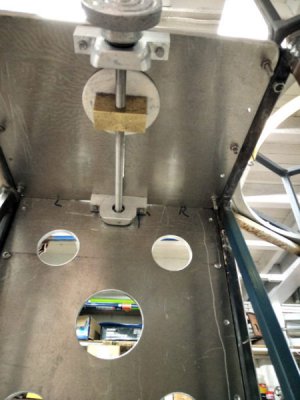
To rotate the top cages I will be using a sort of lead screw with a moving nut to pull or push them around.
So first thing is a thread and I elected to go with M8x1 in stainless so I single pointed it.
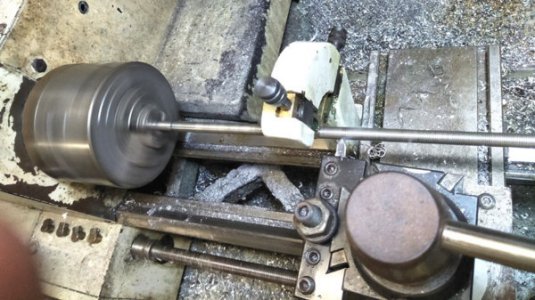
I did run a die down the thread once cut as a check and it was smooth as silk.

The knob is a chunk of cast aluminium turned to size, knurled and threaded M8x1.
Now a large nut is required and I want it to be brass. Unfortunately the only brass I have is a chunk of failed casting, its almost a bit of sponge there is so much porosity in it but what the hell, lets give it a try and see what happens.
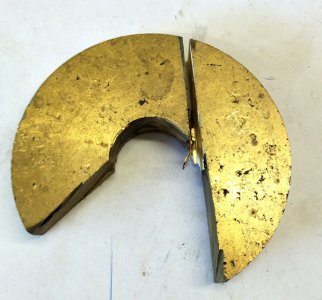
I cut that bit off with the angle grinder and chucked it up to get it square.
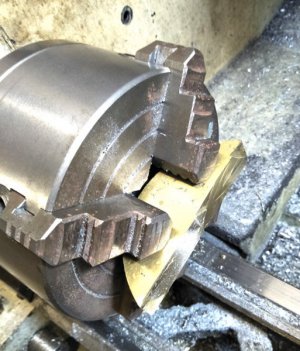
Faced this side, flipped it to face the curved back side then both ends till I ended up with a block.
Drilled and tapped M8x1 and it screwed on the thread very smoothly

The top face of the nut will have a layer of very low friction polymer (plastic milk bottle) where it slides along the top plate.
Next, the bearing blocks.

I had to strip down the lazy susan bearings as there was a touch of stickyness in their movement.
A good clean and re pack and now they are very smooth.
They do not need to move far, just enough to spread the eyepieces from 50mm apart up to 75 mm apart which should be sufficient for most people aged from 12 to 100.
To rotate the top cages I will be using a sort of lead screw with a moving nut to pull or push them around.
So first thing is a thread and I elected to go with M8x1 in stainless so I single pointed it.

I did run a die down the thread once cut as a check and it was smooth as silk.

The knob is a chunk of cast aluminium turned to size, knurled and threaded M8x1.
Now a large nut is required and I want it to be brass. Unfortunately the only brass I have is a chunk of failed casting, its almost a bit of sponge there is so much porosity in it but what the hell, lets give it a try and see what happens.

I cut that bit off with the angle grinder and chucked it up to get it square.

Faced this side, flipped it to face the curved back side then both ends till I ended up with a block.
Drilled and tapped M8x1 and it screwed on the thread very smoothly

The top face of the nut will have a layer of very low friction polymer (plastic milk bottle) where it slides along the top plate.
Next, the bearing blocks.


