- Joined
- Sep 28, 2013
- Messages
- 4,306
I was having some problems with machining a longish (for me) shaft on my Atlas 618 and I've chased my tail on alignment issues, so I decided to get an MT2 test bar and figure out what was going on.
Bought this MT2 test bar from Amazon for $28
pics
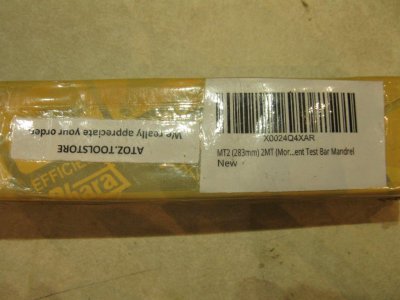
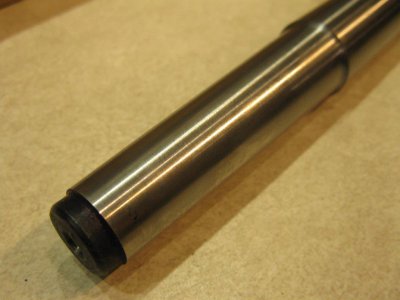
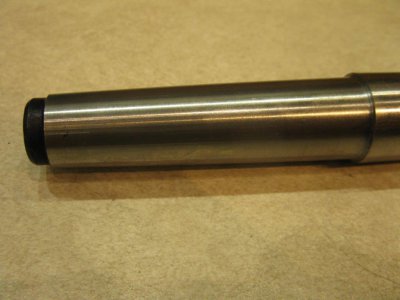
straight part is a bit over 11" long, also has 60deg centers at both ends
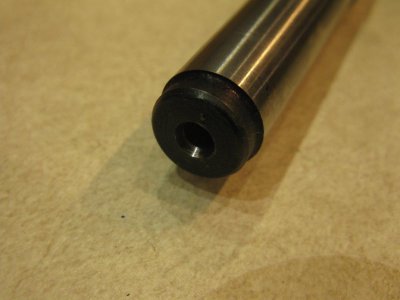
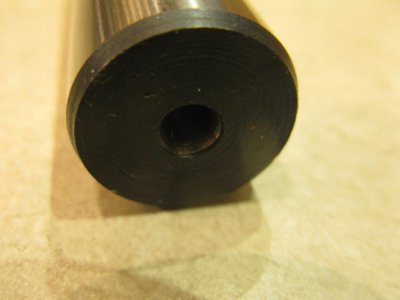
cleaned all the packing grease off it with some isopropanol, then mic'd the straight part (I tried not to handle the bar during the process). Found that it was within 0.01mm (0.0004") along its length and I rotated the bar 90deg at each point too. That's the limit of my ability to reliably measure something. I could have used a tenths mic but I'm not sure how much I would trust a tenth or two variation.
cleaned the spindle taper and gently tapped it in - 0.0015" radial runout at the spindle nose, ~0.004 at the end of the bar, with 0.004 axial runout away from operator at the end of the bar. Bletch. That's not good.
Blued up the taper of the bar with dykem and found
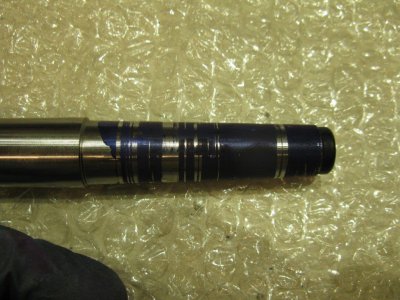
some major burrs. Then spent several hours very carefully filing/ sanding down burrs in the spindle taper until I got a fairly uniform Dykem removal. Still not perfect, but I have an MT2 reamer set on its way to finish the job. Radial runout is now down to ~0.0005" at the spindle nose and between 0.001 and 0.0015 at the end of the bar. Axial runout remained, but both the bar and my MT2 dead center seated much more securely and more easily compared with before.
No pictures of the rest as it was pretty boring and tedious. Took the head stock off the lathe, cleaned off the paint and other crud at the mating surfaces, then stoned them. Maybe a little less run out, but not by much. There was no free movement with which to adjust the headstock, so I VERY carefully took a smidgeon off of the 2 diagonally opposite mating surfaces to allow the headstock to rotate fractionally. I'm talking about barely removing machining marks, that little. Put headstock back on and then spent an hour or so trying to tighten the headstock bolts to get the runout down. Finally managed to get axial runout to 0.0005 or less from one end of the bar to another. Rotated the bar and the measurement repeated.
Then used the bar between centers to get the tailstock aligned and got that down to less than 0.01mm over the length of the bar (had to use my metric DI instead of my imperial DTI). Also found that there's a 0.0005" variation about 10" from my spindle. Wasn't in the bar - didn't vary with rotation and the diameter readings before, in and after it were the same - so must be something to do with wear in the bed.
Finally tested the face of my spindle with the DI and took the lightest of skim cuts to get rid of some burrs. Spindle face runout was then down to 0.005mm or less (needle barely flickers). Then recut both my 3 jaw and 4 jaw backplates, getting the 3 jaw radial runout down to ~0.0015 and the axial runout on both to 0.01mm or less. Couldn't get my homemade ER25 collect chuck to less than 0.0025" so I'll be remaking that.
Anyway, pretty happy with how it all worked out and very happy with the test bar. No guarantees that the next one would have been the same, but it's astounding value and I really wished I'd done this all earlier!
Bought this MT2 test bar from Amazon for $28
pics


straight part is a bit over 11" long, also has 60deg centers at both ends


cleaned all the packing grease off it with some isopropanol, then mic'd the straight part (I tried not to handle the bar during the process). Found that it was within 0.01mm (0.0004") along its length and I rotated the bar 90deg at each point too. That's the limit of my ability to reliably measure something. I could have used a tenths mic but I'm not sure how much I would trust a tenth or two variation.
cleaned the spindle taper and gently tapped it in - 0.0015" radial runout at the spindle nose, ~0.004 at the end of the bar, with 0.004 axial runout away from operator at the end of the bar. Bletch. That's not good.
Blued up the taper of the bar with dykem and found

some major burrs. Then spent several hours very carefully filing/ sanding down burrs in the spindle taper until I got a fairly uniform Dykem removal. Still not perfect, but I have an MT2 reamer set on its way to finish the job. Radial runout is now down to ~0.0005" at the spindle nose and between 0.001 and 0.0015 at the end of the bar. Axial runout remained, but both the bar and my MT2 dead center seated much more securely and more easily compared with before.
No pictures of the rest as it was pretty boring and tedious. Took the head stock off the lathe, cleaned off the paint and other crud at the mating surfaces, then stoned them. Maybe a little less run out, but not by much. There was no free movement with which to adjust the headstock, so I VERY carefully took a smidgeon off of the 2 diagonally opposite mating surfaces to allow the headstock to rotate fractionally. I'm talking about barely removing machining marks, that little. Put headstock back on and then spent an hour or so trying to tighten the headstock bolts to get the runout down. Finally managed to get axial runout to 0.0005 or less from one end of the bar to another. Rotated the bar and the measurement repeated.
Then used the bar between centers to get the tailstock aligned and got that down to less than 0.01mm over the length of the bar (had to use my metric DI instead of my imperial DTI). Also found that there's a 0.0005" variation about 10" from my spindle. Wasn't in the bar - didn't vary with rotation and the diameter readings before, in and after it were the same - so must be something to do with wear in the bed.
Finally tested the face of my spindle with the DI and took the lightest of skim cuts to get rid of some burrs. Spindle face runout was then down to 0.005mm or less (needle barely flickers). Then recut both my 3 jaw and 4 jaw backplates, getting the 3 jaw radial runout down to ~0.0015 and the axial runout on both to 0.01mm or less. Couldn't get my homemade ER25 collect chuck to less than 0.0025" so I'll be remaking that.
Anyway, pretty happy with how it all worked out and very happy with the test bar. No guarantees that the next one would have been the same, but it's astounding value and I really wished I'd done this all earlier!

