2020 POTD Thread Archive

Nice idea to have the thrust bearing on the QCTP

EDIT: Noticed it about $7 on eBay for a needle thrust bearing like that with 2 washers!
 
Last edited:
I have not posted here in a while. Here is last nights project.
Twenty five years ago I bought A Southbend 10K lathe. One of the jaws was missing for the 3 jaw chuck so I bought a new chuck for it.
I paid almost as much for the chuck as I paid for the lathe. I had a few options but I bought a quality chuck made in Poland.
I remember cringing at the price when I bought it.
About eleven years ago I sold the Southbend and bought a Chinese 12 x 36 lathe. I swapped chucks and gave the new
owner of the Southbend the chuck that came with the Chinese lathe which was also a decent quality chuck.

A few months back I was making some heavy duty washers for a gear puller. I sawed four 3/8" pieces off a chunk of 1 1/4"
round stock and chucked all four of them in the lathe to drill them. When the centre drill hit the washer it spun in the chuck.
Over the years the jaws and the slots in the chuck had worn and the jaws were no longer square in the chuck.

I took some pieces of scrap aluminium from an old cleaning rod and made spacers so I could tighten the chuck jaws with them still open.

2oJr9ys.jpg


I attached a Dremel die grinder to the tool post using rubber bands made from an old motorcycle tire tube.

8NTZXdT.jpg


I fed the grinding wheel back and fourth on the chuck jaws grinding very lightly for the better part of an hour and several beers.

9xXdPWa.jpg


J6AzHEb.jpg


I cleaned up all the abrasive dust and then put a piece of bar stock in the chuck and dialed it with a dial indicator. Zero run-out.
Its probably more accurate now than when I bought it.


Terry
 
All the corona-virus tidying up projects motivated me. I finally got around to getting my 8C collets mounted to my mill. I attached the rack to the bed cover. I needed some counterweight, so I put some hooks on the back to hang wrenches. My lead hammer and parallels further weigh things down so the collet rack doesn't tip forward. Took the opportunity to clean up my collets as well--a little 0000 steel wool and Gibbs Brand Protectant did wonders.IMG_0178.JPGIMG_0179.JPG
 
POTD (actually a couple of days ago) was putting a table top on the front of the Tormach mill enclosure. Didn't shoot any pictures of the fab process. The top is a piece of Nuvel (solid surface counter top material like Corian, but it's about 3/16" thick) left over from our house construction in 1993. There's a 1" square piece of tubing that sets on the edge of the chip pan, button head cap screws go through the Nuvel, tubing and the chip pan. The front edge simply sets on top of the enclosure tubing.

Thanks for looking, Bruce


Mill side view. Table top sets on a piece of 1" tubing that sets on the edge of the chip pan. The table is 8" deep and is sloped about 1/8" high on the front side so coolant will (hopefully) run back into the chip pan.
20200404_115139.jpg

20200404_115110.jpg

Front view with the enclosure doors removed.
20200404_115102.jpg
 
Last edited:
POTD was finishing up the sliding/swinging doors for the Tormach. Pretty happy with the end result. The doors slide back and forth very smoothly for quick access to the mill. Pull a couple of pins, swing the doors open and the entire front of the mill is accessible.

There are brackets at the swinging edge of the doors that attach to the front tubing of the enclosure. Plan was to insert a couple of bushings for retaining pins in the doors. Made the bushings from 303 stainless.


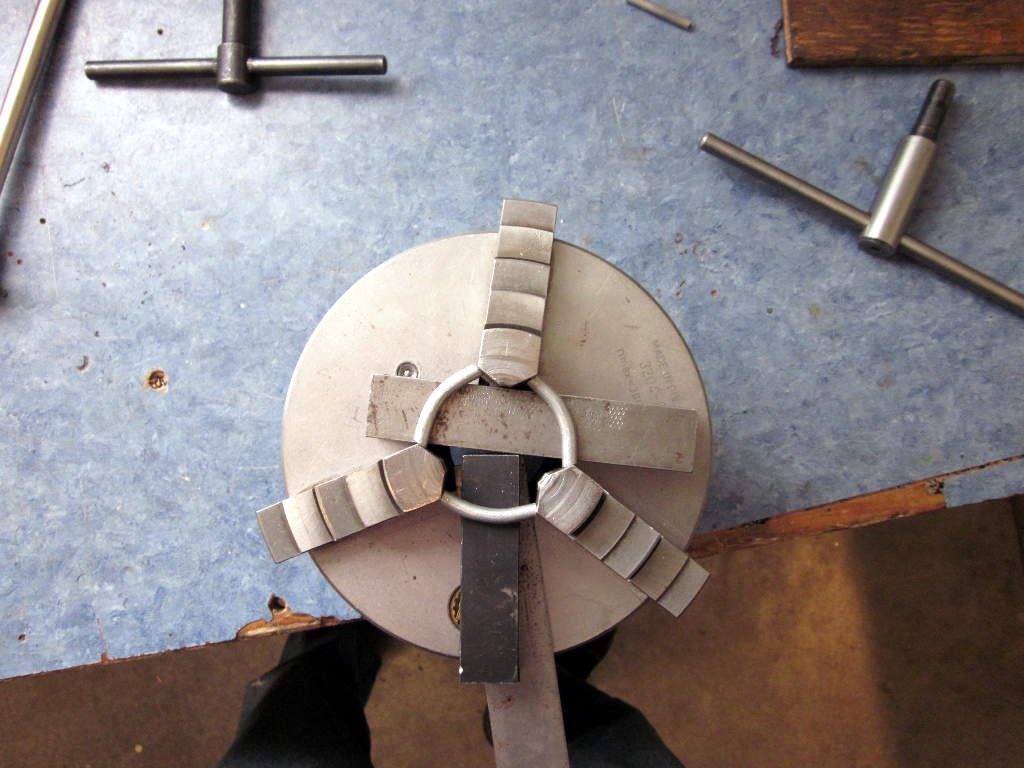
Turned some 1" 303 down to 3/4", and a shoulder turned to 1/2"
20200404_154905.jpg

Parted on the band saw, really like my HF 7 x 12 saw
20200404_155037.jpg

Chucked up the bushing in a collet and faced the stand off to height
20200404_161446.jpg

Center drilled with a 3/8" center drill, then a through hole with an F drill (0.257" for some clearance to a 1/4" pin). I went deep on the center drill to get a "free" chamfer lead in on the pin hole.
20200404_162022.jpg


Next step was knocking the 1/2" bushing holes in the Creform brackets. Did that work on the Bridgeport.


Found center side to side with an edge finder and drilled a 1/2" hole through the Creform brackets.
20200404_164746.jpg

Installed the drilled brackets to the enclosure tubing and used the bushing and a 1/4" transfer punch to mark the bottom of the tubing for drilling.
20200405_101733.jpg

Used the bushing and transfer punch in the bracket on the top side to mark the center of the bracket hole for drilling the tubing.
20200405_102320.jpg

Brackets and tubing drilled out, just about ready for the bushings. Didn't shoot pictures of it, but put the bushings in the brackets and set the table top in place. Drilled up through the bushings and through the table top.
20200405_102822.jpg

Bushings in place through the table top and bushings. Clamped a door frame in place and drilled up through the bushing and through the tubing so the holes line up.
20200405_104053.jpg

Bushings through the table top, brackets and enclosure tubing.
20200405_103703.jpg


On to the retaining pins. These were made from 1/4" 303 stainless with 3/4" brass knobs.


Cutting a 1/4"-20 thread on the 1/4" 303 pin.
20200405_110010.jpg

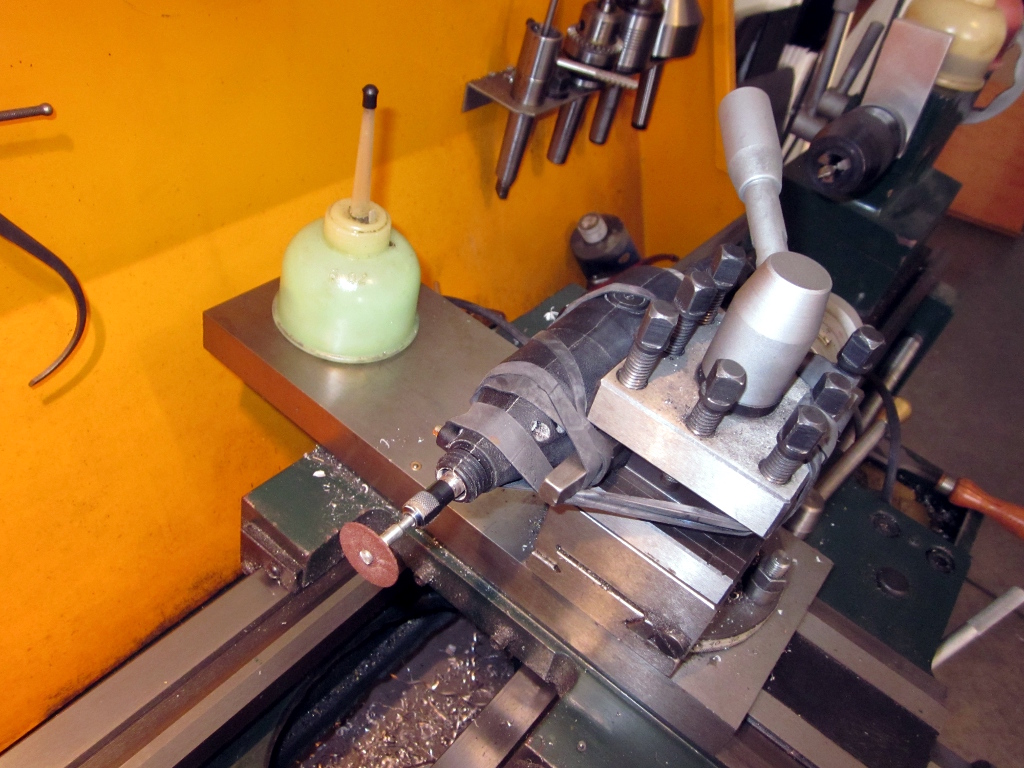
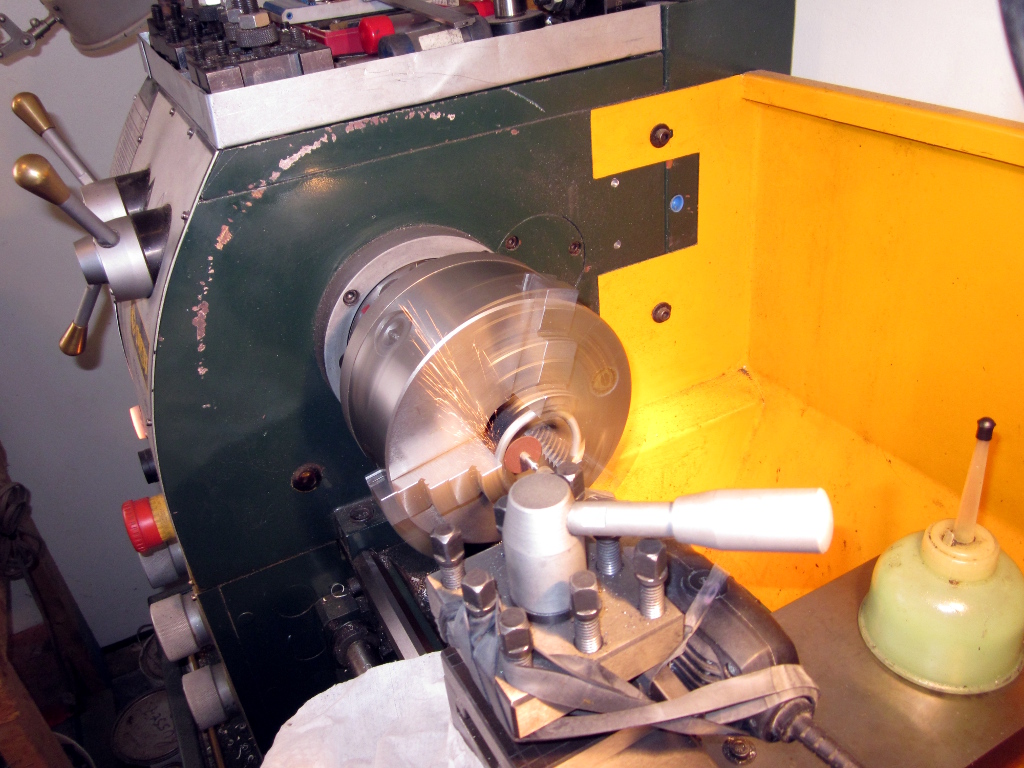
Chucked up and faced some 3/4" 360 brass.
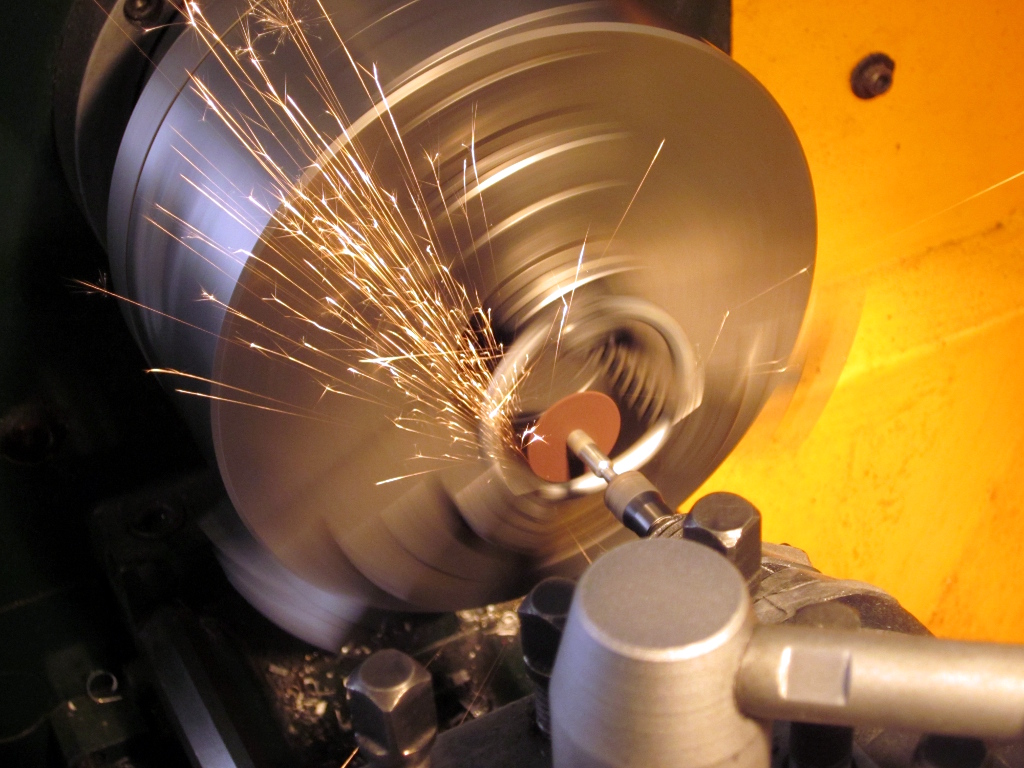
20200405_110721.jpg

Center drill
20200405_110813.jpg

Tap drill for 1/4"-20
20200405_110932.jpg

Tapping the 1/4"-20 knob hole. I really like using a piloted tap wrench on the mill, lathe and drill press. Always keeps the tap on center and square.
20200405_111223.jpg

Knurled, screwed in the pin and parted
20200405_112051.jpg

Chucked up the pin in a collet and faced the top of the knob
20200405_113212.jpg


Final product. As mentioned before, pretty happy how it all came out. The sliding doors give a 3' access to the front of the mill. With a quick pull of a pin, the door swings out of the way for more access.

Thanks for looking, Bruce


Doors slid closed, pins in place.
20200405_113633.jpg

Doors slide open for quick access.
20200405_113641.jpg

Swinging doors closed, door panels open.
20200405_113730.jpg

Pull the two pins and swing open the door for full access.
20200405_113802.jpg
 
Last edited:
Bought a Lambrich live center last fall just before we left for the winter. Got a great price on Amazon, believe someone here posted a heads up on it. Anywho, When I received it I noticed it would tighten up when turning it in one direction, so I decided to tear it down and take a look. First order of business was to make a pin wrench to open it up. Found a suitable piece of scrap for the handle, cut off the torch cut side, drilled a hole to fit over the center, did the layout for the pin location and drilled the holes for a light press fit in the wrench. Turned a piece of rod for a slip fit in the holes of the center retaining nut, cut them to length, and pressed them into the wrench. The simple wrench worked great. Disassembled/cleaned all the parts, and found a scared area on the main bearing surface which you can just see in the 7th pic. Hit the affected area with some fine emery cloth, cleaned, greased and reassembled. Now works nice and smooth in both directions. One more thing off the list. Cheers, Mike

IMG_20200405_103216097.jpgIMG_20200405_103510169.jpgIMG_20200405_104904696.jpgIMG_20200405_114339780.jpg

IMG_20200405_114347284.jpgIMG_20200405_114654101.jpgIMG_20200405_121850778.jpgIMG_20200405_114339780.jpgIMG_20200405_123444198.jpgIMG_20200405_125515772.jpg
 
In the shop, I finally got round to mounting my York vise / Power arm combo that I restored and had been sitting on my bench for god knows how long.
That's a fantastic looking restoration! I've never seen that nice a vise on a swivel (power) arm before. Panavise is nowhere near as good.
 
Back
Top