

-
Welcome back Guest! Did you know you can mentor other members here at H-M? If not, please check out our Relaunch of Hobby Machinist Mentoring Program!
You are using an out of date browser. It may not display this or other websites correctly.
You should upgrade or use an alternative browser.
You should upgrade or use an alternative browser.
1/6th scale 1890's 30ft navy steam cutter (live steam)
- Thread starter tghsmith
- Start date
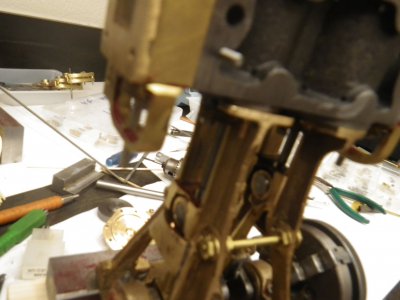
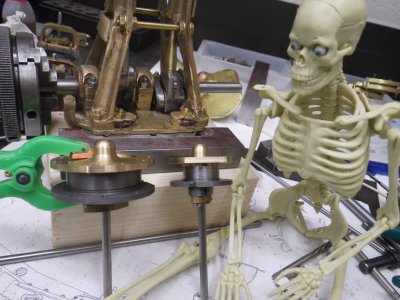
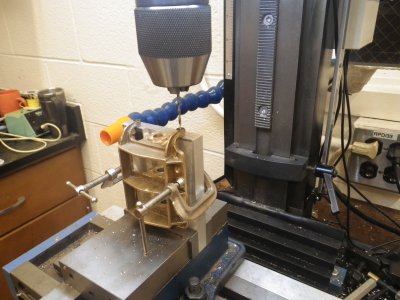
milled drilled ant tapped the crosshead pivots.. put the crank rods back on the crank to check alignment of piston rods, cylinders and crossheads.. everything turned and stroked well.. profiled the pistons to match the covers,, measurements can be made for the piston rods, did a max piston travel test and compared to the engines stroke all is looking good..
Attachments
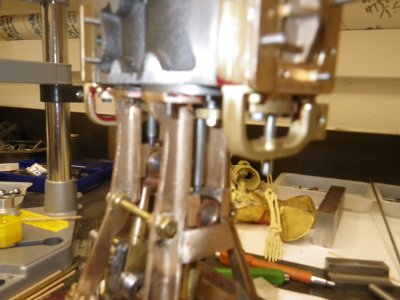
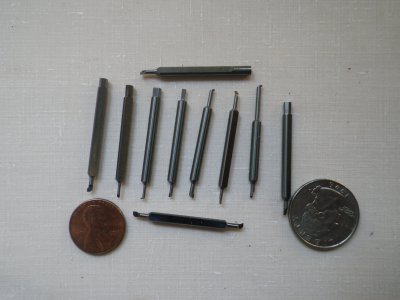
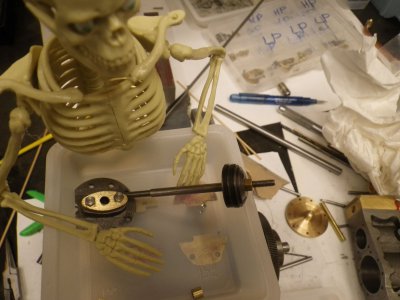
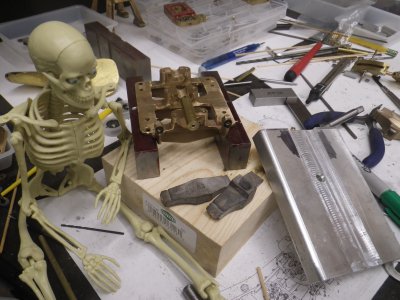
made the set of piston rods to replace the work rods the pistons were on,, added some extra holders for the unimats QCTP,, including a 1/8th inch for the micro cutters,, the new cutters made the piston ring grooves fun work,, they worked quickly and precisely and the pistons were completed.. only have a few more parts to left to make.. used the block and steam chest as "ink blocks" and stamped out the patterns on gasket paper,, in looking through my tools found that some micro gouges from model dockyard cut nice small fuzz free holes...
Attachments

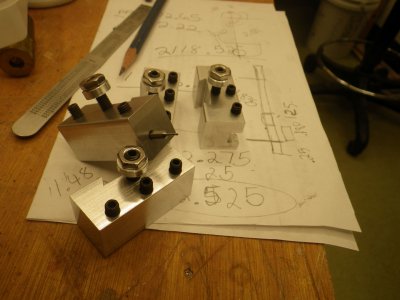


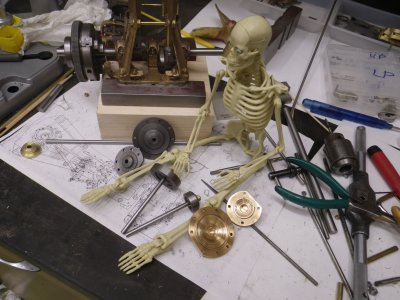
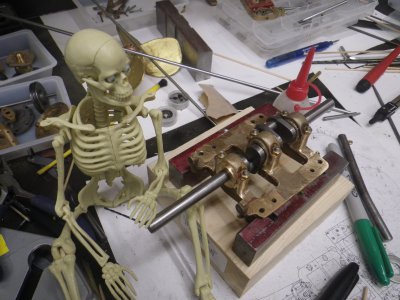
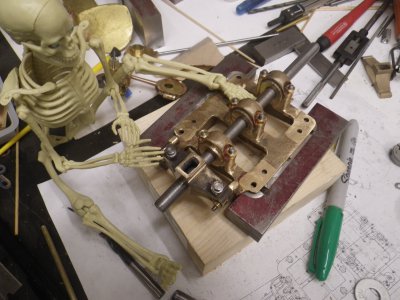
started final shaping work on the engine bed,, knocked off the hard corners on the bearing blocks.. needed to make a some jigs to mark,punch,drill and tap the thrust box mounts,, turned and drilled a shaft section to give a good center point to work from,, milled a block to support the bed and mounts while the work was going on.. still making it up as I go along..
Attachments
- Joined
- Jan 7, 2016
- Messages
- 3,261
For those interested in brass plate etching, here is a description of how to do it. Gas Engine Magazine DIY brass nameplates.