14X54 American Pacemaker

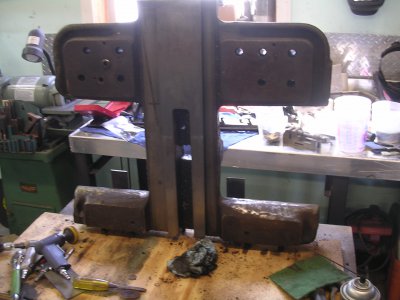
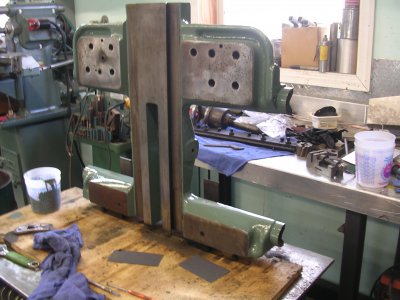
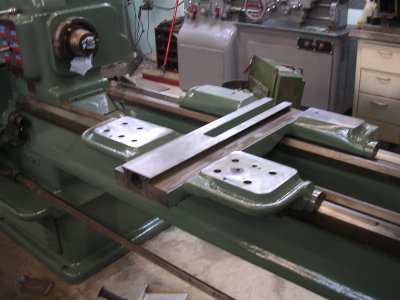
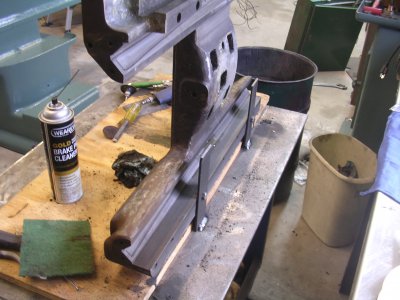
Well it took me a lot longer to get the saddle all cleaned up and painted. I think I spent the better part of 3 days working on it. The bare saddle casting weighs a little over 200#s and I needed a way to work on the whole thing without having to turn it over repeatedly. I bolted 2 pieces of 3/16" flat stock to the bottom of it, stood it up on end, and welded the flat stock to the table. Having it upright where I could work on both sides at the same time made things so much easier.

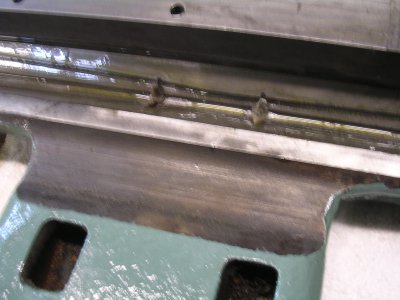
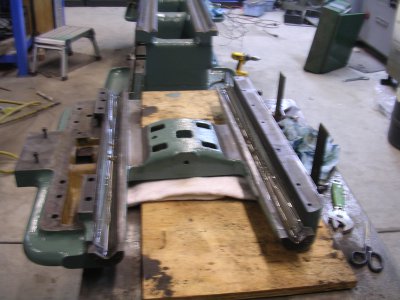
I have it all cleaned up, painted and ready to back on the ways. The oil galleries that feed the grooves in the saddle bearings had felt wicks in them and they were pretty much shot so I ordered some felt cord from McMaster-Carr and it should be here tomorrow. I'll recruit some help from one of the young guys at work and have him help me lift the saddle back on to the ways.

Next up is tearing into the apron and seeing what it needs, I'm sure that will take a few days to get done.
#54.JPG #59.JPG #60.JPG #61.JPG
 
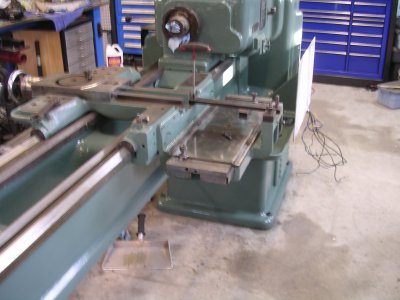
Well the brown truck showed up with the felt cord and I got the new wicks cut and installed. I pre-filled all of the oil galleries in the saddle with way oil and made sure that the wicks took oil and fed the bearings and managed to get the saddle back on the ways in one piece.

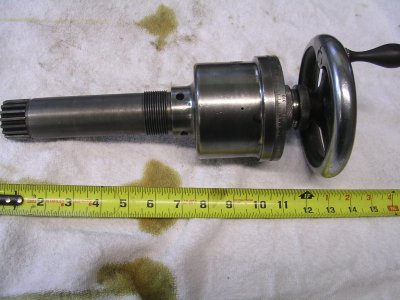
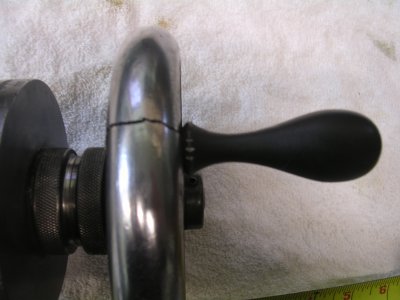
I took the cross feed screw and ball clutch apart to clean everything up. I wanted to take the handle off of the hand wheel for the cross feed and wound up breaking the cast iron hand wheel in the process, needless to say I was not a happy camper. I haven't decided if I will weld it, buy a similar replacement, or build a new one from scratch. I'll figure that out later as I don't want to get sidetracked over a hand wheel.

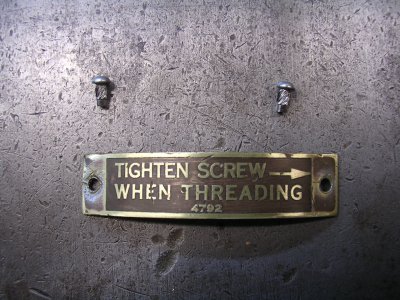
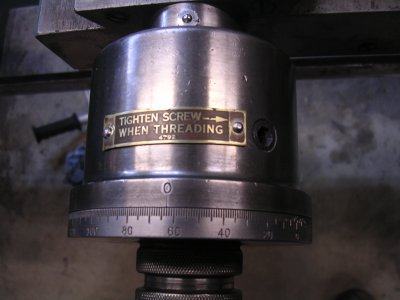
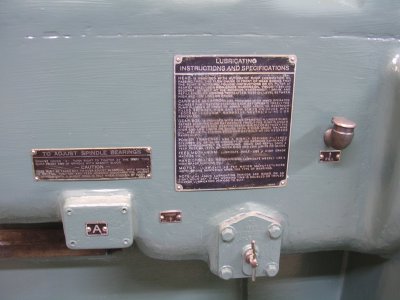
I got all of the instruction and data plates re-mounted with new drive screws. I was unable to remove some of the drive screws that held the plates on in the original locations so I just shifted the location and drilled ne holes to mount the plates.

I tried to get the apron up on the table to start taking it apart but it is just too heavy and I will have to wait till tomorrow to get some help. It might be another snow day tomorrow so I might get a full day of work on the apron, I'll have to see what it looks like in the morning.

#62.JPG #63.JPG #64.JPG #65.JPG #66.JPG #69.JPG #70.JPG #72.JPG
 
Nice work Mac. Unless I missed you didn't tell us what kind of paint you used, or what color. It reminds me very much of a couple of Mazak M-5's I painted a few years ago. Bigger project than I want to tackle these days, even if they were mine. That color, at least on this monitor, looks very close to the stock Mazak machinery green. I used a catalyzed epoxy. Held up well, but was rather noxious to work with.
 
Thanks Tony. The paint I'm using is a Sherwin Williams high solids industrial enamel, I mix in a little hardener from tractor supply. It's high gloss and sets up real hard. The color I had them mix for me, it's a blueish green with a little grey.


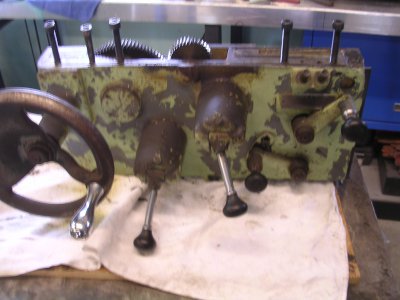
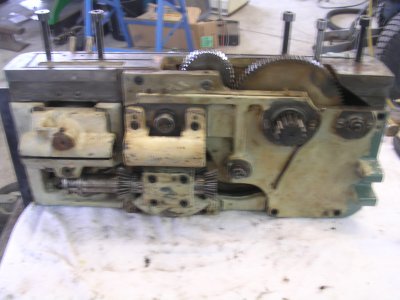
I got the apron up on the table today and like the saddle I welded a piece of angle to the table and bolted the apron in the upright position so that I could easily work on both sides. It was really cruddy and I had to do a lot of wiping just so I could see how it comes apart. I got the half nuts off and the interlock assembly for the cross feed and carriage. Everything that is bolted to the apron is also located with dowel pins so it takes a little coaxing to get the pieces apart once the bolts are removed. There are many wicks in the oil galleries and I am paying close attention to where they are so I can replace the when I re-assemble.

I have not got it out yet but I can tell that the bearings on the bevel gear for the feed rod are shot and will need to be replaced. So far this is the only thing I have found that was worn, not bad for a 64 year old machine.

#73.JPG #74.JPG #78.JPG #79.JPG
 
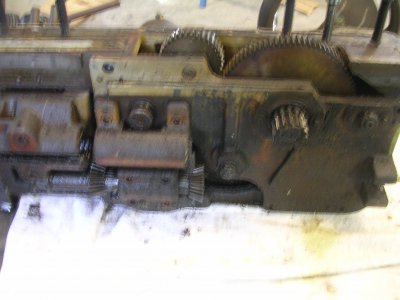
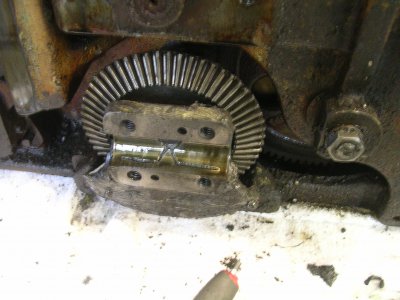
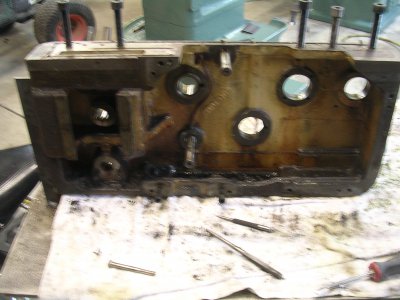
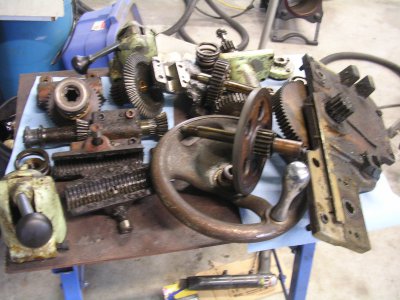
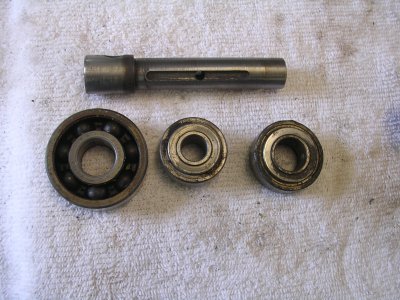
Well it took me all day to get the apron apart but I got it done. In addition to the bearing for the bevel pinion gear that I thought was bad (it Was), I found 2 other roller bearings that were bad and will have to be replaced.
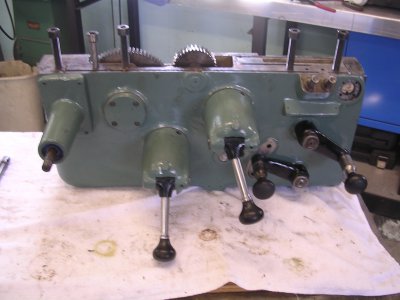
I found no worn parts in the headstock and several worn parts in the apron and then I figured out why. The headstock has a motor driven oil pump that keeps everything well lubed anytime the lathe is running, the apron has 2 one-shot oil pumps that must be manually actuated once a day, I guess this lathe has had a lazy operator or 2 in it's life.

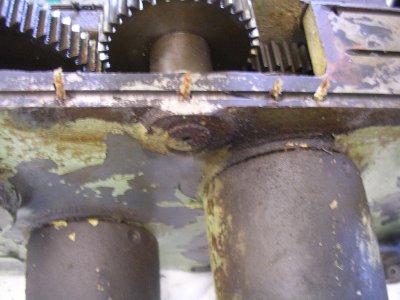
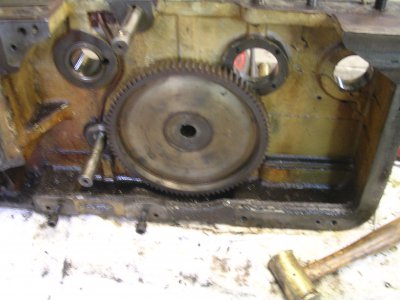
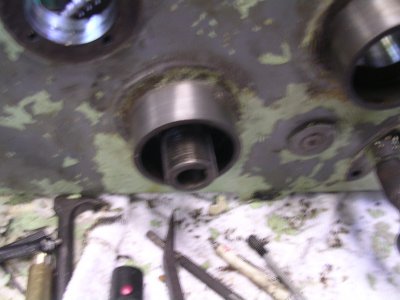
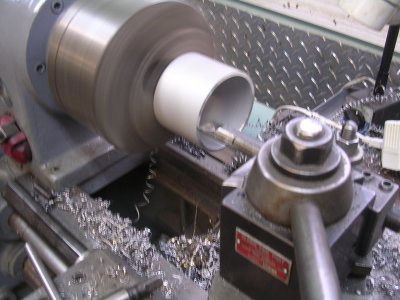
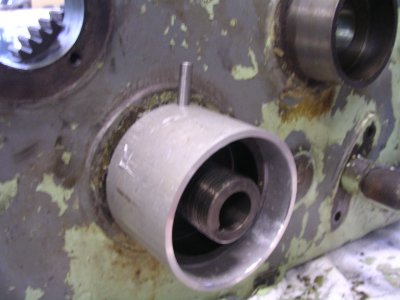
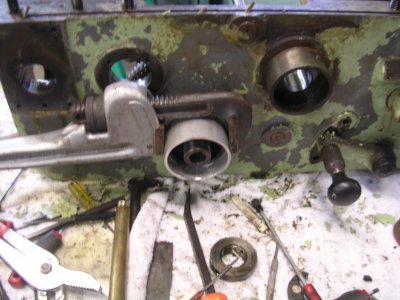
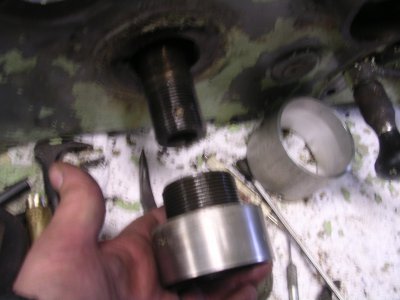
Getting this thing apart was like a big puzzle and it took me a while to figure it all out. I had to make a wrench to get a bearing sleeve that threaded into the casting out in order to remove the last big gear that drives the carriage. Sooner or later this thread would get away from cleaning and painting and finally get some machining content to it. I had to turn the ID of a piece of aluminum pipe to 2.750" to fir over the bearing sleeve, then I drilled a .25" hole in it and put a dowel pin through the pipe and into the hole in the bearing sleeve. Then I used a pipe wrench to turn the whole thing out of the apron casting. A pin spanner wrench is what I really needed but I didn't have one big enough.

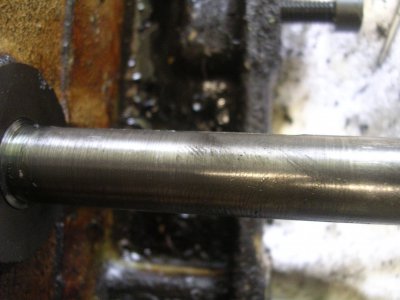
It turned out the bearing in the bevel pinion was OK but the shaft that it rides on was badly worn. The worn shaft looks like it is pressed into the apron casting and I'm not sure I want to take the chance of breaking the casting trying to press it out so I will think on it for a few days, I have a big pile of dirty parts that will take me at least that long to get cleaned up. The only thing left to take out of the apron casting is the 2 one-shot lube pumps but I have yet to figure out what holds them in place.

I did manage to get the bracket that holds the electrical control box painted and mounted back on the lathe, I should be able to get the control box back on and wired up tomorrow.

#80.JPG #82.JPG #84.JPG #86.JPG #85.JPG #87.JPG #89.JPG #90.JPG #81.JPG
 
nice idea for the spanner tool. i'll have to remember that for later sometime.
 
This morning I put my soft clothes on and made a pot of coffee.Grab my best coffee cup(pic of grandson) and start up the computer and read this story,I have to say it is fantastic.Best seller,Mac it looks great and love the color.I have to say that lathe is huge,just moving the parts is a chore in itself but you over come that small problem.A person has to have a good memory to be able to put that apron back together as many pieces it has.Again nice job Mac----kroll
Question:Could you show me a pic of a needle gun,how do you like using it?Sounds like a good tool to have for stripping paint
 
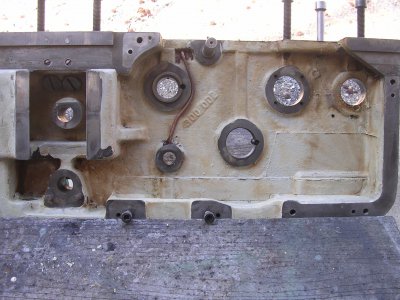
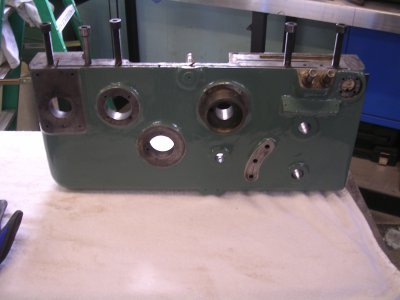
OK, so I got the apron casting torn down, cleaned and painted. I ran all the gears and parts through the parts washer and started to put it all back together. I got the half nuts and lock out back in along with most of the gears. I had to order 2 new bearings and I'm on hold until they arrive.

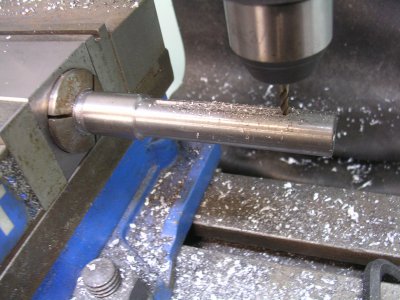
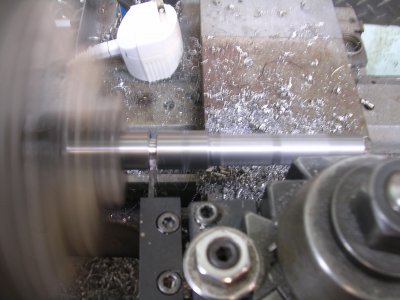
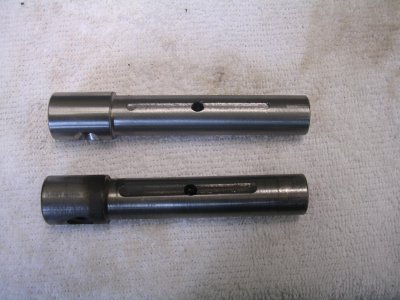
I got the shaft for the pinion bearing out and made a new one. I think the shaft was pretty soft as it wore instead of the bronze bearing the rode on it. I made the new shaft out of 3/4" drill rod and did not harden it. I turned and drilled it in the lathe and then milled the oil grooves and drilled the cross hole in the mill. You'll notice in the picture that I used a 5c collet and a square block in the vise for milling the shaft. I had to cut 2 oil grooves 180* apart and a cross hole 90* to the oil grooves. A set of square and hex 5C collet blocks has been on of the most versatile things I ever bought for the shop. It's a cheap import set but it has been worth it's weight in gold on many occasions. I ran out of steam tonight but I should get the shaft and the pinion installed tomorrow, no big rush as I still have to wait for the new bearings to come.
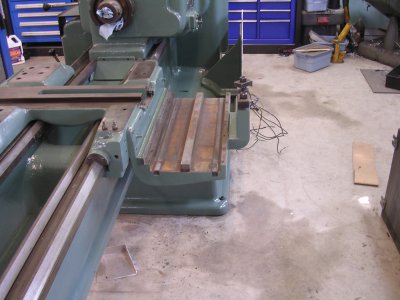
While waiting to finish and install the apron, I'll get the lead screw and feed rod all cleaned up and ready to install.

I think the next thing I start on will be the taper attachment, once that is done all that remains is the compound and the tailstock. Is that the light at the end of the tunnel that I see or is it a train about to run me over. time will tell I guess.

#91.JPG #95.JPG #97.JPG #98.JPG #99.JPG
 
Hello,

I just wanted to say thank you for doing this thread. I have my own lathe project I am getting going on, and your posts detailing how you are going about working on your lathe are encouraging to me. So, please keep it going! Thanks again,

Jonathan
 
My new bearings showed up and I had a nice productive day in the shop. I installed the new shaft I made for the pinion gear along with the 3 new bearings and got the apron all back together.
Getting the clutches for the carriage and cross feed adjusted right was a lot of trial and error. Assemble, test, disassemble, adjust, assemble, test, and repeat. After about 4 or 5 cycles of the above, I finally got them set right.

I got the cross feed installed and started putting the taper attachment back together. I ran out of cleaned and painted parts so it was back to running parts in the parts washer so that I can get them ready for paint.

I have some help lined up for Monday to help me get the apron mounted. By then I should have more parts cleaned and painted. The last major thing that I have not touched yet is the tailstock but I should be ready to start on that early next week. I might actually have this lathe done by next weekend.

#100.JPG #101.JPG #102.JPG #104.JPG #105.JPG
 
Back
Top