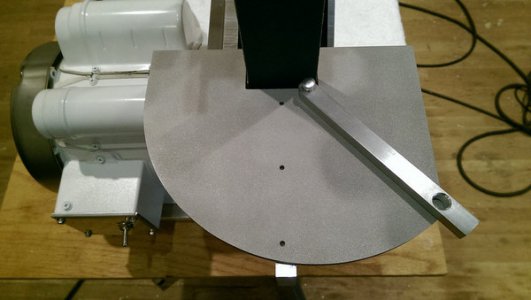
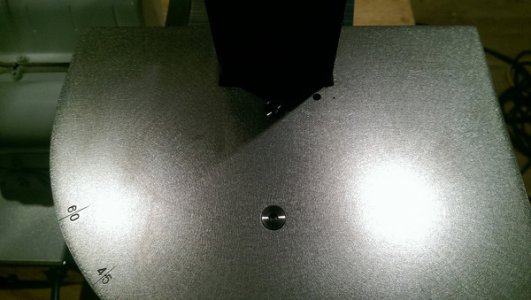
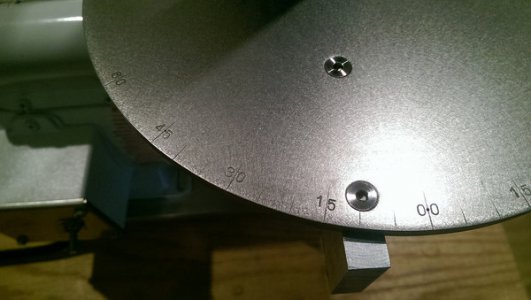
Remember, the angle markings on the outer edge must originate from the pivot point of the miter gage to work correctlyI cut my table on the bandsaw and started on the miter gauge. The larger hole is where you will read the angle setting:
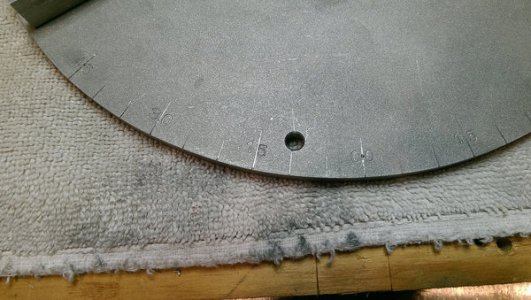
Unfortunately, there are some lines in the material that don't look so great. The table is 304 SS so these may be hard to sand out by hand. If only I had a surface grinder! Any other ideas on how to get these out? Just a lot of elbow grease?
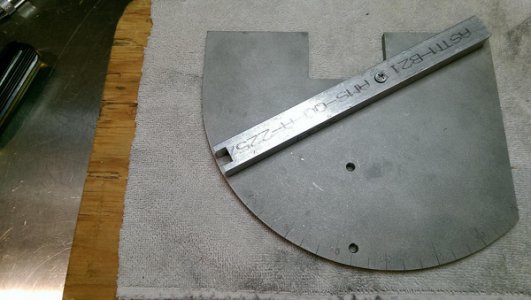
This edge was actually done on the belt grinder itself. Works well even without a table.
Robert
Last edited by a moderator: