90 degree V Twin build

This is a view of the gas tank parts before polishing.
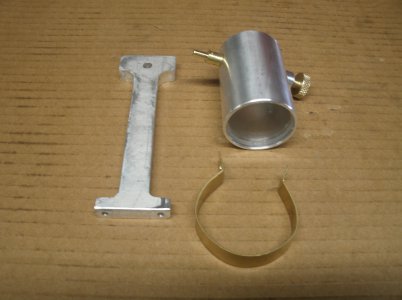
GEDC5465.JPG

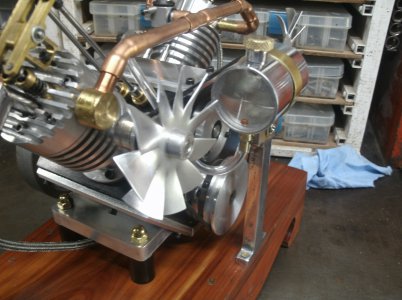
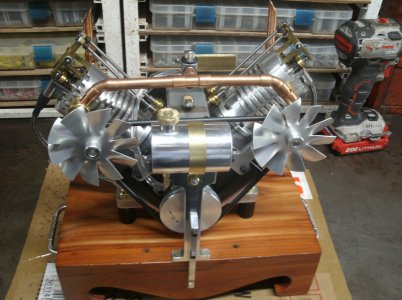
And after polishing and installing on engine.
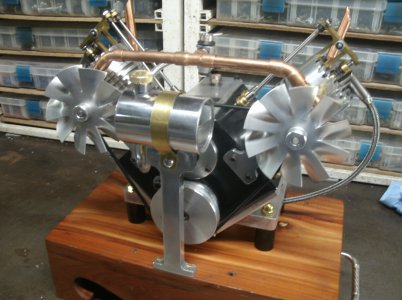
GEDC5467.JPG

GEDC5469.JPG

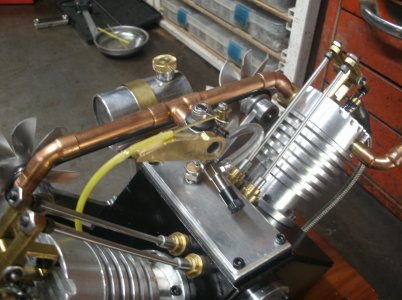
No gas leaks and I did not plan on trying to start the engine but curiosity got the best of me so I rigged up a temporarily throttle, opened the carb screw 2 full turns and gave it a try.

IT'S ALIVE


I was surprised as the only thing I have adjusted is I advanced the timing a little. The engine fires on both cylinders and I don't seem to have any major oil leaks.
There are several issues that need to be worked out like a proper throttle lever, the gas tank needs a extra support, the fan belt needs to be changed to a thicker one to dampen the vibrations from the odd firing order and then adjust valve, ignition timing and carb. These changes will take a few days to complete.


Thanks for looking
Ray
 
it runs as nice as it looks! love the bologna cut on the exhaust stacks too. :cool:
 
Looking gooodddd. But where is the rest of the motor(mini)cycle?

.
 
KevinM the gas tank outlet is threaded #10 24 and screws into the tank with some form a gasket on the threads. The filler neck is a light press with a drop of superglue. The end covers are held in place with a transparent glue that is resistant to gasoline. Hope that answers your question.

I have some of the issues with the engine corrected and will post some pictures later today.

Thank you all

Ray
 
I made a brace for the gas tank mount to keep it from shaking and installed a thicker drive belt (oring) for the fans.

GEDC5473.JPG

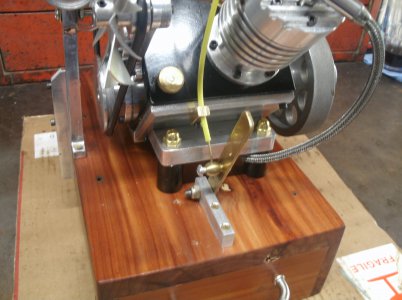
A good friend of mine came over with a RC throttle cable that I think will work just fine so I have been making mounts for the throttle. I had to stop for today as I couldn't keep my fingers off the not yet dried epoxy holding one of the cable housing ends.

Thanks for looking
Ray
 
Today I got the throttle all sorted out and it works just great. Thanks Chris
GEDC5477.JPG

GEDC5478.JPG

I also took all the fan pulleys off and enlarged the grooves to fit the thicker belt.

Did you ever have something that just drove you crazy?
The battery pack has a slide Off/On switch made into the cover. At first I thought great I won't have to mount a switch on the outside of the engine box I can just use the one on the battery pack that is mounted inside. I operated the switch by catching a finger nail on the edge of the switch and flicking it either Off or On and it just worked fine until I cut my finger nails and now I can't move the switch at all. So I made a hole in the top and added a proper Off/On switch.
Frustration is gone for ever!

I have ran the engine several times today and each time it is working better. I still have some adjustments to make to the carburetor, ignition and valve timing before I call it good.
I am thinking about making a different and larger fly wheel to help with the slow speed and smooth out the running.

Thanks for looking
Ray
 
I your video the push rod motion looks irregular? Is that just synchronization with the frame rate?
Robert
 
I noticed that also and I assure you it is from the camera.
My camera makes the engine sound like it is rattling or tinny but I don't know how to correct that.
There are no audio settings in the camera.

Ray
 
Back
Top