- Joined
- Jul 26, 2011
- Messages
- 4,142
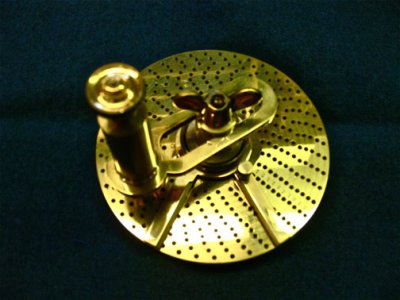
This was made for a rotary table I have,which,as most do,had a 90 to 1 gear ratio. So,somewhere I found the needed numbers of holes in the dividing plate to go with the rotary table. Most dividing attachments are 40-1 ratio(unless my old head is forgetful this A.M.!~)
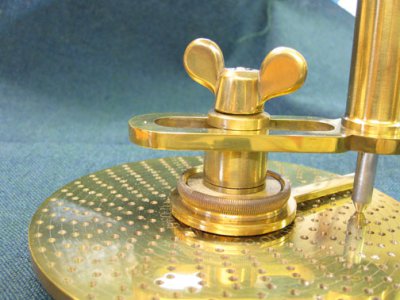
I drilled all the holes by first walking a very sharp legged Starrett divider around the very thin lines I scored while the round brass plate was still in the lathe. Then,after several experimental trips around the scribed line,I center punched where each hole was to be,then drilled each hole out with a PUMP DRILL,as used by clock makers in the 18th. C..
When I got the plate all pre drilled,and back to my home shop,I went over all the holes with a very small lathe type center drill,which deepened the holes a bit,and added the bevels around each hole.
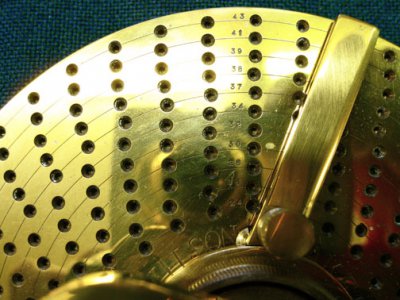
Those small holes seen in picture #2 are 1/32" high with serifs! I LOVE old,high quality letter and number stamps. I've searched for each set I have till I have all the sizes. I SWEAR that one set have is 18th. C.. It is made of crudely rolled steel with one side left round. But the letters are PROPER ROMAN letters,with thick and thin letters. The A ' for example,has a thick leg,and the other is thin,etc.. The TOPS of these stamps had EVER been struck,as they had been left as cut off with a hot chisel at the forge. You were expected to grind them flat,which I did reluctantly. Way back then,you had to make your own chisel handles,and sharpen your new saw,which had teeth pre punched,but not sharpened. This makes me think these particular stamps are 18th. C.. They were so FRUGAL about every thing back then,to keep costs down.
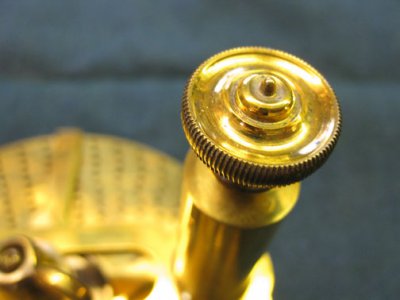
The knurled parts were knurled with a knurl I had made. This knurl was made by putting a tap in the lathe chuck,mounting the blank knurl wheel in a holder that allowed it to freely rotate. The tap just let the knurl blank go around and around till the impressions were cut into the wheel,making it into a knurl. The knurl was made from either 01 or W1 steel drill rod. I always stamp each knurl with which steel I used,should I ever want to change the temper long after I'd forgotten what steel I had used.
I always handle this attachment with surgical type nitrile gloves,to protect the beautiful golden color that the alloy 260 brass has turned. I don't care much for the fresh polished color of 260 as it has a little green color in it. I was able back then to buy brass from the museum warehouse,and they stocked 260 sheet up to 1/4" thick.
I can't do that any more. When the Warehouse foreman was caught pocketing the money from employee purchases,the knee jerk reaction was to stop employee sales. Not fair. WE weren't pocketing the money!
The first picture shows the true color the best. A few pictures are to show the old fashioned"Microscope" knurls which you could also learn to make. But it is CAREFUL work,lest you snap off the tap!


