- Joined
- Nov 19, 2014
- Messages
- 991
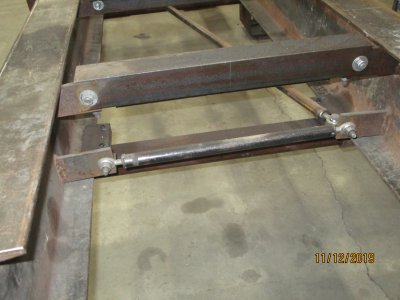
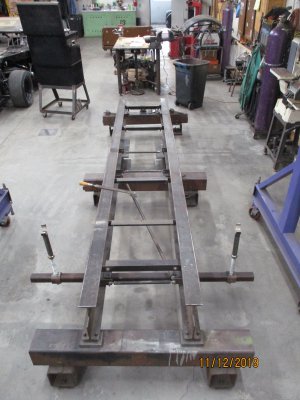
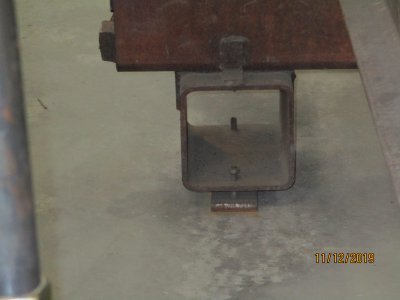
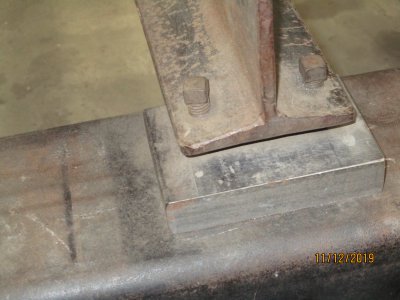
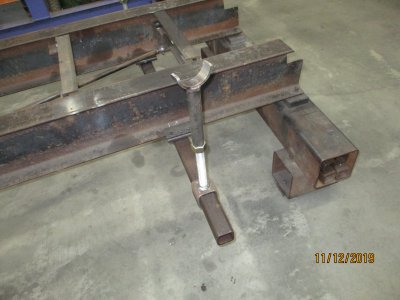
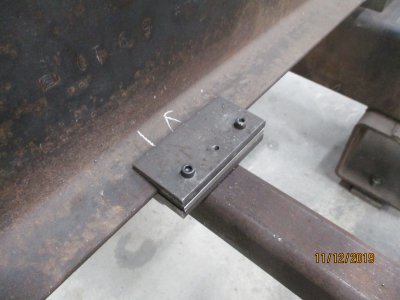
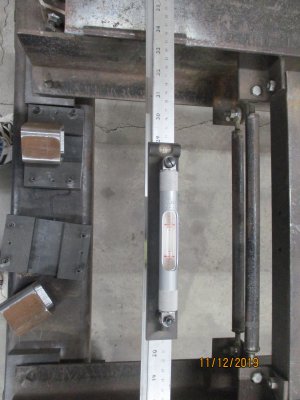
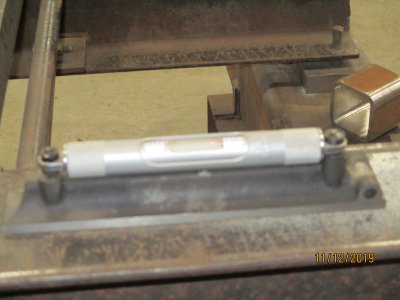
We finished a project and are going to be starting another so it's my project of the day to check our chassis jig for square, plumb, and level. as you can see, it's simply two 8 inch I-beams supported by three 6 inch square tubing "Bridges". The 6 inch square tubing foot of each bridge has two jack bolts and a sole plate, this is for inital leveling. The two I-beam have three sets of jack bolts and sole plates, these are fine tuning as are the turnbuckles