- Joined
- Jan 2, 2014
- Messages
- 8,851
This project was completed a few years ago now, but I recently re-discovered the pictures and thought it was a good one to share.
My son brought home a broken microscope from school. His science teacher heard that I fixed things.
The microscopes barrel no longer moved when you turned the little knobs to change the focus. On investigation we found the old lubricant was totally dried out and seized up. Then someone cranked the knobs anyway, breaking a tiny rack...it was deformed and had some teeth stripped off.
Here's the old rack sitting on top of a freshly sized blank for the new one:
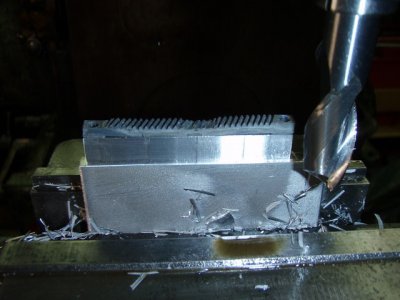
After switching the mill to horizontal mode, grinding a lathe tool as a fly-cutter, and setting the vice to the required angle of the teeth I cut the first tooth gap:
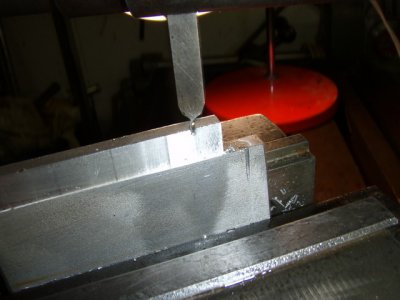
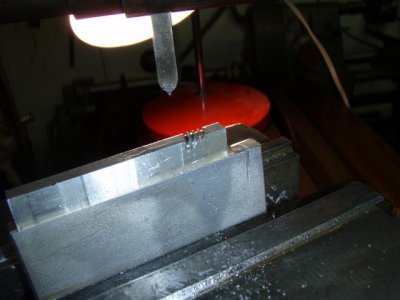
The indexing over for cutting the teeth was all manual. Here's a few gaps/teeth in...
After all the teeth were cut I located and drilled the countersunk mounting holes, then flipped it sideways for cut-off:
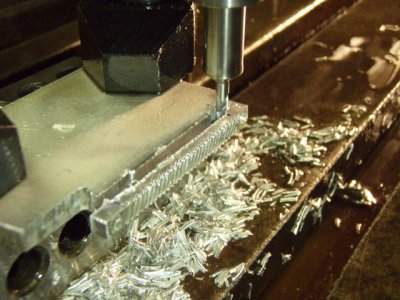
This vertical milling cut allowed me to create a "foot" at each end, that allows clearance for screw heads underneath.
Here are the two parts side by side:
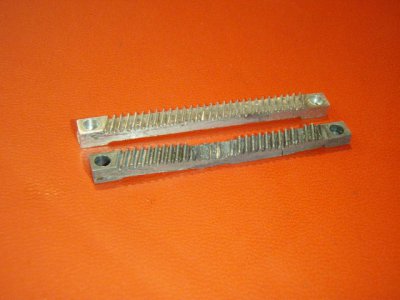
(it's hard to see the teeth on mine, the next shot is better...)
and finally the new part installed on the microscope barrel:
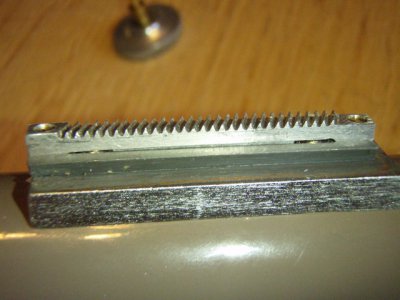
The piece just under the rack is a dovetail slide.
At some point one end was machined down to allow the rack to slide in under the pinion gear.
The tooth shape is not perfect, but it's not a high-torque or high-speed application.
We re-lubricated the barrel and reassembled the microscope and it worked.
Was it worth it?
It sure was; I learned a lot! It was the first real project on my "new" milling machine.
My wife's reaction:
Why do you need such a big machine to make such small parts?
(it's a 1916 Cincinatti 3S horizontal mill, shown in my "photos" area here...)
-brino
My son brought home a broken microscope from school. His science teacher heard that I fixed things.
The microscopes barrel no longer moved when you turned the little knobs to change the focus. On investigation we found the old lubricant was totally dried out and seized up. Then someone cranked the knobs anyway, breaking a tiny rack...it was deformed and had some teeth stripped off.
Here's the old rack sitting on top of a freshly sized blank for the new one:

After switching the mill to horizontal mode, grinding a lathe tool as a fly-cutter, and setting the vice to the required angle of the teeth I cut the first tooth gap:

The indexing over for cutting the teeth was all manual. Here's a few gaps/teeth in...

After all the teeth were cut I located and drilled the countersunk mounting holes, then flipped it sideways for cut-off:

This vertical milling cut allowed me to create a "foot" at each end, that allows clearance for screw heads underneath.
Here are the two parts side by side:

(it's hard to see the teeth on mine, the next shot is better...)
and finally the new part installed on the microscope barrel:

The piece just under the rack is a dovetail slide.
At some point one end was machined down to allow the rack to slide in under the pinion gear.
The tooth shape is not perfect, but it's not a high-torque or high-speed application.
We re-lubricated the barrel and reassembled the microscope and it worked.
Was it worth it?
It sure was; I learned a lot! It was the first real project on my "new" milling machine.
My wife's reaction:
Why do you need such a big machine to make such small parts?
(it's a 1916 Cincinatti 3S horizontal mill, shown in my "photos" area here...)
-brino

