- Joined
- Aug 22, 2012
- Messages
- 4,100
My first vertical slide was a bit small in what it could hold so I have decided to build a larger one.
It should look something like this (but not in these colours )
)

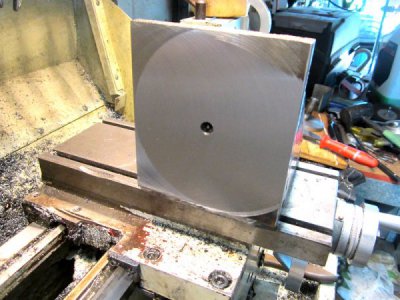
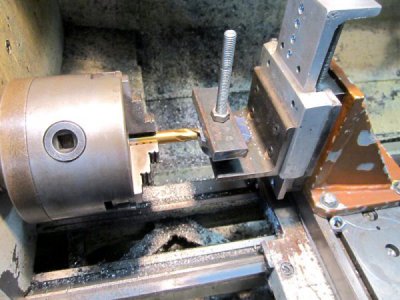
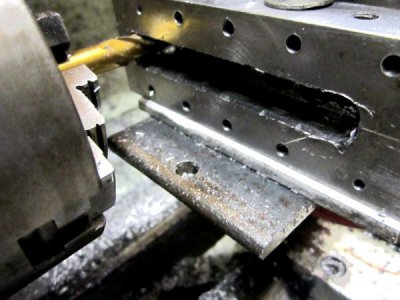
I faced and edged a chunk of hot rolled scrap for the front plate.
I will drill and thread a matrix of holes in this for a variety of mountings.
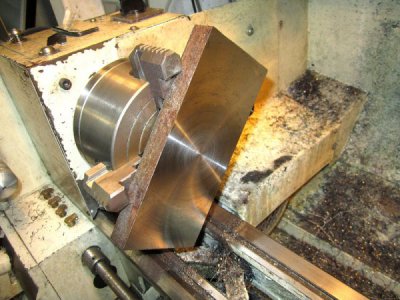
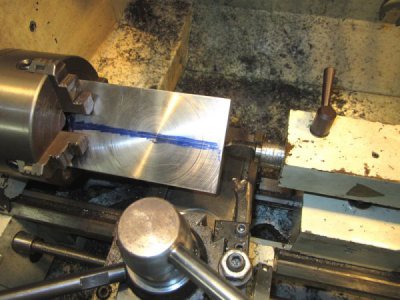
All four edges were also faced off in a similar manner and ended up within 0.001" of square on all sides and faces. It took a couple of attempts to get it this good.
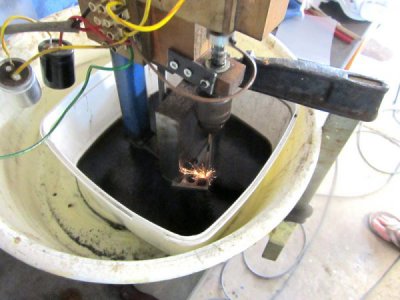
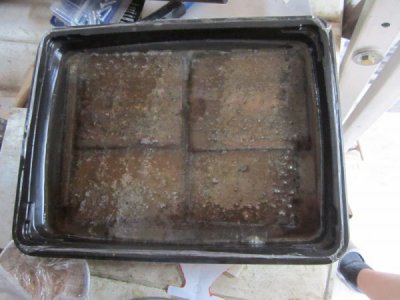
the next job was to soak the 12mm plates for the angle and swivel plate in vinegar to remove the mill scale, 48 hours and it was cooked to perfection, a bit safer than hydrochloric acid.
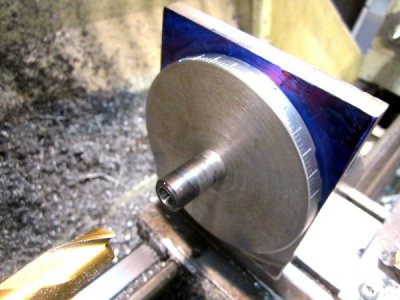
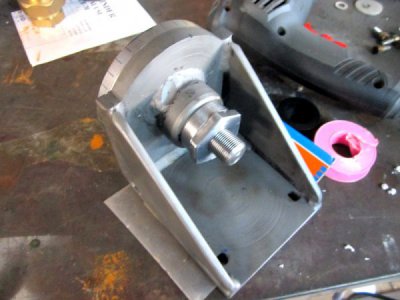
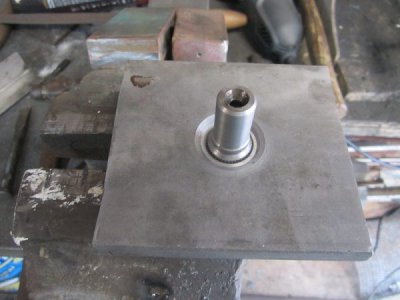
The first mistake was to bore the plate for the swivel shaft too large, Doh! never mind, I just knurled the shaft to make it a tight fit. You can just see it there.
The worst part was how I managed to make it too large.
The shaft is 20mm, I turned down one end to 15mm which is where I wanted to fit the shaft.
I used the calipers to measure the shaft then checked that against some imperial drills, the first one I tried was larger than the set caliper gap so I said to myself - " no worries I can bore it out that little extra bit."
I have absolutely no idea why I thought this, definitely a senior moment.
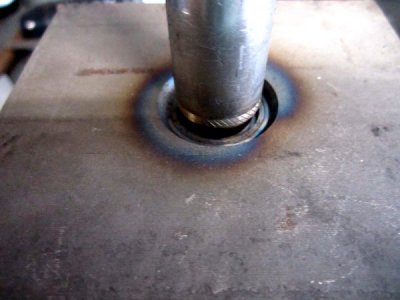
I cut a large counter sink for extra weld holding. This side will eventually be faced flat.
First side welded but forgot to take a photo.
Second side to be deep welded.
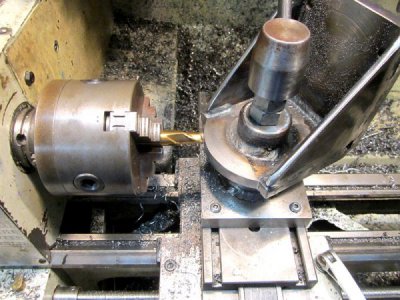
I cut the corners off the circle with the angle grinder first to make it easier to turn round.
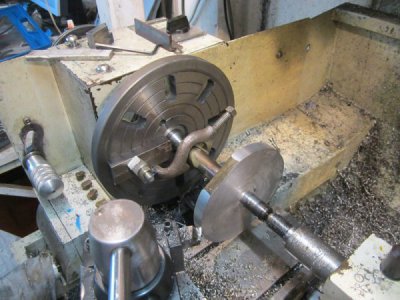
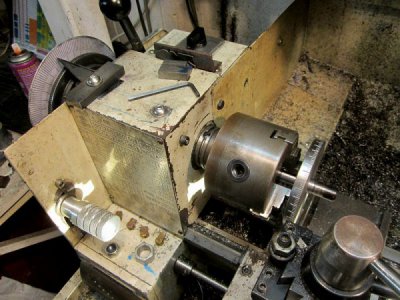
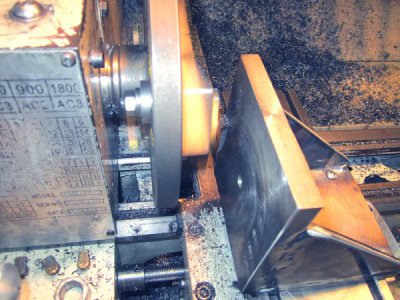
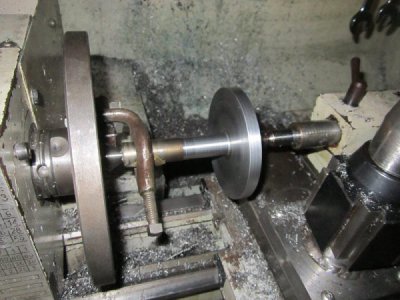
I decided to turn it between centres to ensure the disk had parallel sides.
and that the shaft was at right angles.
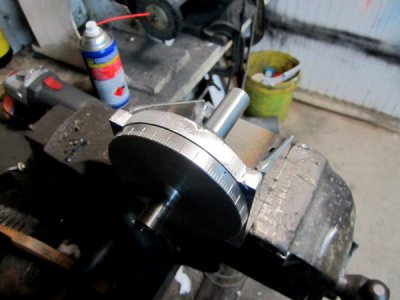
I have decided to add a degree scale on the outside. I have no idea if this is worthwhile but it will look good.
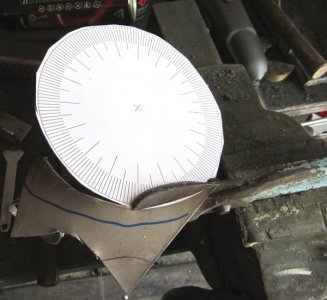
To this end I have printed a degree scale onto a sheet of paper and stuck it to some stainless plate.
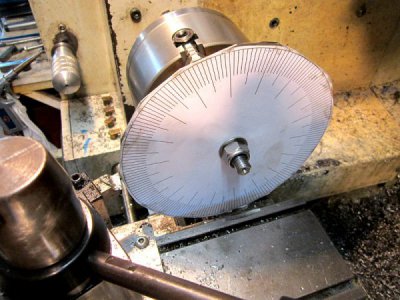
I will use this in the end of the main spindle to index the wheel.
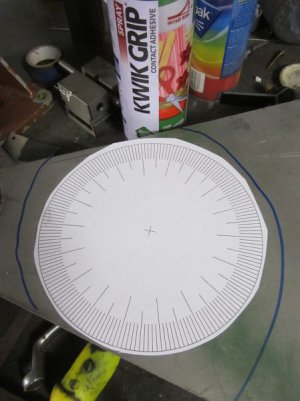
This is printed at two degree intervals as I think one degree intervals will be a bit too close.
This site is an excellent source for printed scales
http://www.cgtk.co.uk/metalwork/reference/divider
I've run out of thin cutting disks so have to wait a bit before I can cut it out and lacquer it.
It is the same size as the face plate so I hope to be able to actually turn the what will be a rough cut edge smooth.
It should look something like this (but not in these colours
 )
)
I faced and edged a chunk of hot rolled scrap for the front plate.
I will drill and thread a matrix of holes in this for a variety of mountings.

All four edges were also faced off in a similar manner and ended up within 0.001" of square on all sides and faces. It took a couple of attempts to get it this good.

the next job was to soak the 12mm plates for the angle and swivel plate in vinegar to remove the mill scale, 48 hours and it was cooked to perfection, a bit safer than hydrochloric acid.

The first mistake was to bore the plate for the swivel shaft too large, Doh! never mind, I just knurled the shaft to make it a tight fit. You can just see it there.
The worst part was how I managed to make it too large.
The shaft is 20mm, I turned down one end to 15mm which is where I wanted to fit the shaft.
I used the calipers to measure the shaft then checked that against some imperial drills, the first one I tried was larger than the set caliper gap so I said to myself - " no worries I can bore it out that little extra bit."
I have absolutely no idea why I thought this, definitely a senior moment.
I cut a large counter sink for extra weld holding. This side will eventually be faced flat.

First side welded but forgot to take a photo.
Second side to be deep welded.

I cut the corners off the circle with the angle grinder first to make it easier to turn round.

I decided to turn it between centres to ensure the disk had parallel sides.
and that the shaft was at right angles.

I have decided to add a degree scale on the outside. I have no idea if this is worthwhile but it will look good.
To this end I have printed a degree scale onto a sheet of paper and stuck it to some stainless plate.
I will use this in the end of the main spindle to index the wheel.

This is printed at two degree intervals as I think one degree intervals will be a bit too close.
This site is an excellent source for printed scales
http://www.cgtk.co.uk/metalwork/reference/divider
I've run out of thin cutting disks so have to wait a bit before I can cut it out and lacquer it.
It is the same size as the face plate so I hope to be able to actually turn the what will be a rough cut edge smooth.


