- Joined
- May 3, 2017
- Messages
- 1,997
Okay, Everybody.
After reviewing everyone's input, I decided to take the following approach. Strategy 1: Try to fix the lead screw. If that failed, I've essentially lost nothing (as several have suggested). Strategy 2: If I broke it, cut off the Acme threaded rod and weld and pin on a new section. If I blew that, I'm still out essentially nothing except I would then own a remnant of Acme threaded rod that might come in handy someday. Strategy 3 (and actually an ongoing process since the beginning): Keep looking for a replacement.
I gave Strategy 1 a try in the shop today, and I'm happy to report it was quite successful. As an expression of gratitude and hopefully as a benefit to anyone else who runs into this kind of problem, I'd like to present the following pictorial documentation of the steps I took to fix the lead screw. Any of you real experts out there with suggestions on how I could have done it better, PLEASE respond for the benefit of all of us. Here we go.
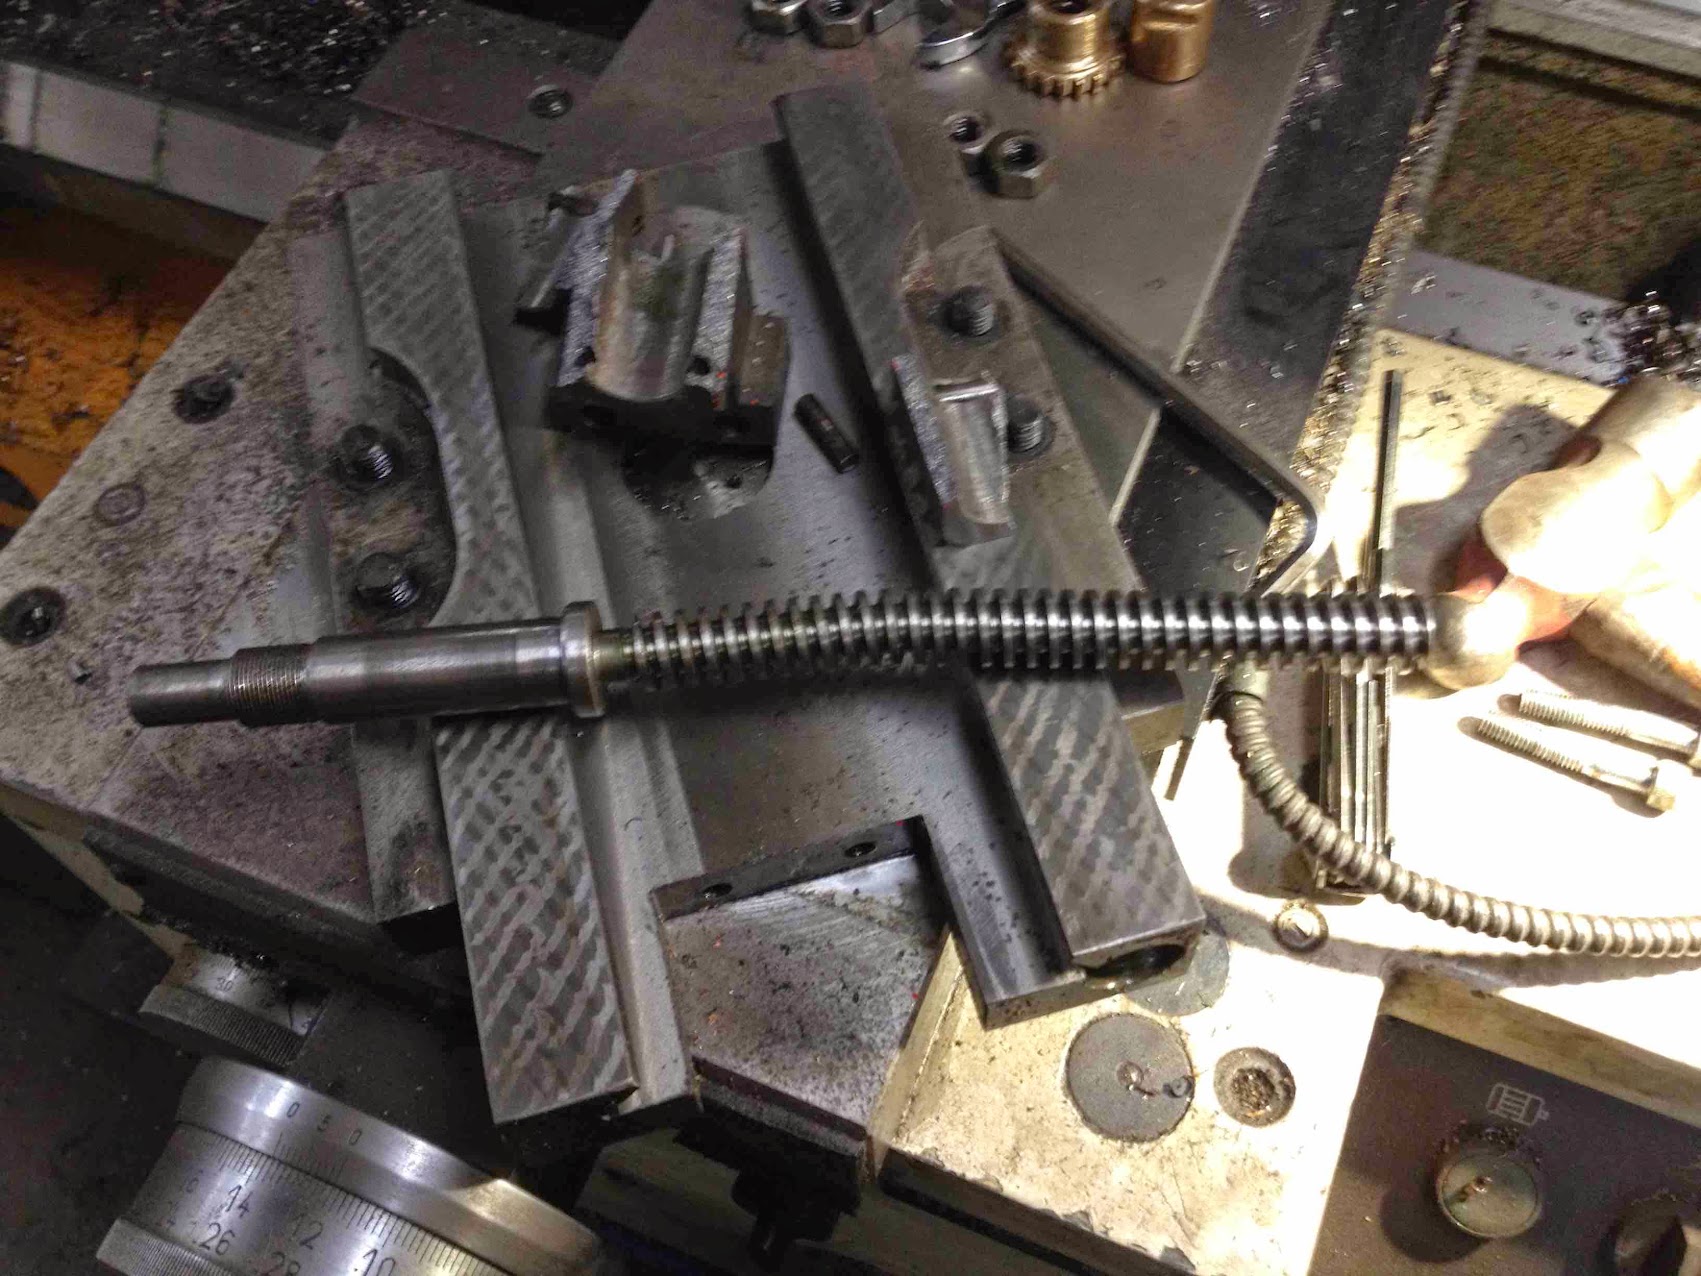
Step 1: Try to identify exactly where the bend is in the lead screw. A visual examination didn't help much. The 5/8" shoulder in the middle made it challenging to lay flat, so I drew a 'plus' sign on the end of the shaft (difficult to see in the photo) and marked the points beginning at top and going clockwise 1-2-3-4. Using a surface plate, v-block and height gauge, I registered the readings in these four positions. I was careful to take all the readings on the crown of the same thread rotation. I normalized the readings so that the lowest value was exactly zero. I also took some readings further up the shaft to help me identify where the bend started. The first six attached pictures shows how I did it.
Step 2: Straighten the bend on the shop press. Since the 1-3 (vertical) dimension was far worse than the 2-4, I started there. Before moving to the shop press, I used a ruler to determine approximately how high the center of the shaft should be above the bench when still mounted on the v-block. I straightened the shaft until I achieved that point in the 1-3 dimension. Photos 7, 8 and 9 show the process.
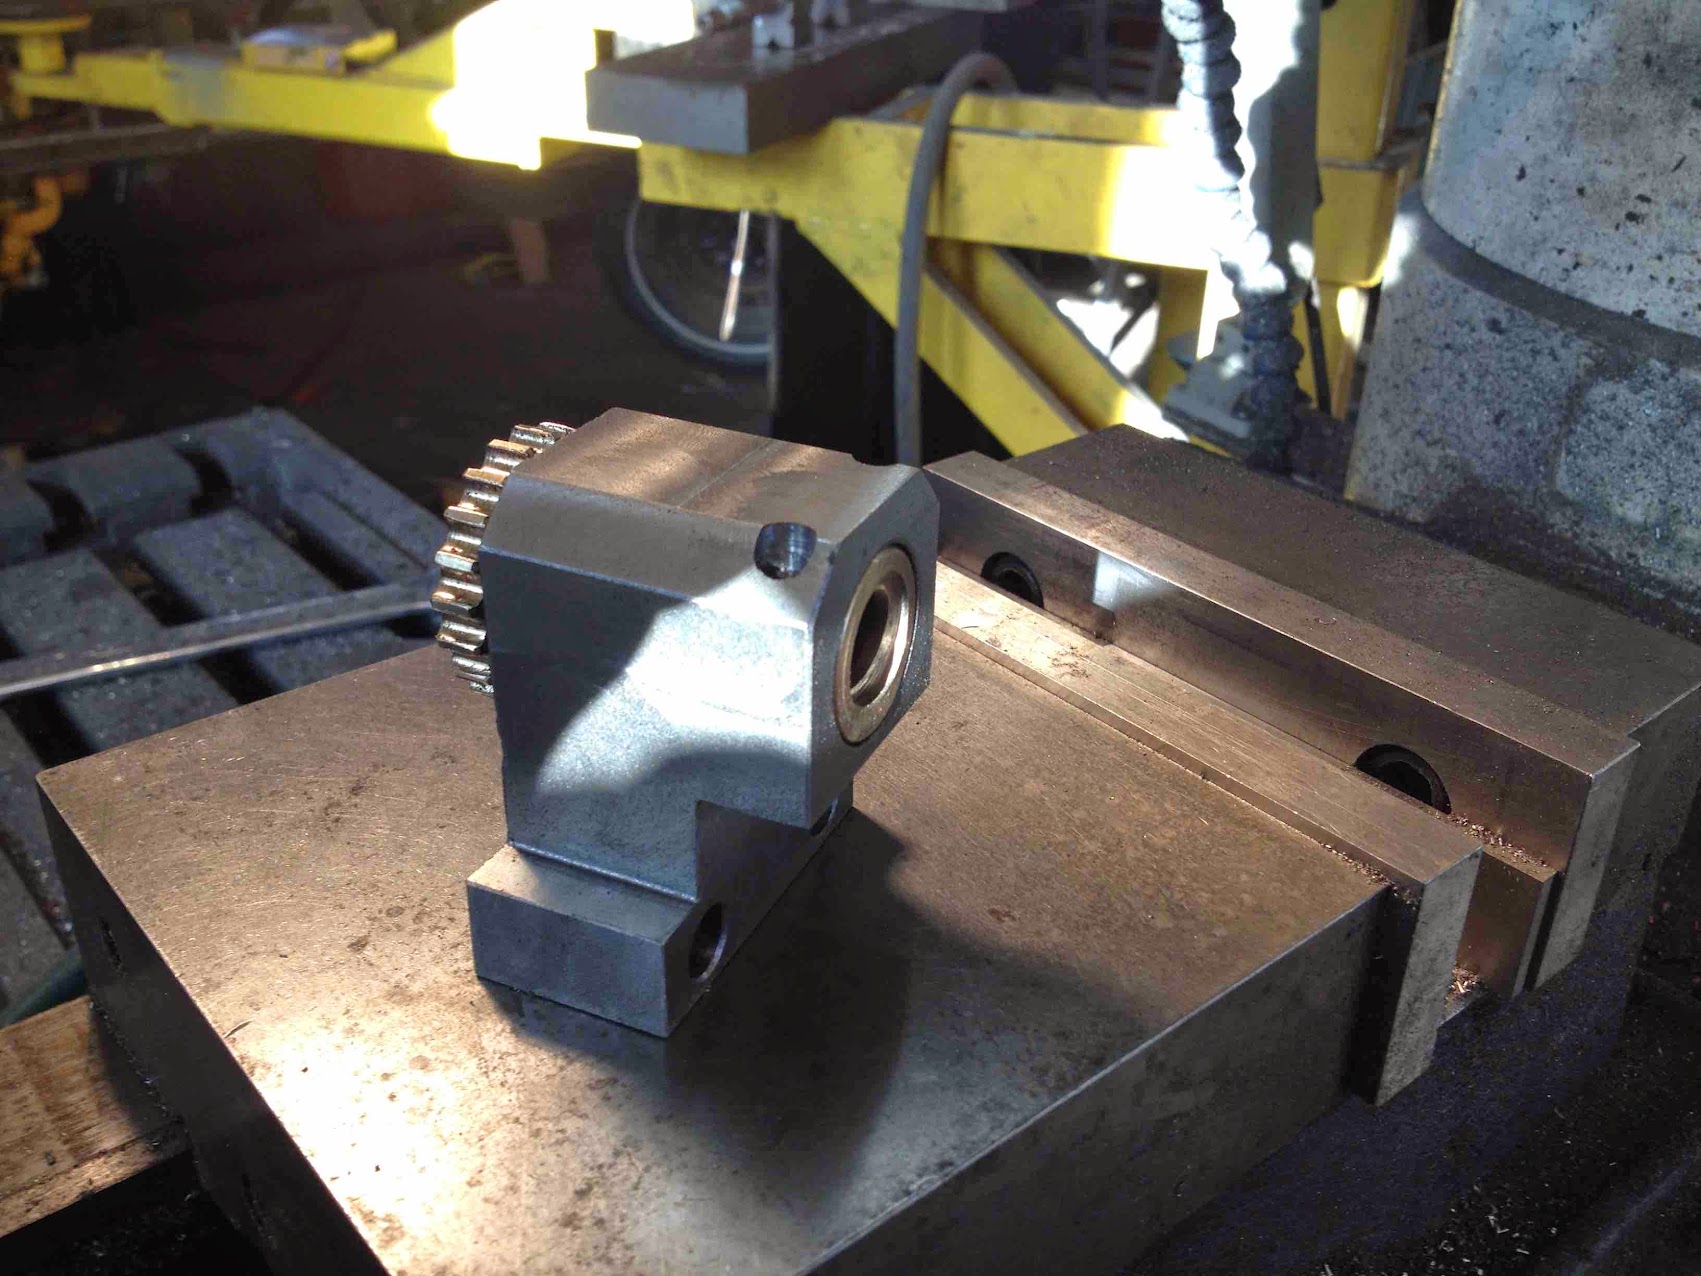
Step 3: Assemble the compound to check preliminary results. After adjusting on the 1-3 dimension, I did a dry assembly to see how close it would be. Amazingly, the compound worked fine. If I forced myself, I could sense a very slight binding, but it's not enough to make me want to fine tune it more. (Like Yogi says, "If it ain't broke, don't break it.") I finished the assembly and called it a day (see photos 10, 11 and 12). Start to finish: about two hours.
Again, I'd like to thank all who responded with very good advice and counsel. This was a good learning experience for me and what appears to be the last step in getting this fine machine in good and complete working condition. Any suggestions on how I could have done this more efficiently? There may be a 'next time' for me or some of us other neophytes.
Regards,
Terry
P.S.: I'm not sure if I'm attaching photos correctly. If any of you have problems seeing them, let me know, and I'll give it another shot.


After reviewing everyone's input, I decided to take the following approach. Strategy 1: Try to fix the lead screw. If that failed, I've essentially lost nothing (as several have suggested). Strategy 2: If I broke it, cut off the Acme threaded rod and weld and pin on a new section. If I blew that, I'm still out essentially nothing except I would then own a remnant of Acme threaded rod that might come in handy someday. Strategy 3 (and actually an ongoing process since the beginning): Keep looking for a replacement.
I gave Strategy 1 a try in the shop today, and I'm happy to report it was quite successful. As an expression of gratitude and hopefully as a benefit to anyone else who runs into this kind of problem, I'd like to present the following pictorial documentation of the steps I took to fix the lead screw. Any of you real experts out there with suggestions on how I could have done it better, PLEASE respond for the benefit of all of us. Here we go.
Step 1: Try to identify exactly where the bend is in the lead screw. A visual examination didn't help much. The 5/8" shoulder in the middle made it challenging to lay flat, so I drew a 'plus' sign on the end of the shaft (difficult to see in the photo) and marked the points beginning at top and going clockwise 1-2-3-4. Using a surface plate, v-block and height gauge, I registered the readings in these four positions. I was careful to take all the readings on the crown of the same thread rotation. I normalized the readings so that the lowest value was exactly zero. I also took some readings further up the shaft to help me identify where the bend started. The first six attached pictures shows how I did it.
Step 2: Straighten the bend on the shop press. Since the 1-3 (vertical) dimension was far worse than the 2-4, I started there. Before moving to the shop press, I used a ruler to determine approximately how high the center of the shaft should be above the bench when still mounted on the v-block. I straightened the shaft until I achieved that point in the 1-3 dimension. Photos 7, 8 and 9 show the process.
Step 3: Assemble the compound to check preliminary results. After adjusting on the 1-3 dimension, I did a dry assembly to see how close it would be. Amazingly, the compound worked fine. If I forced myself, I could sense a very slight binding, but it's not enough to make me want to fine tune it more. (Like Yogi says, "If it ain't broke, don't break it.") I finished the assembly and called it a day (see photos 10, 11 and 12). Start to finish: about two hours.
Again, I'd like to thank all who responded with very good advice and counsel. This was a good learning experience for me and what appears to be the last step in getting this fine machine in good and complete working condition. Any suggestions on how I could have done this more efficiently? There may be a 'next time' for me or some of us other neophytes.
Regards,
Terry
P.S.: I'm not sure if I'm attaching photos correctly. If any of you have problems seeing them, let me know, and I'll give it another shot.