Aircompressor Kaput

Nice rebuild Mike.
For low pressure high volume like this compressor was meant for a four cylinder single stage makes sense, why are they so uncommon. Any four cylinder I've seen is a two stage.

Greg
When I get it back together I'll check the CFM. I've seen several specs, all around 16 to 20 CFM at 125 PSI. According to Jenny (who bought Emglo) the model number breaks down to 3 hp, 175 psi, 30 gallon, vertical tank. If I can get 1/2 to 1/3 of those figures it will easily out perform any needs I have. I only paid $75 and 100 miles for it 4 years ago. It has a new (huge) Lesson 3 hp motor on it and the tank looks perfect. I did have to put new belts on it last summer - I couldn't stand the sequel at start-up any longer!
 
Last edited:
I was sure the rebuild kit wouldn't get here until after Christmas so I've just been lazing around reading a book & taking naps. So you know what showed up today. Figured I'd better get back out & do a little anyway.

I finished getting the old gaskets off the valve plates and heads. Head gaskets were almost permanent. I couldn't decide if I should use a hand scraper and wear myself out of use a grinder with a scotchbright pad and eat all the dust. Ended up doing both.

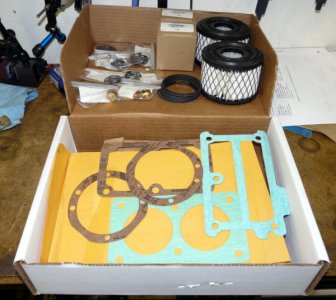
0441.jpg There are quite a few more valve parts in this kit than came out of the compressor. But, all of them will go back in! I think the missing pieces are in the bottom of the tank!

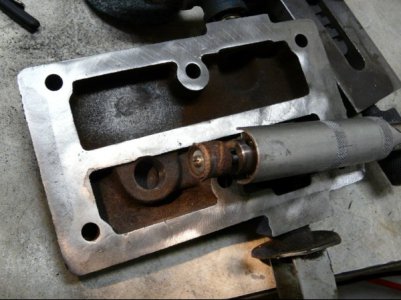
0445.jpg The holes for the in-head unloading valves were pretty rusty and pitted. I used a worn out sanding drum on a rotary tool to clean them up a little. The seal is an o-ring so I should be good here.

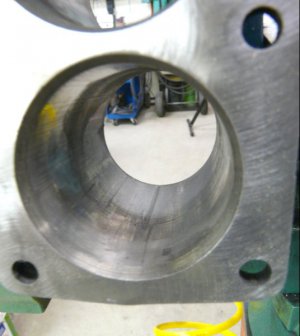
0448.jpg This is a very bad picture of the worst cylinder as it came out of the pump. Several of the scores are probably 0.010" to 0.020" deep. I'm going to try honing the other smaller dings out and not worry about the deep ones. They do not offer an oversize piston so the option was to replace the cylinder and piston.

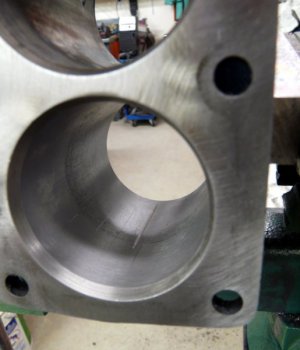
0453.jpg I think I'm done honing this cylinder. I may change my mind when I go back out there later this evening and do a little more. Honing sure is a messy job. I've got dirty oil splatters on the floor (and everything else) for 5' left and right from slinging off the hone.

Still have the other 3 cylinders to hone. They aren't scared up as bad though.
 
Sunday,
Honed the other 3 cylinders. Would liked to have done a little more but completely wore out a HF 4" hone ($25). Didn't notice when I bought it that it doesn't have replaceable stones. I guess most cheap hones don't anymore. I should have just gone to an auto parts store and rented a good Leslie hone & purchased their stones. Would have been far better stones I'm guessing.

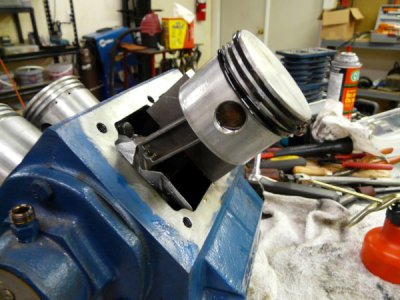
Installed the new rings. That always scares me; stretching brittle little rings without breaking them. Got them all on though. I wedged a small block between the piston skirt and the compressor block that kept the piston steady while spreading the rings.
0460.jpg

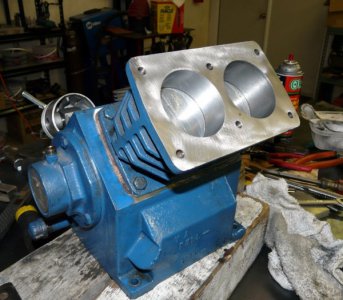
Got one cylinder bank on. Too much sweating and cussing trying to get 2 pistons to line up, keep the crank from turning, keep the gasket from getting wadded up and compress the ring with a screwdriver, all while ramming the screwdriver into my palm numerous times to try and install the 2nd cylinder block. I'll wait until Tuesday when I can get a couple of worm drive hose clamps to use as ring compressors.
0462.jpg

You all have a Merry Christmas!
 
That is looking great. The one side should help hold thing steady while you put on the other one. And now that you know how to do it, it may go better.
Have a Merry Christmas
 
It works! Finished it up a bit ago.
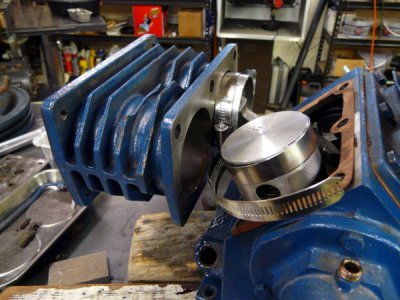
0465.jpg After that last cylinder block I wasn't about to try to get this one on just using a screwdriver for a ring compressor. I was close to putting tool holes in the walls yesterday. The hose clamps worked great. A regular ring compressor would have been too tall.
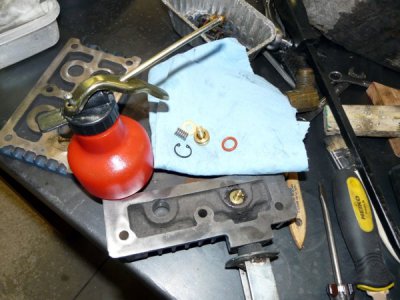
0472.jpg Installing the internal unloader valves. I think these are for running with a gas motor that does not shut off but just drops down to an idle when the tank pressure is reached. They bypass the incoming air, not the pressurized air. I honed the holes with a 3/8" rod cut down the center to hold a piece of emery cloth on a drill. (bottom of picture - the unloader valves are in the heads). Above the oil can is a valve block that houses 2 intake and 2 exhaust valves (the valves are a metal disk, a conical spring, a spring retainer and a snap ring).
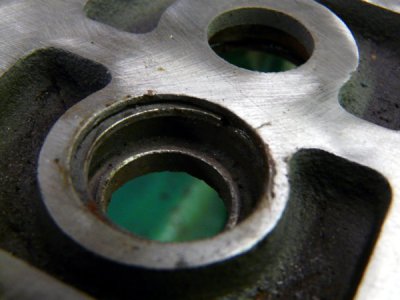
0476.jpg One of the 8 valve seats. Pitted a bit. This valve (and another just like it) had my blood pressure up near aneurysm pressures. Both ends of the snap ring are broken off. Couldn't get it out of the slot. Tried seal picks, needle nosed pliers, screwdrivers, etc. Finally just got P.O. ed and started wacking it with a hammer and chisel. Finally bent enough to get a seal pick under it.
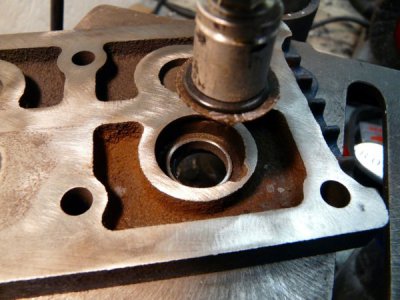
0475.jpg A HR 1" sanding disc with light pressure in the drill press was just right to "grind" or face the valve seats.
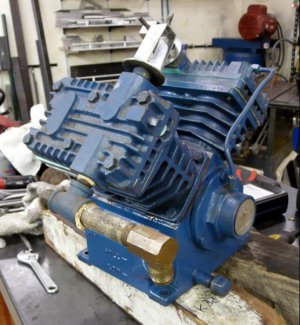
0482.jpg Pretty much together. I didn't replace the end cap gasket or the crank seal as they were not leaking and can be easily changed if/when needed.
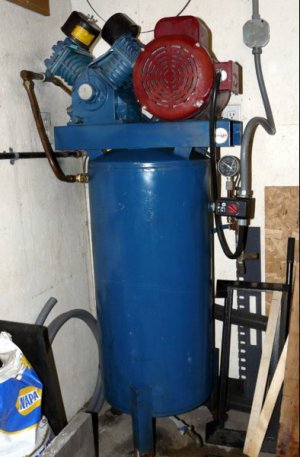
0484.jpg Like that little 3 HP Leeson motor? I don't know how old it is but if I ever need to replace it I can just sell the copper in the windings to pay for a new motor! I put new bearings in it last year. The sucker is heavy.

OK, now the important part. How good does it work?

I calculated 14.72 CFM @ 127 PSI. It might even get a little better as the rings seat (and some of the cylinder gouges get filled with crud!!).

I'm pretty happy with that. I sure don't have any air tools that need anywhere near that capacity. But I sure made a mess!
 
nice work !!!! :grin:

i should have suggested earlier to use modified empty soda or beer cans as a makeshift piston chute.

i was in the field and woefully under equipped- but not without wits, i successfully saved a Briggs and Stratton I/C engine
by putting some new rings and filing a piston back into shape, i used a soda can with the ends cut off and slit up the middle.
Good idea. Wish I'd been smart enough to use either method before I tackled the first cylinder block. I'm still a little stressed from that!
 
When you need bigger pistons and you can't get then you can have your pistons swelled.
They knurl the skirt to make it swell...
 
Back
Top