The guys on the Centroid board got me sorted out in short order. Turns out that the way I had it set, it was looking for a tool height setter on the same input... Changed the input for the tool height setter (which doesn't exist) to a open input, and we're rocking.
I've been probing, and it's freaking life changing. Setup takes about half the time... Centroid provides some free probing routines with my Pro license, and with the next update of the software they are giving the Pro license access to all probing routines, so it should get even faster when I have those!
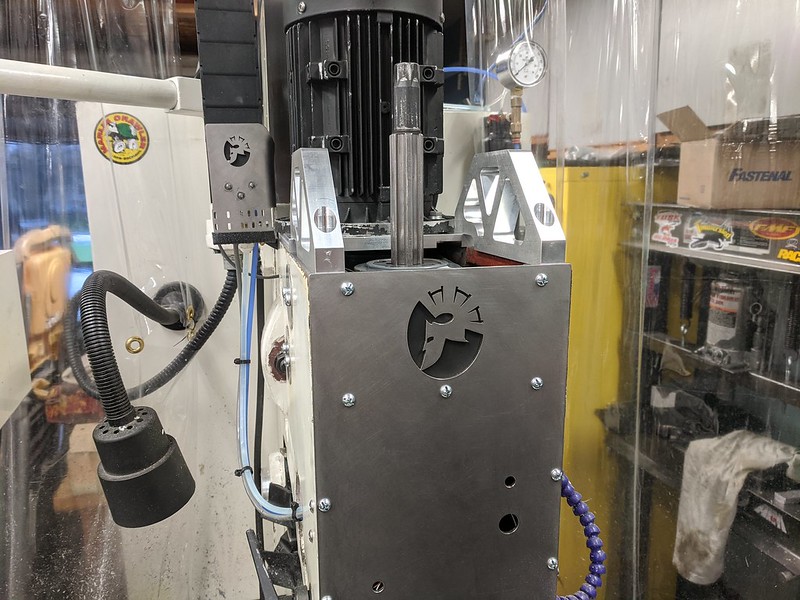
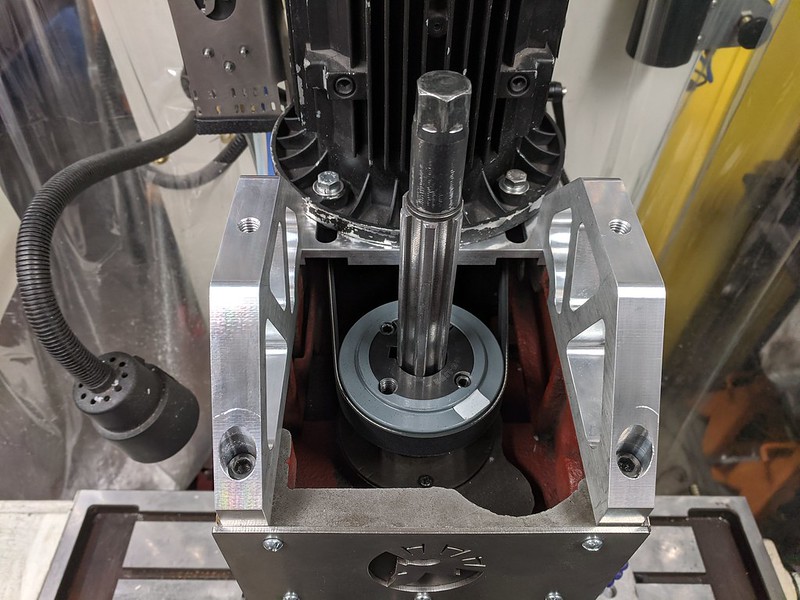
The fun was short lived though, as during a spring pass on the first part I made after getting everything running again, the spindle dropped to 500 RPM, even though the control was still calling for 6k RPM. Opened up the cabinet and the spindle servo drive was flashing an error code that turned out to be "hall sensor error." While this servo motor *was* very nice, it was a pain to setup. Even running on the table I couldn't get it to run super smooth at higher RPMs, and since it had no auto tuning it was a long process to get it to where it was okay. I decided to go back to the original 2hp motor and Delta VFD that came with the machine. If anyone remember the wood motor mount, well it saved the day again. I was able to machine the new motor mount for the original motor with it, and it worked great. Unfortunately I was working fast because I had a paying job that needed to get out the door, so no pics. I dumbed the new motor mount down quite a bit, and got it to work well enough with my existing PDB design. After all that, I actually like this setup much better. It hums at 5k RPM max, and is MUCH smoother than the old servo motor. Makes me wonder if that hall sensor was bad all along? Also, a note for the other 940CNC-VS guys out there, I changed the Delta VFD to sensorless vector control. It seems to make a nice difference down low, time will tell how the motor likes it, but it's running nice and cool. I actually disconnected the electric fan on top because I was sick of listening to it. Even after 20 min straight of spindle time, running a 3/8 EM hard, it was only warm to the touch.
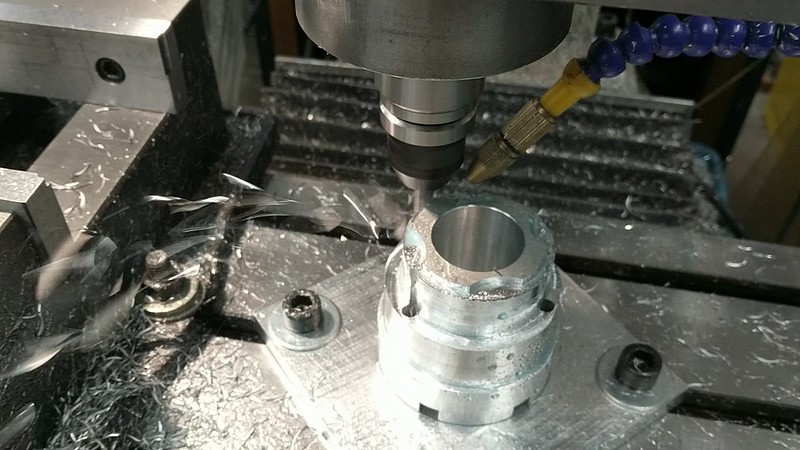
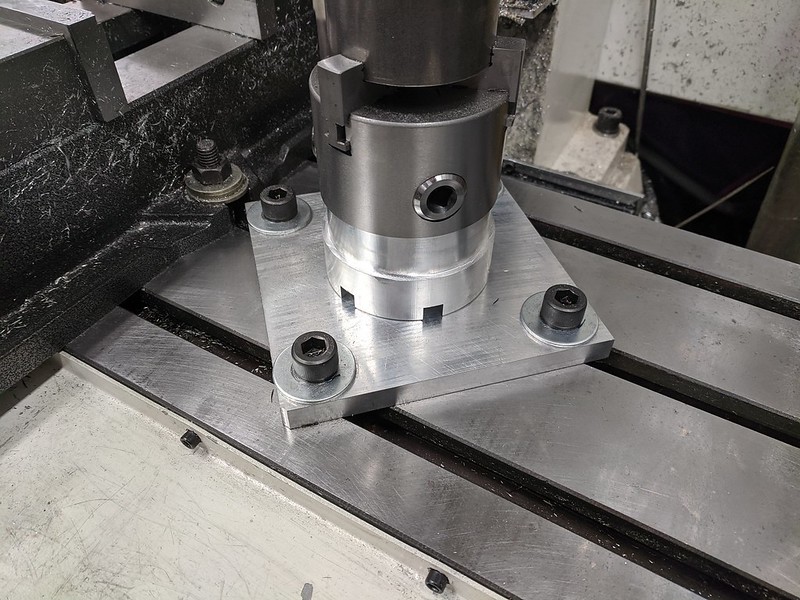
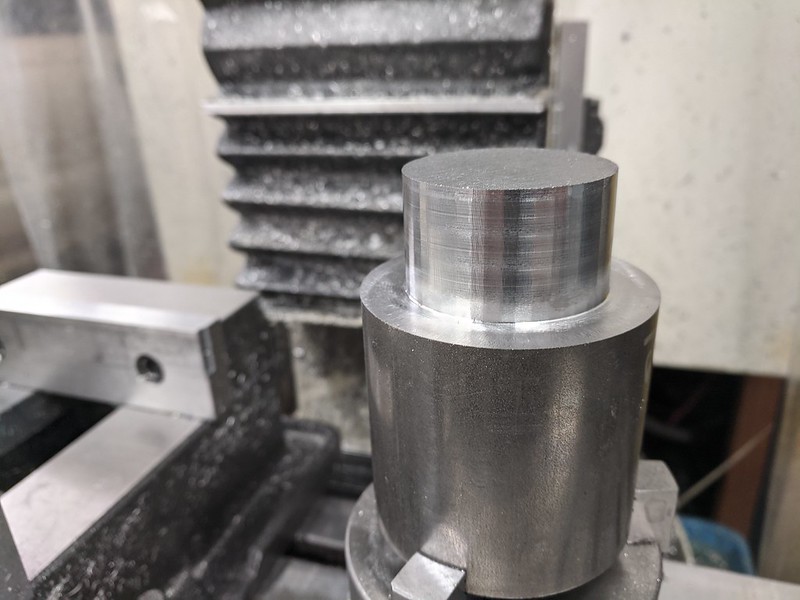
I got the paying job off the mill and started the stand-offs for the PDB. They came out quite nice, I've been running the machine hard and it really seems to be doing a good job. I cut the 3/4" 6061 place at full depth, 0.075" step over and 0.004 IPT. At 5K rpm I think that was 60IPM. Spindle didn't even slow down, and she just ate it. Did a 0.010" finish pass at 0.001IPT with a repeat pass, and the parts came out about the best I've seen off this machine! You can also see the motor mount in the background.
 IMG_20200501_194355 by Phazer Two, on Flickr
 IMG_20200501_194400 by Phazer Two, on Flickr
 IMG_20200501_194437 by Phazer Two, on Flickr
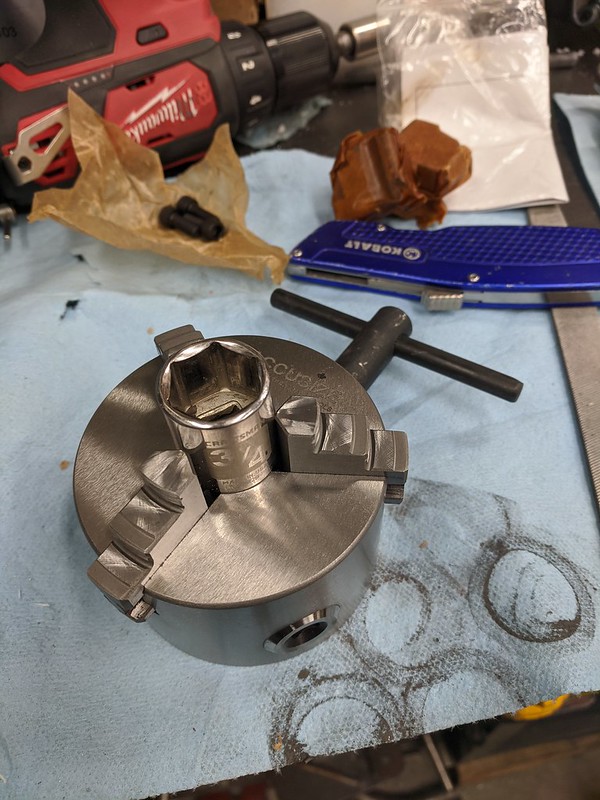
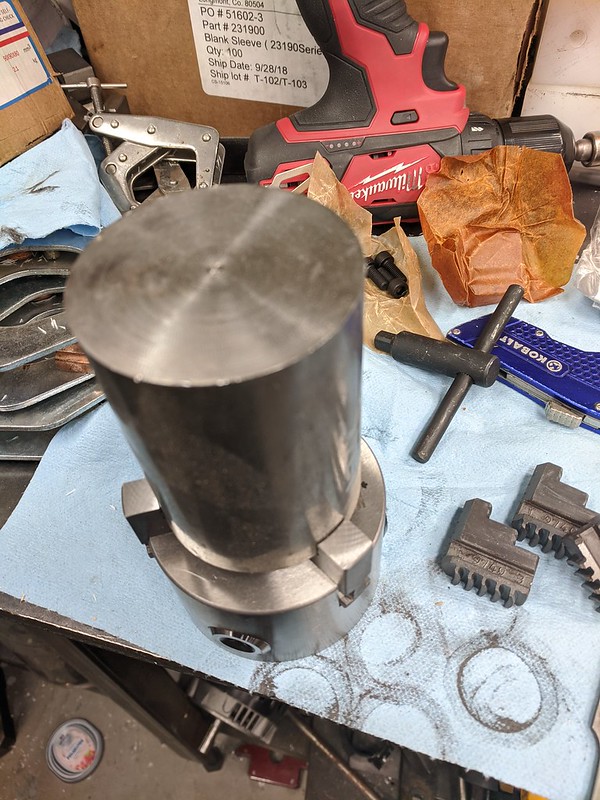
Next up, I bought a 3" 3 Jaw chuck off Amazon. I'm going to make mounts to bolt it to the table. Should make Round parts much easier!
 IMG_20200430_120731 by Phazer Two, on Flickr
 IMG_20200430_121053 by Phazer Two, on Flickr
For $88, with Prime shipping, I couldn't say no. It also came with a set of OD jaws, which look like they would clamp on ~3" stock. Hoping it will let me knock out the round parts I need to make for the PDB faster than working in the vice.
PZ
Parts used:
I've been probing, and it's freaking life changing. Setup takes about half the time... Centroid provides some free probing routines with my Pro license, and with the next update of the software they are giving the Pro license access to all probing routines, so it should get even faster when I have those!
The fun was short lived though, as during a spring pass on the first part I made after getting everything running again, the spindle dropped to 500 RPM, even though the control was still calling for 6k RPM. Opened up the cabinet and the spindle servo drive was flashing an error code that turned out to be "hall sensor error." While this servo motor *was* very nice, it was a pain to setup. Even running on the table I couldn't get it to run super smooth at higher RPMs, and since it had no auto tuning it was a long process to get it to where it was okay. I decided to go back to the original 2hp motor and Delta VFD that came with the machine. If anyone remember the wood motor mount, well it saved the day again. I was able to machine the new motor mount for the original motor with it, and it worked great. Unfortunately I was working fast because I had a paying job that needed to get out the door, so no pics. I dumbed the new motor mount down quite a bit, and got it to work well enough with my existing PDB design. After all that, I actually like this setup much better. It hums at 5k RPM max, and is MUCH smoother than the old servo motor. Makes me wonder if that hall sensor was bad all along? Also, a note for the other 940CNC-VS guys out there, I changed the Delta VFD to sensorless vector control. It seems to make a nice difference down low, time will tell how the motor likes it, but it's running nice and cool. I actually disconnected the electric fan on top because I was sick of listening to it. Even after 20 min straight of spindle time, running a 3/8 EM hard, it was only warm to the touch.
I got the paying job off the mill and started the stand-offs for the PDB. They came out quite nice, I've been running the machine hard and it really seems to be doing a good job. I cut the 3/4" 6061 place at full depth, 0.075" step over and 0.004 IPT. At 5K rpm I think that was 60IPM. Spindle didn't even slow down, and she just ate it. Did a 0.010" finish pass at 0.001IPT with a repeat pass, and the parts came out about the best I've seen off this machine! You can also see the motor mount in the background.
IMG_20200501_194355 by Phazer Two, on FlickrIMG_20200501_194400 by Phazer Two, on FlickrIMG_20200501_194437 by Phazer Two, on FlickrNext up, I bought a 3" 3 Jaw chuck off Amazon. I'm going to make mounts to bolt it to the table. Should make Round parts much easier!
IMG_20200430_120731 by Phazer Two, on FlickrIMG_20200430_121053 by Phazer Two, on FlickrFor $88, with Prime shipping, I couldn't say no. It also came with a set of OD jaws, which look like they would clamp on ~3" stock. Hoping it will let me knock out the round parts I need to make for the PDB faster than working in the vice.
PZ
Parts used:
Accusize Industrial Tools 3''/80 mm 3-Jaw Chuck, Plain Back, 0.630'' Center Hole, 0559-0110 - - Amazon.com
Accusize Industrial Tools 3''/80 mm 3-Jaw Chuck, Plain Back, 0.630'' Center Hole, 0559-0110 - - Amazon.com
www.amazon.com