I got the two on eBay for $20 and they are finished beautifully. They are Chrome plated, the rim is machined smooth, and there is a spot to drill for a spinner handle. I am really impressed with them and one reason is they have about a 1/4" hole so they are open for any finish bore size. I happen to need about .375" give or take a few thou. The bad thing is , I went back to get two more and they are all gone. Another seller has them for $15 each , so I ordered another because I need three total. I went to Enco as suggested in an above post, but the smallest bore is 3/8" and I'm not sure how accurate it is. I need a good fit on my shafts so I'm going with the $15 one. (I should have ordered the doubles when I could).Where did you find them Mark?
Those look really nice. Are they good and solid?
I need to get a couple of them for another project also.
-
Welcome back Guest! Did you know you can mentor other members here at H-M? If not, please check out our Relaunch of Hobby Machinist Mentoring Program!
You are using an out of date browser. It may not display this or other websites correctly.
You should upgrade or use an alternative browser.
You should upgrade or use an alternative browser.
Another Tool & Cutter Grinder
- Thread starter Mark_f
- Start date
- Joined
- Mar 21, 2013
- Messages
- 4,063
I bought some 4 or 5" chromed CI handwheels from Griz for not much money ($6 bucks?). The holes for the spinners were already drilled and tapped, but I had to drill and bore the center holes. Used these on my 12z with great success.
I went and looked there but could not find any hand wheels.I bought some 4 or 5" chromed CI handwheels from Griz for not much money ($6 bucks?). The holes for the spinners were already drilled and tapped, but I had to drill and bore the center holes. Used these on my 12z with great success.

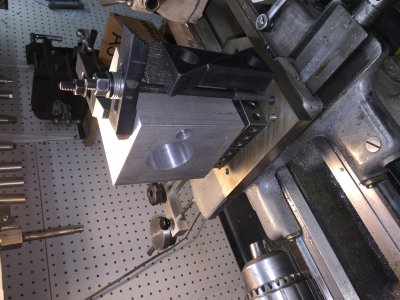
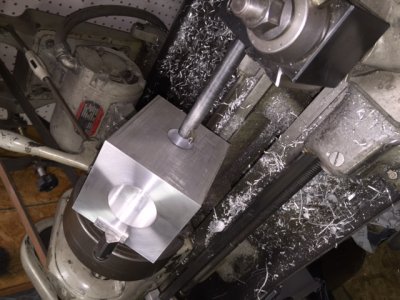
I bored the motor swivel socket in the grinding head.
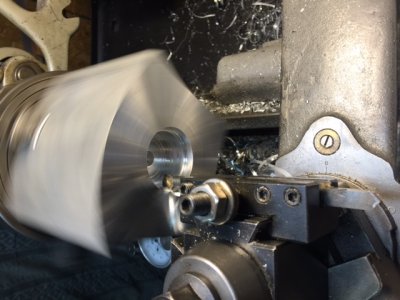 Turning the motor swivel socket. this must be done now so it is concentric and square with the face.
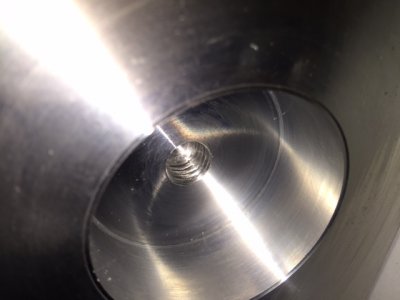
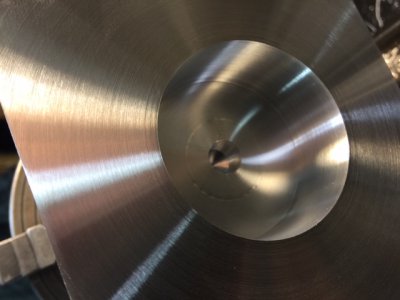 The swivel socket is finished. The smaller hole will be tapped for a 1/2" shoulder bolt that will hold the motor plate on the head.
Next the head is turned 90 degrees in the chuck and the hole for the column will be bored.
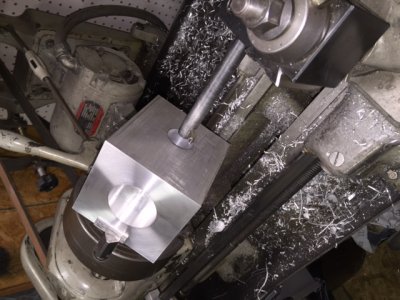
 Turning the motor swivel socket. this must be done now so it is concentric and square with the face.
 The swivel socket is finished. The smaller hole will be tapped for a 1/2" shoulder bolt that will hold the motor plate on the head.
Next the head is turned 90 degrees in the chuck and the hole for the column will be bored.

- Joined
- Mar 19, 2014
- Messages
- 2,680
Try this:I went and looked there but could not find any hand wheels.
http://grizzly.com/products/Cast-Iron-Handwheel-4-/H3188
and this:
http://grizzly.com/catalog/2016/main/288?p=288
- Joined
- Mar 21, 2013
- Messages
- 4,063
I finished boring the head for the column to fit today.
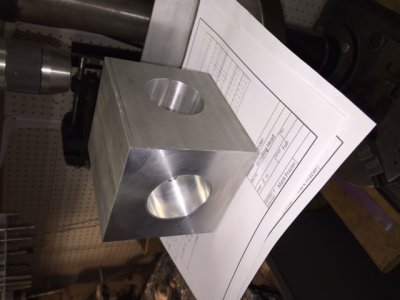 There is a 2" hole all the way thru and the socket for the motor swivel is done also. I tapped the 1/2"-13 hole in the socket hed for the shoulder bolt that will keep it in place.
Next is drill holes for the split cotters and the clearance hole for the elevation screw, and then to start milling all the excess material off to get the final shape. I was going to bore these holes but instead will drill and ream them on the drill press as I don't have the capabilities to set this large block up on my lathe or mill to get at the locations of these holes. Their position accuracy is not that great so I can get them well within tolerance drilling and reaming them and reaming will give excellent size and finish.
 There is a 2" hole all the way thru and the socket for the motor swivel is done also. I tapped the 1/2"-13 hole in the socket hed for the shoulder bolt that will keep it in place.
Next is drill holes for the split cotters and the clearance hole for the elevation screw, and then to start milling all the excess material off to get the final shape. I was going to bore these holes but instead will drill and ream them on the drill press as I don't have the capabilities to set this large block up on my lathe or mill to get at the locations of these holes. Their position accuracy is not that great so I can get them well within tolerance drilling and reaming them and reaming will give excellent size and finish.


