Atlas lathe 10d restoration

Also strange is the second hole ontop next to the ram locking unit. This hole in the manual shows a oil dropper however I don't know what it oils for it just a hole in the casting and dosen't have a path to the inside of the casting were the ram is.
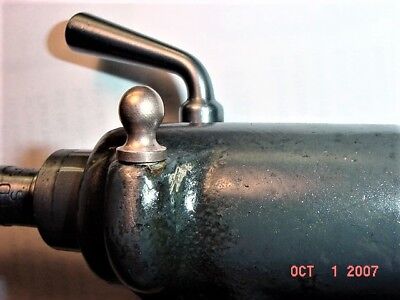
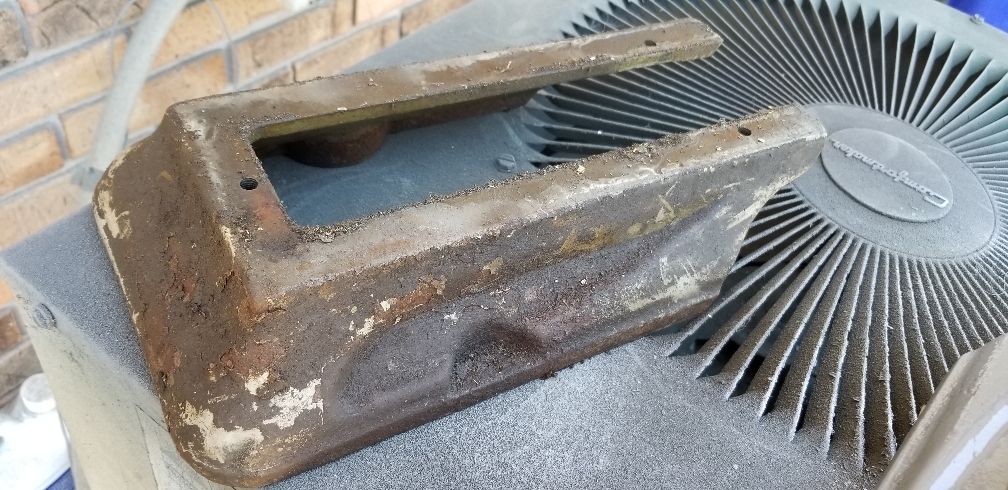
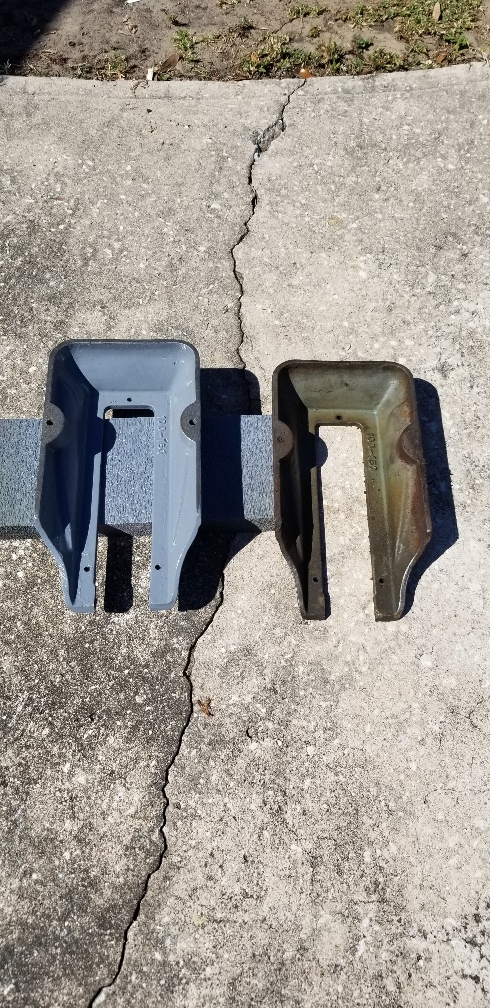
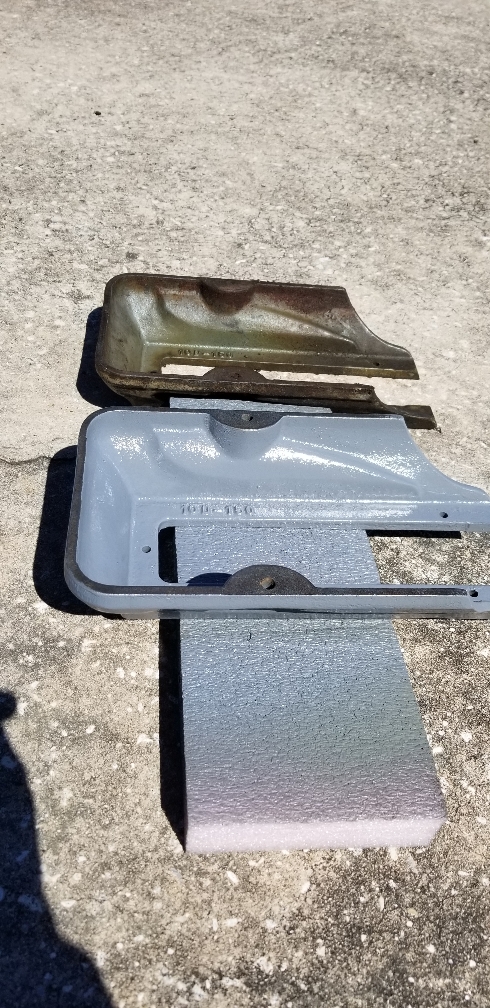
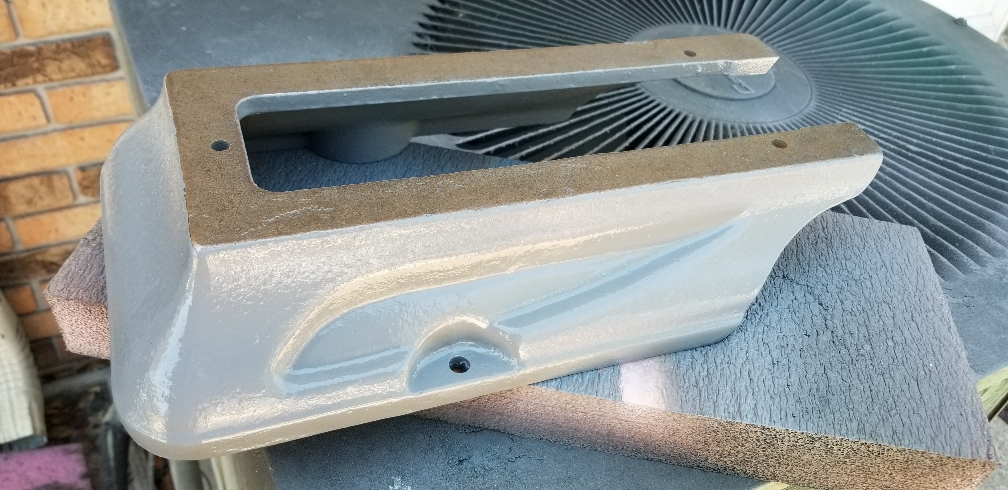
This feature was for storing a special grease used to lubricate the tailstock centre (aka dead centre) when turning between centres. Nowadays, virtually everybody uses a live centre.

Craig
 
Hi Criag

Thank you!!!!

It sure was strange to me without your explanation.

Dave


Sent from my SM-N950U1 using Tapatalk
 
The lubricant of choice "back in the day" was white lead. South Bend and Logan lathes originally came with a small dauber that was set into the well. Here's a Tubal Cain video about how to make your own replacement dauber.
-or-
you can go to eBay:
 
Thanks all for the Dauber information!!


Sent from my SM-N950U1 using Tapatalk
 
Lead srew:

Below is the lead screw progress and naturally another broken part.

Notice the lead screw bearing is cracked... actually I didn't notice this until after I had taken the photos to post. Will need a replacement.

Now back to cleaning the base.
 

Attachments

  • 20200323_220915.jpg
    20200323_220915.jpg
    950 KB · Views: 37
  • 20200324_185631.jpg
    20200324_185631.jpg
    1.2 MB · Views: 37
  • 20200324_132057.jpg
    20200324_132057.jpg
    871.6 KB · Views: 38
Rack:

Nothing exciting and luckily in good shape is the completed rack below with the infamous roll pins that got me hidden under all the grease in the above posting.
 

Attachments

  • 20200324_201419.jpg
    20200324_201419.jpg
    1.2 MB · Views: 33
  • 20200324_214953.jpg
    20200324_214953.jpg
    1.2 MB · Views: 29
  • 20200324_215020.jpg
    20200324_215020.jpg
    951.2 KB · Views: 28
Base:

Well after procrastinating a day or two lol I finally got the inside of the base cleaned and ready for paint. This was no fun expesuly were one should have used a soda blaster or something other than a wire brush. Its loaded with hard to get to places. The base casting was made very well and will not need any bondo :)

Now a guess and or question... notice the channel cut into the inside of the base casting above the base model number. I'm assuming this must be to basically make room for the saddle? The Gibbs don't ride inside of this and it dosen't appear the saddle actually makes contact with the casting. My thoughts are its been widened for the saddle to actually just fit.

Dave
2365b62ea2adb889dc222ba8192f8eac.jpg


Sent from my SM-N950U1 using Tapatalk
 
Base completion:

Well the base is now completed. In the photo with the tailstock attached you can see a scratch I managed to make when removing the tape. I was going to leave it however it got to me and its been repaired and is missing now in the other completed photos below. Now working on the base bench legs.
ba19e1bc4b1974da6c2666c9afc2567a.jpg
046e8d6ad7f2a0f66bddcadcd9f4792a.jpg
028fa344964eabbe229f9a9e3c9d2cc5.jpg
96103deb1890329eac5b8f872aa10456.jpg
735a5ad79889cc9183edc29a3b0dd12a.jpg
0b901d07e00879821eefa1149042a9af.jpg


Sent from my SM-N950U1 using Tapatalk
 
Bench legs:

Nothing to exciting ... below is one of the completed bench legs. Again some bondo to fill the bad casting divots. You can see them on the unpainted surface were the leg bolts to the base in the photo below.

Interesting the can of smoke gray paint I got is a bit darker then the original can I used on the base and tailstock.

Dave
1692cf5760d8bb5f2b782926f0872192.jpg
b8c123a48ce189092fc6414fcb10b87a.jpg
1cffd977ac951f931d3630ce16bc0b00.jpg
4a505d226718acaf8a3103a017291df8.jpg


Sent from my SM-N950U1 using Tapatalk
 
Back
Top