Atlas lathe 10d restoration

while you have the carriage off I'd suggest cutting some oil grooves and adding oil cups to both sides. See if you can fashion up some way wipers too. That'll allow you to go a little tighter on the gibs and still have very smooth movement. Worked a treat on my Atlas 618.
Hi Matthemuppet2

1) Thank you for the tips!

2) Im also considering the wipers if I can make something fit. Maybe I can make the one for the later atlas 10 12 lathes fit.

3) not sure I'm understanding the oil cups.

Dave

Sent from my SM-N950U1 using Tapatalk
 
IMG_4681.JPG
here you go. Somewhere to hold way oil so that it can slowly drip down into the oil grooves below. I have a little bit of felt in each so that it doesn't all come out at once. I don't have any pics of the grooves unfortunately. On the carriage I did them with a Dremel and carbide burr in a zig zag pattern, on my tailstock I did them with a ball endmill on the mill with a cross drilled hole to connect both sides to the oil cup.
IMG_4300.JPG
IMG_4301.JPG
makes a big difference. Slides really easy compared with before.
 
Thought that was you were talking about

Nice work!! I will consider this ... my lathe actually has factory shims between the ways and saddle that will need to be considered beforehand.

Dave

Sent from my SM-N950U1 using Tapatalk
 
I also really like the oil cup and wiper upgrade.

My 1936 atlas has babbitt bearings- run-out is less than 3 tenths I suspect ball bearings are not superior but more convenient (Quite substantially). My lathe doesn't need a bearing pour but I am talking myself into doing a pour on old drill press.

Tim
 
Thought that was you were talking about

Nice work!! I will consider this ... my lathe actually has factory shims between the ways and saddle that will need to be considered beforehand.

Dave

thanks, it was worth the effort.

As for the shims, I don't know about your lathe model, but on mine the shims were between the carriage and the two bottom hold down plates that ride on the underside of the ways. You remove shims to adjust for clearance between the carriage and the upper way surface. Might be worth checking that yours are in the right place, I've not heard of shims as a contact point for the carriage and the ways.
 
For all of you watching and supporting me in this thread thank you!! And sorry I been busy with work and other projects in the garage however I have made some progress....

Apron / carriage assembly: all I can say is wow alot of work on this section.

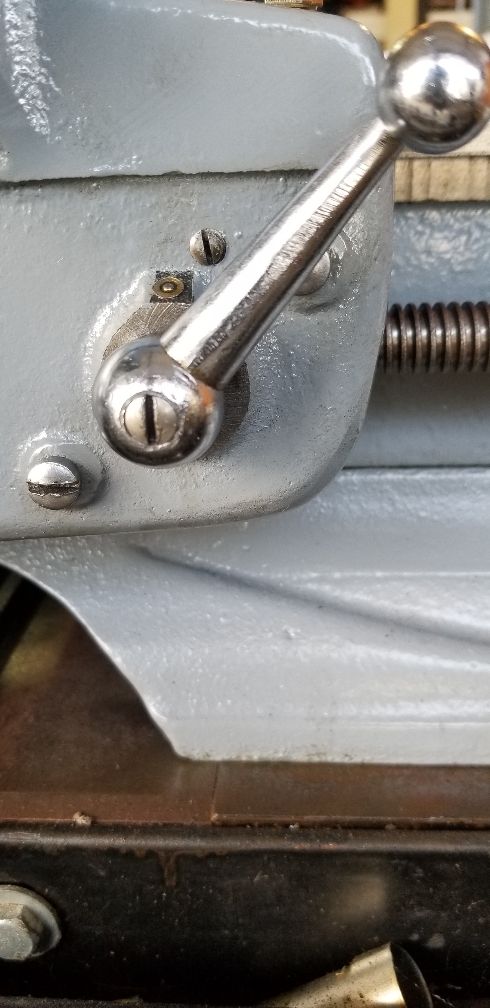
1) All new screws and newer style gib screws with locking nuts.

Normally I like to use the original screws when possible however changing the slotted screws that hold the bearing plates makes it easier to work with.
Locking nuts for the new gib screws to hold them in place were the originals didn't have them.
I changed all the square bolts out in the lathe for they had all stripped. They were replaced with grade 8 bolts and the one on the apron I have placed a rubber washer underneath it's normal washer.

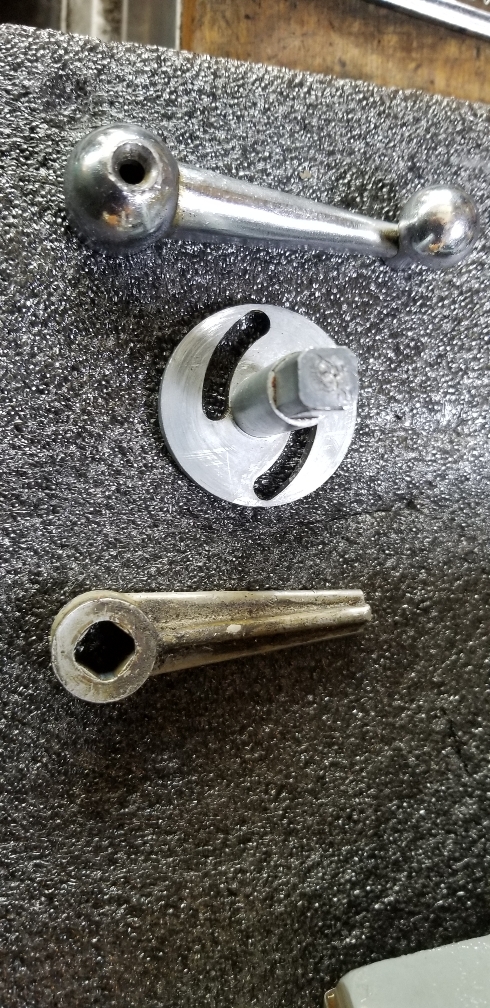
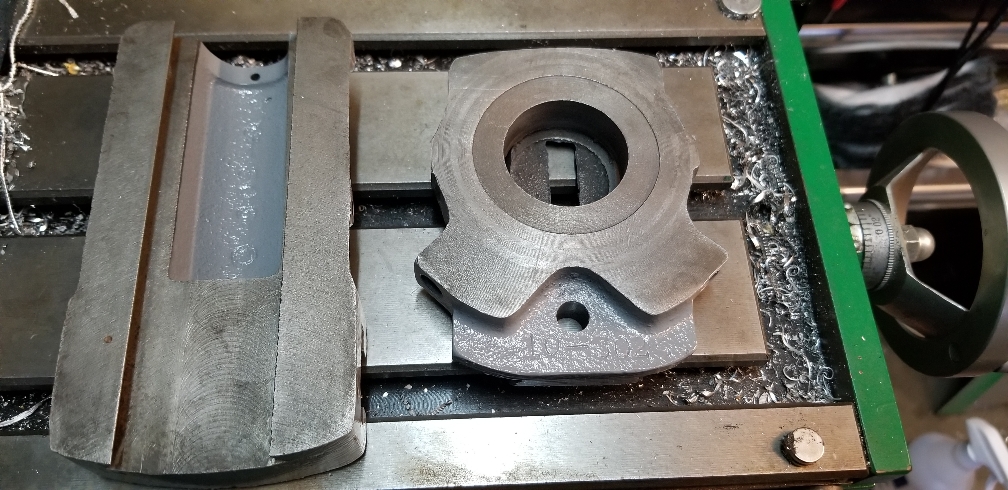
2) Bearing plats were flipped around for they had some ware on one side of them. One plate I had to open the holes to allow the screws to fit.

3) Bearing plates shims. The original shims according to the manual should be .002 to .003 inches. My shims were. 0025 to .003 however I had to add .002 shims to the original shims for without them the carriage was to stiff sliding across the ways. I'd imagine I will have to tweak this section more during final alignment.
If your working on a 10-D lathe the above values my be different for you.

4) New parts!! Expensive however I'm very grateful that folks are still making stuff for the old lathes!!!!

5) New half nuts. I had to file down the edges until they worked smoothly.

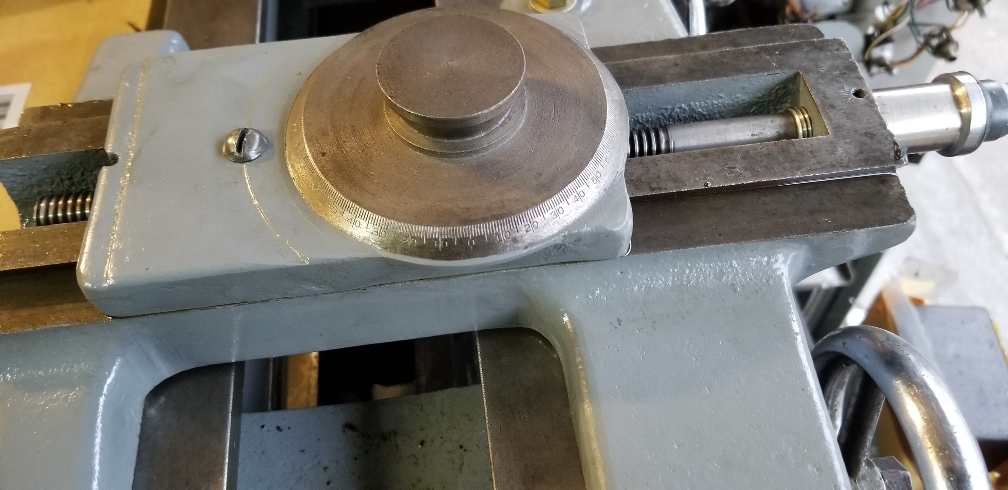
6) New travers assembly. The case is aluminum and the gears are steel. The original screws I believe were 1/4 - 20 however using that size didn't allow any movement for adjustment when bolting it to the apron and meshing properly was a problem. The original case appears to have slotted screw holes for adjustment were the new case didn't.
The fix: simply went with 10-32 stainless screws and bolts. The smaller size now allows for adjustment.
Look up in the posts you will find the photo of the orginal assembly with a totally useless travers assembly.

7) know your lathe!! I have mentioned this before for new people like myself working on the atlas lathe line. The model 10-D isn't the same as a model 10. When ordering new parts for the 10-D make sure it's for a 5/8 lead screw. The 10-D I find is the hardest lathe to find NEW parts for were the 6, 10, and 12 inch lathes are more readily available. The 9 inch lathe falls into the same hard to find new parts as the 10-D.

8) Handles are still a problem for I'm missing some and others are broken.

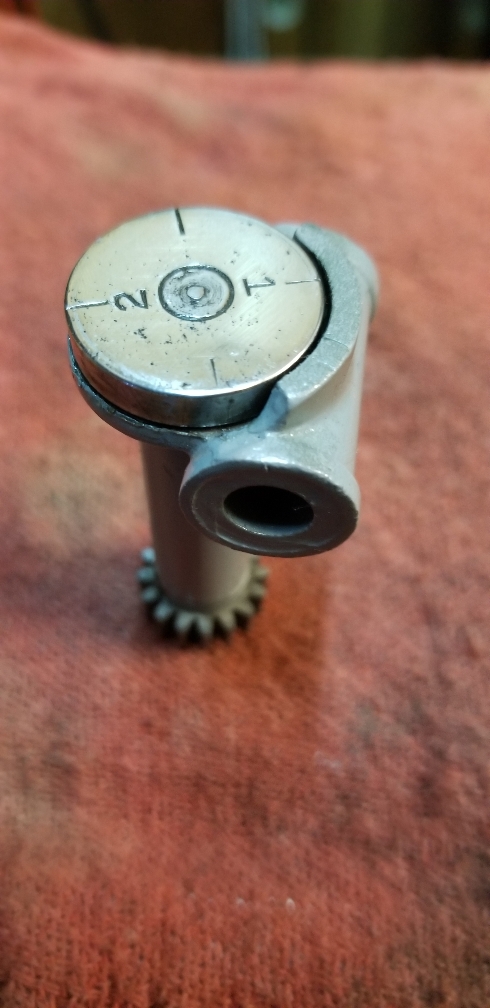
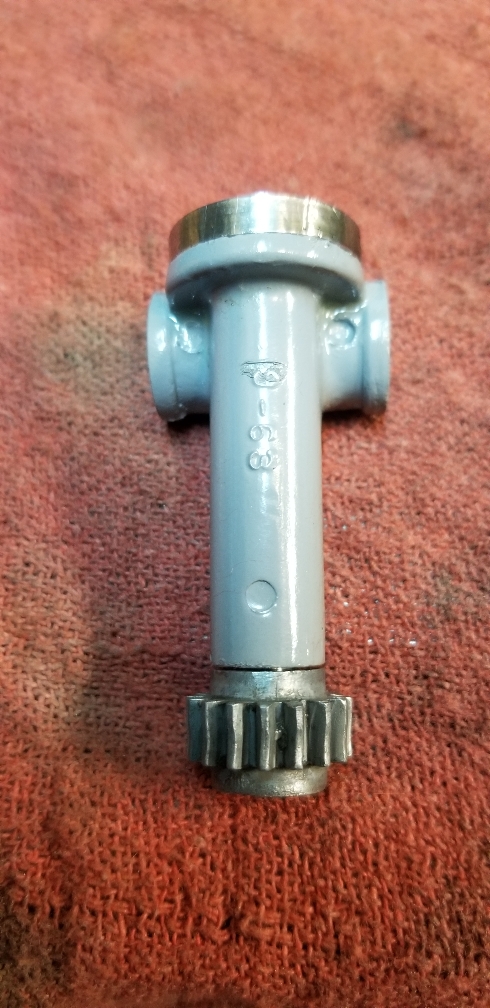
9) Working on the threading indicator and will post that shortly.

Thanks
Dave
 
Last edited:
Threading indicator:

Nothing special with this just clean paint and oil :)

Dave
660280133fc241e4cffe35b9c7fb78b0.jpg
b3d4307b56f9fa8419cbdc3c7a246d71.jpg


Sent from my SM-N950U1 using Tapatalk
 
Gib handel:

Well a bit interesting... the photo shows the handle to the right was the original handle and one can see it has suffered the classic zamak attack lol well broken. Now the original handle for the 10D appears to be a press on as the handle on the left is for the 10D forward reverse gearbox and is the same handle and that's on the other atlas lathes I believe part number 10-29. Apparently atlas made this change at some point during the 10 inch lathe evolution. Now trying to find the original 10-D handle would be challenging however the newer style is easier to acquire. I simply filed the square shaft until the newer handle slides on then drilled and taped the 10-32 hole and now I can use the newer style handles that are easier to find. Dont know why the handles for the forward/reverse gearbox and half nut handles were different on the 10-D.
2c61b978606267276312d238c4c90694.jpg
94f400f067c01645b8131467b969f53d.jpg
eb6948b088918abaf27e17a10f673fe1.jpg
4f69217f2feb43dd6640c922c5b4e5df.jpg


Sent from my SM-N950U1 using Tapatalk
 
Cross slide:

Getting ready for assembly... again nothing to exciting here just clean and paint.
e0f91602518c50aa9e981cb0c28e96d2.jpg
b8f3e4ecd7ae15e0b4e6016a06b80c67.jpg
6689ca83dfd4eadec384700e89d483f8.jpg


Sent from my SM-N950U1 using Tapatalk
 
Back
Top