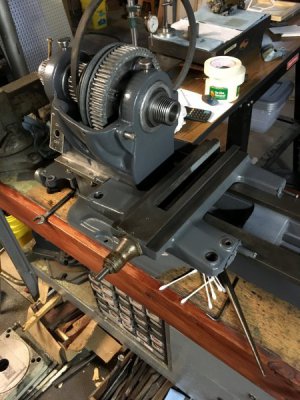
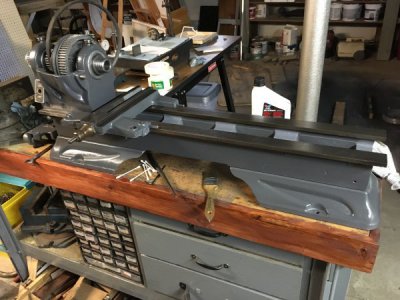
Atlas V36 rebuild

While Wa5cabs advice is spot on, we know there are endless ways of accomplishing a goal in this hobby. I called around locally and nobody had a thread file set. They can be ordered, but I didn’t feel like waiting.

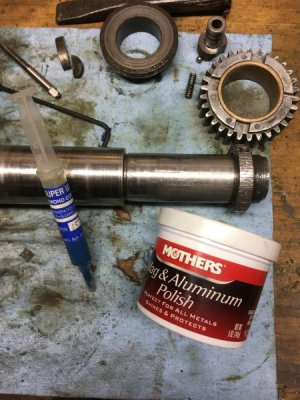
I first found a triangle file, and slowly ran it through the entire thread by hand with light pressure. I then identified some areas of concern. I used a dremel with cut off wheel to remove an ugly, wavy, broken start thread. I keep trying the nut after every tiny clean up attempt. It would thread on to the depth of the nut minus one thread. Finally I grabbed the polish, smeared it on the nut and started working the nut off and on to where the nut would bind. Eventually the nut would travel a bit further before binding. I remembered I had some diamond paste somewhere. Cleaned out the polish, and put a minimal amount of the diamond paste on. In about thirty minutes, the nut would thread all the way to the end of the threads. Needless to say my hands and arms are beat. But, mission accomplished with no additional cost.289637
 
Well, yes, there is quite often more than one way to skin a cat. However, if you ever again need to do something similar, you will be faced with the same choices. Do it now the hard way or do it later the easy way. I usually only choose the hard way if it has to be done now for other reasons than that I just want to.
 
you will be faced with the same choices. Do it now the hard way or do it later the easy way.
There's another choice that we may do well to consider. The demand to do it now....the hard way. This is an eventuality I strive to be prepared for. Practice is essential to success in that endeavor.:beer mugs:

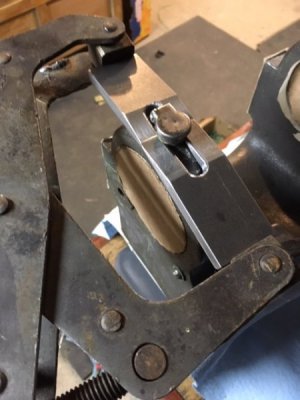
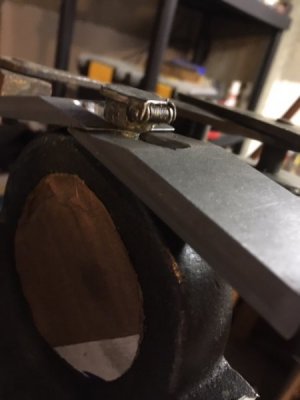
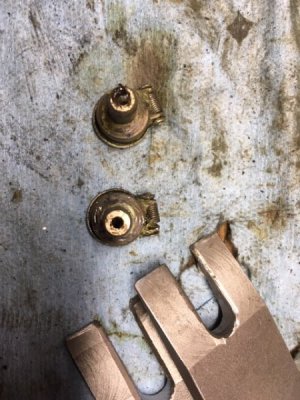
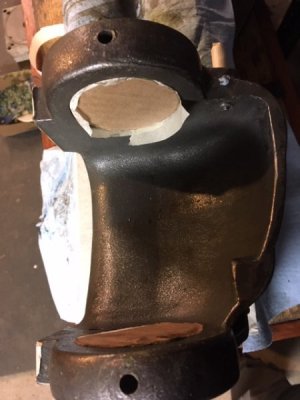
Anyhow, today I started masking the head stock. I've been considering what to do about the oilers for a few days. I haven't been able to remove them so far. But I did WANT to remove them. They are filthy, with paint hanging on from some iteration of painting it's received in the past. I'd like to soak them in solvent, and try my best to make them shiny and nice looking again, as well as the obvious reason of protecting the bearings from old solids that may have found a home in there. This is what I came up with. I had to mill the cutouts in the tapered pieces. The tapers were already cut when I rescued them from a metal dumpster. Since it was a 3 piece set up, I had a little trouble holding everything together. But a magnet holding the two tapered pieces together while I got the clamp just right seemed to do the trick. . You can see there's a little damage to the bottom of one of the oil cups. I assume that could have been avoided by grinding a better taper on the bearing surface of the split clamp key. I feel like I had a successful day. Yay me.

IMG_3228.JPG

IMG_3229.JPG

IMG_3230.JPG

IMG_3231.JPG
 
I would wager your Timken bearings are quite usable- they can go a tremendously long time. As long as there is no obvious pitting or galling, run 'em. At 70 they're just nicely broken-in :)
Mark
ps good fix on the threads, I do that kind of stuff too. Don't own a single thread file.
 
Well, thread files are not expensive. And they will last roughly forever if you don't lose them (which was why I had to buy a new set last year). I don't recall where I got the original one or when, other than that I already had it when I moved to Houston in 1973. I'm pretty sure that I will find it eventually. The problems with a triangular file are that it is more difficult to keep properly aligned and it will never stop cutting.
 
Slow going recently. Lots of scrubbing, and polishing, and cleaning. I don’t enjoy it, but I suppose it can’t all be fun. I found that the step pulley in the Babbitt headstock has a bushing arrangement I consider better. So I used it instead of the one that had been in this headstock. I replaced the ball bearing in the plunger, as it had been missing since the beginning of my ownership. And now the headstock is assembled. I haven’t got the brass plugs yet, so everything is loose for now.

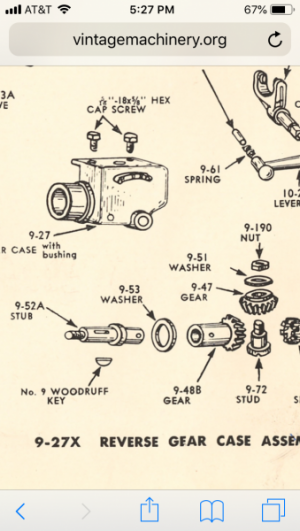
I reassembled the forward/reverse selector box a few times, trying to figure out the order of assembly. Once it was almost complete, I found that my lever “stop” is missing or broken.
291092So that’ll be the next repair I make. Now the fun begins again! 291093
 
291101Shouldn’t there be a pin that holds part number 9-52A and 9-48B together? If anyone has knowledge of this pin, please let me know.

In addition, I’ve discovered the lever is missing a spring and plunger. More stuff to make! Yay!
 
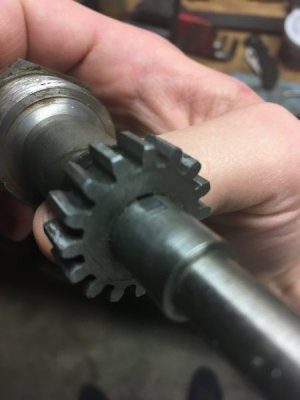
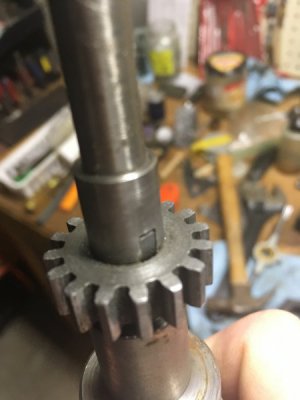
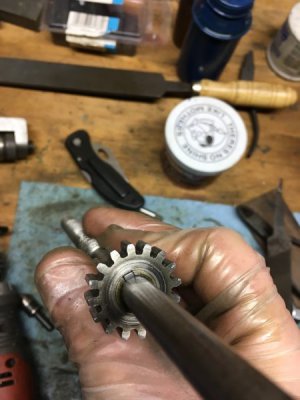
I’m assuming this gear was replaced at some time, and the woodruff key is worn out. The screw is also pretty worn out over the primary length of use. I’ll press the gear off, and replace the woodruff key. And perhaps modify the nut for antibacklash as I’ve read about on this forum.

1606CDF6-C32A-44DC-916C-757D2365C9B0.jpeg

CDF94389-C83E-4D7A-8082-630FAD0F0668.jpeg
 
Nothing too exciting. Bored a hole in some round stock for a spindle thread protector. Maybe tomorrow I’ll try to cut the threads. Did up my cross slide woodruff key repair/replacement. Started taking apart the apron, which has several rusty (not zamak) gears in it. One of which will need to be peened it seems. Cut some 6/32 screws for the switch plate...and ate a sandwich.

6C1FFA2A-23A2-4029-BC29-7C91B7AD143A.jpeg
 
View attachment 291101Shouldn’t there be a pin that holds part number 9-52A and 9-48B together? If anyone has knowledge of this pin, please let me know.

It would appear so. The drawing clearly shows a hole in both the stub shaft and the gear. However, none of the Atlas 10" parts lists that I have back to 1942 nor the 9" list from around 1936 show anything that would keep the stub shaft from turning inside of the left reverse gear. Numerous people on here and on groups.io or the earlier Yahoo Group have indicated taking the gearbox apart but none ever mentioned this. I tried to call Clausing about it but they close a little early on Friday and I missed them. IFF you need to disassemble the 9-27X for some other reason, please report what you find.
 
Back
Top