Center Support Bearings

Ray C

Registered
Registered
Joined
Nov 16, 2012
Messages
5,596
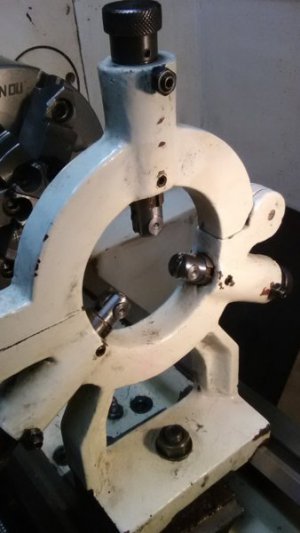
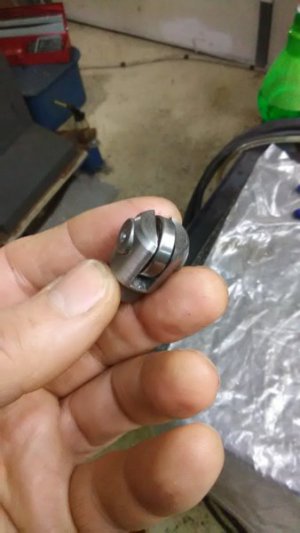
Here's a fun little project... I've been meaning to make some of these for a long time. There are no action shots because its a very simple concept. The original brass bushing pads are about half worn-out and, given that I don't feel like working on the grinder spindle project, I decided to occupy my time with this. These are made from leftover drops of 4140PH -even the pins. The pins were a slight press fit then, the center holes were given a good whack with a tapered punch to flare the end a little bit. They're not coming out of there on their own.
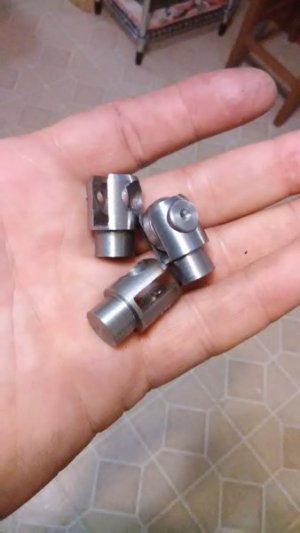
IMG_20180224_173817.jpg

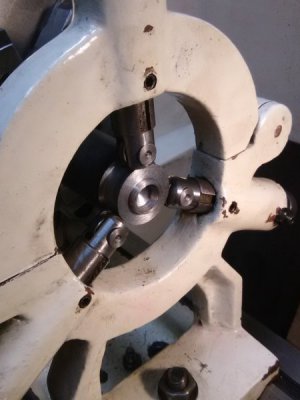
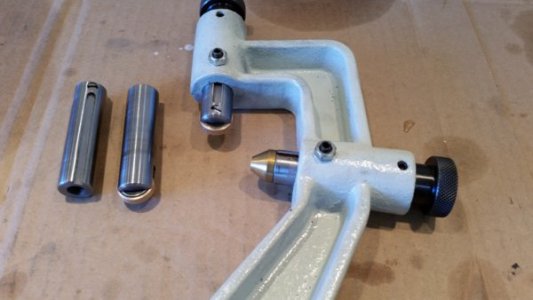
They fit just fine!
IMG_20180224_180501.jpg

And best of all, they work!
IMG_20180224_181329.jpg


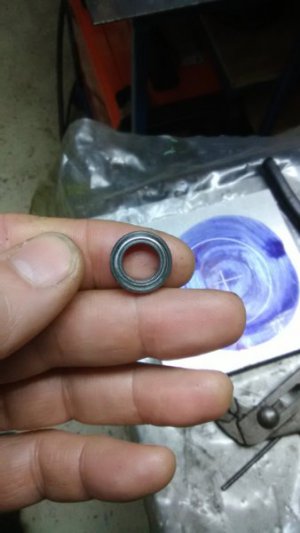
The bearing size is 1038 and I'd recommend the SR1038ZZ variety because of the metal shield on both sides. They are pretty inexpensive on eBay or Amazon.

Hope y'all are having a good weekend!


Ray
 
They look great Ray, i ordered some sealed bearings myself today to replace the brass fingers.
One thing i will continue doing is to place a cardboard chip shield to protect the contact surface from chips.
 
Holy moley... Was really surprised this morning to see so may "Likes" for these rollers. It was a spur-of-the-moment project.

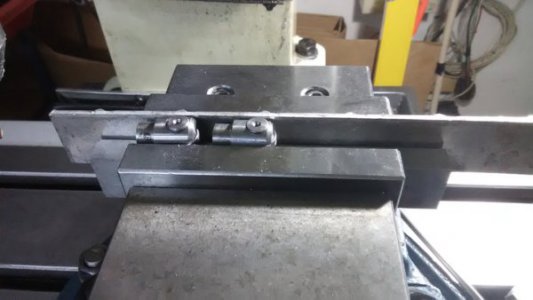
Sorry for not taking pictures while making them so here is a re-shoot "post-production". The setup was like this:

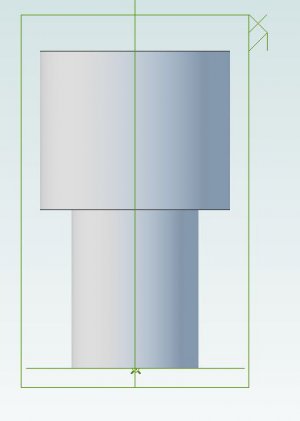
For the bearings described, the large diameter of the stud is 0.625. The height of the top part of the stud is also 0.625". The small diameter of the stud was 0.473" (specific to the guideways on my particular center rest) and were cut 3/8" long (the picture below is not perfectly to scale).

The slot depth from the top is 0.563". A 3/16" dia endmill was used to make the slot.


1) In the lathe, make 3 stud parts that look like this. Top part is 0.625" diameter. The bottom diameter must be matched to the fingers from your center support. Make it a very snug fit.

Studs.JPG

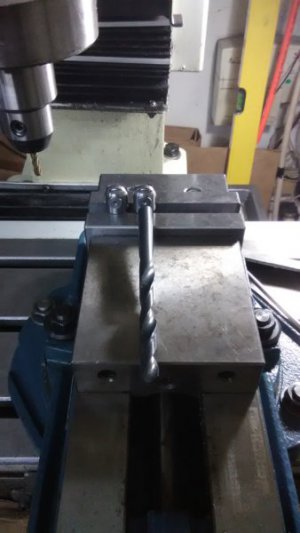
2) Lay them flat (laying down sideways) in the mill vice jaws with an aluminum backer so they'll stay put. Drill a centering hole 0.235" down from the top of each stud. The holes were drilled in 3 steps (center bit, 3/16 then 23/64) to minimize risk of pushing them out of horizontal alignment. Finally the holes were reamed with a 3/8" (minus-sized) reamer.

IMG_20180225_085532.jpg


3) All three were propped in the vise and three, 3/8 drill bits (any 3/8" shaft will work) were put into the holes and the pieces were lined-up (via eye-ball) so a slot could be milled with the holes perpendicular. Make several passes from side-to-side with a 3/16 endmill to a depth of 0.563".

IMG_20180225_085822.jpg


Finally, a 30 degree chamfer was cut on the top edge in the lathe. The chamfer was cut down right until it touched the top of the 3/8 hole.

IMG_20180225_085943.jpg

The pins were given center holes on each end and pressed through the assembly. It was a snug fit and had to be pressed through with light pressure in a table vise. Finally, a tapered punch was used to peen the pin for good measure.

EDIT: The bearings are tiny little guys but, I think they'll do fine. I like the large inside diameter to distribute the pressure on the pin. I had a 10-pack of those bearings sitting around and think they were not expensive as I recall. Maybe $15 for the pack of 10.

IMG_20180225_094842.jpg


Enjoy...

Ray
 
Last edited:
Hi Ray,
Another variation on the same lines, I machined new fingers out of 01 tool steel rod along with the bearing pin. The bearings are R4ZZ (1/4" x 5/8") and have a sacrificial outer bearing ring of 5/8"ID/3/4" OD bearing bronze. These are bearing sleeves that I just parted into 1/4" wide rings. The bearing pin tip is threaded with a small shoulder step so it locks the pin.
Mark

Steady Rest and Follow Rest Finger bearings.jpg
 
Woooo, Mark.... Nice! When I get my new lathe, I might have to make some of those. Great idea!

Ray
 
Hmmm, or so press a bronze ring over the outside of the bearing and have the best of both?
 
Last edited:
So how much interference did you use for the bronze rings?
 
I’ve got the bearings and have been going to do this very same thing for the last couple of years. Thanks for the nudge.
 
The bronze bushing can be pressed onto the bearing by hand, so a snug fit. Just worked out that way and the bearing bronze bushing was from Ace hardware, otherwise one could bore some 3/4" bonze rod for an interference fit. I wanted something a bit softer and less likely to damage the turned material when using the fingers.
 
Back
Top