- Joined
- Jul 26, 2011
- Messages
- 4,142
I must say sorry about any poor pictures again. I had a little auto focusing Canon camera,which focused on whatever it wanted to!
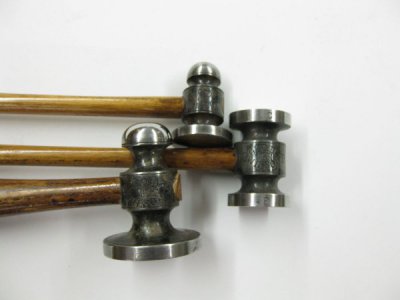
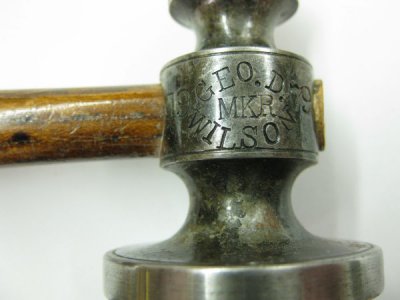
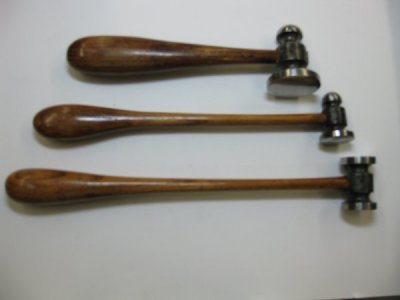
These were made in 1979,(one says that on the head.) And yes,one has a slipped head. But,it was not loose,just had slipped a bit during the Winter.
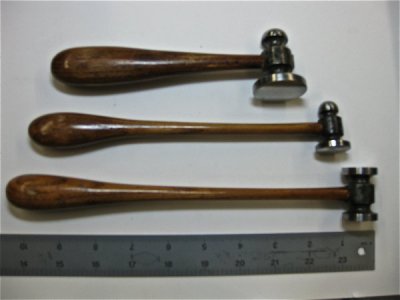
These are easy to make,and usually most of the work is in making the handles. You just cannot buy decent handles today at all. the idiots who design the junk that is offered today have NO sense of proper design AT ALL. I refer to proper chasing hammer handles.
These were made a long time ago,and I can do a better job of designing the handles myself,by now! The bulbous part ought to be more pronounced and not "taper" into the shanks of the handles like they do. But,I made them to use at the time,as I was doing a lot of engraving and chiseling then.
These were made from 01 1" dia. drill rod,except the larger one,which is more like 2" dia.,made of case hardened mild steel. Drill rod that large I did not have on hand.
These are not all the usual pattern of chasing hammers, one being double ended. One face is flat,and one is curved on one. And,normally chasing hammers are not lathe turned,though I did run across some that someone is making that are about identical to my chasing hammer with a pein on one side.
The engraving hammer was case hardened for hours inside my electric furnace. I had sawn the last 4" off of a
Mapp type gas bottle,and put Kasenite in it for the hammer head to rest in. BE CAREFUL that the bottle is fully empty when doing this. There is still the smell of gas left even when the tank is all used up. It is best to put a heavy lid on top of your kasenite container. I think it helps to have just a few pounds of pressure inside the container,to help drive the gas into the red hot steel. The pores of the steel are open then,and readily can receive the gas. In experiments I have tried with and without a lid,this has been borne out to me. Lid= deeper case.
I seemed to get the case deep enough,as it has stood many years of hitting hardened steel engraving and die sinking chisels with minimal marking.
I wanted a short handle for the engraving hammer,so I call it my "Gumby" hammer. Quite comfortable to use. I used it to chisel out the Dolphin coining die shown elsewhere in my list of projects.
The handles were stained with potassium permanganate (KMNO4),which makes a nice shade of brown. The finished applied over it is Tru Oil.
My wife commandered these hammers for making her jewelry.
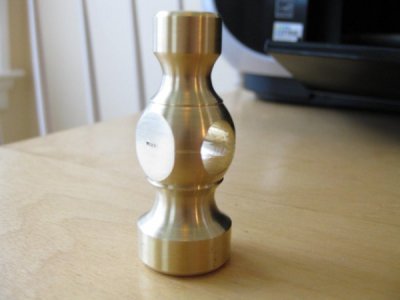
Also shown is a brass hammer head for adjusting wooden plane irons. I quickly made it for someone else on trade for a tool he had.


