So, I decided to do some layout on the register face before I pulled it.
I set up the nice sharp threading tool I used for the bearing retention thread, pointed it at the face. I applied layout dye. With some back lighting and magnification, I lined the point up with the 3 & 5/8 OD.
I put a good 1 inch travel indicator on the cross slide, zeroed the dial, and dialed down 0. 421. It was good to see that the machine's cross slide dial and the indicator agreed within a couple of tenths. I scratched the face at that point.
I checked the line's diameter two ways. I set up a pair of good 6" dividers with a Starett rule under magnification, and it matched the diameter. I got out a pair of new digital calipers and checked again. Looked good.
Laying out a bolt circle with 3 holes can be a pain. I went ahead and applied trig, and used the Pythagorean equation to get my chord length. (There is a table in Machinery's Handbook).
I marked a radial line, pricked it. I set my dividers under magnification, scratched two chord marks. I keep those dividers pretty sharp. By feel, I picked up one of the intersections, and scratched to the other unpricked mark. Checked under magnification, and bingo all 3 lines crossed together. I pricked both crossed lines.
Wish that happened every time...
Thanks for bearing with me..
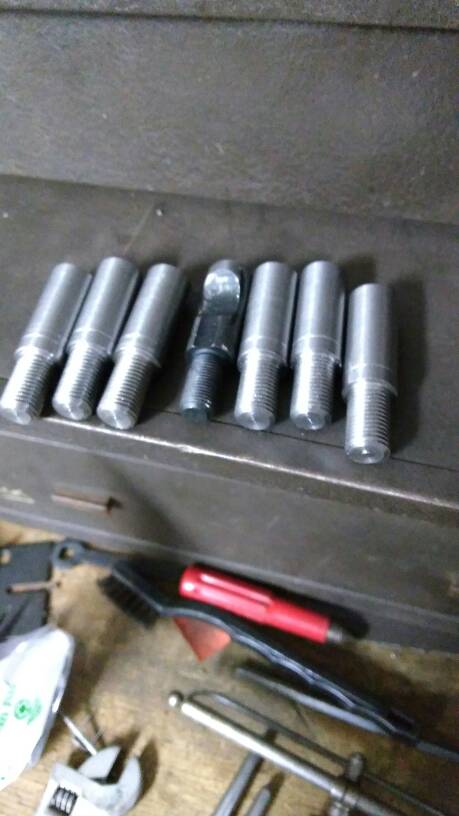
Lastly before I yanked it out of the headstock, I used a small square to scribe tangent lines on the OD. Some very sticky locating to do there later.
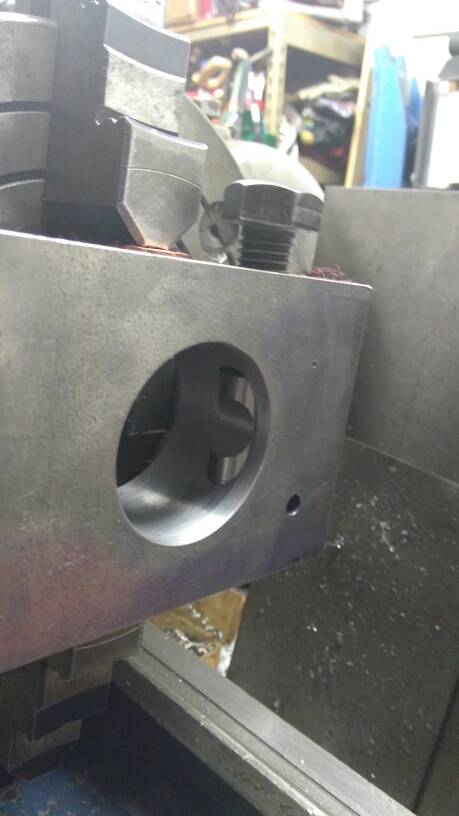
I did this layout here/now because I will end up doing the milling work in the lathe. I don't have a way to grab and hang the dividing head waaaay back there to drill and bore the face of the new spindle. I am limited by the working envelope of what I have.
I'm still sorting out how I will drill and bore the cam holes. I think I have the way to locate them accurately.
Sent from my Moto G Play using Tapatalk