Hello!
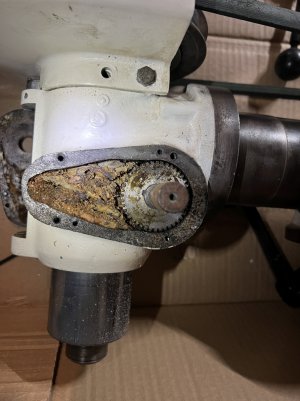
I'm restoring a new to me 8520 and looking for some help. The quill requires quite a bit of force in the last 1/3 of its travel downwards (when using the fine feed, it seems smooth and doesn't need more force) - I'm trying to resolve this issue...
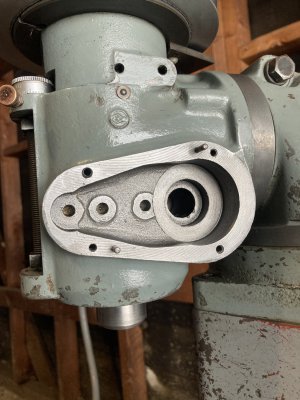
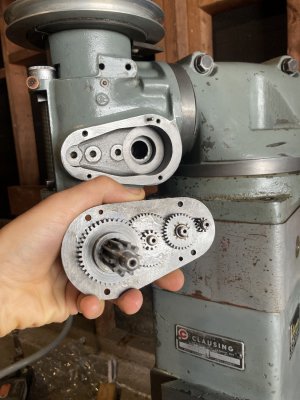
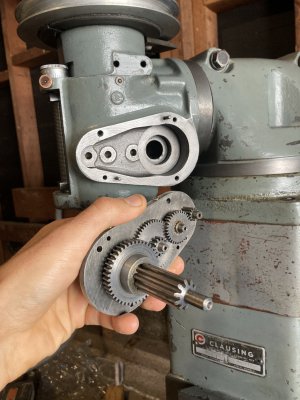
I'm considering starting in on breaking down the head and cleaning it out, replacing bearings, etc.
But is there a simpler/less involved thing I should try first? Does the quill itself get pinched anywhere, in which case I can adjust the tightness of this? Is this hex bolt, highlighted below, the "quill pinch" adjustment?

Thank you!
Alex
I'm restoring a new to me 8520 and looking for some help. The quill requires quite a bit of force in the last 1/3 of its travel downwards (when using the fine feed, it seems smooth and doesn't need more force) - I'm trying to resolve this issue...
I'm considering starting in on breaking down the head and cleaning it out, replacing bearings, etc.
But is there a simpler/less involved thing I should try first? Does the quill itself get pinched anywhere, in which case I can adjust the tightness of this? Is this hex bolt, highlighted below, the "quill pinch" adjustment?
Thank you!
Alex
")